No-bake cheesecake freezes beautifully — but only if you do it correctly. Do it wrong and you end up with a grainy, watery, separated filling that no amount of thawing will fully rescue. The good news is that the difference between a cheesecake that comes out of the freezer tasting freshly made and one that comes out tasting like a dairy mistake is almost entirely about technique rather than ingredients. The cheesecake itself is already freeze-friendly by nature. The fat content in the cream cheese and heavy cream protects the texture through the freeze-thaw cycle better than almost any other dairy-based dessert. You just need to wrap it correctly, freeze it at the right stage, and thaw it the right way.
What Happens to Cheesecake in the Freezer
Understanding the science here takes 60 seconds and prevents the most common freezing mistakes.
When no-bake cheesecake freezes, two things happen simultaneously:
- The water content forms ice crystals. Small ice crystals — produced by fast, even freezing — are virtually undetectable in the thawed texture. Large ice crystals — produced by slow, uneven freezing or fluctuating freezer temperatures — create a grainy, slightly wet texture after thawing.
- The fat solidifies. The cream cheese and whipped cream fat structures lock in place. When thawed slowly in the refrigerator, they return to their original smooth, creamy consistency. When thawed too quickly at room temperature, the fat and water separate — producing a slightly curdled appearance on the surface.
Both problems are entirely preventable with the right approach.
Step 1 — Freeze the Cheesecake Before Wrapping It
This is the step most people skip — and it’s the most important one for texture preservation.
What to do:
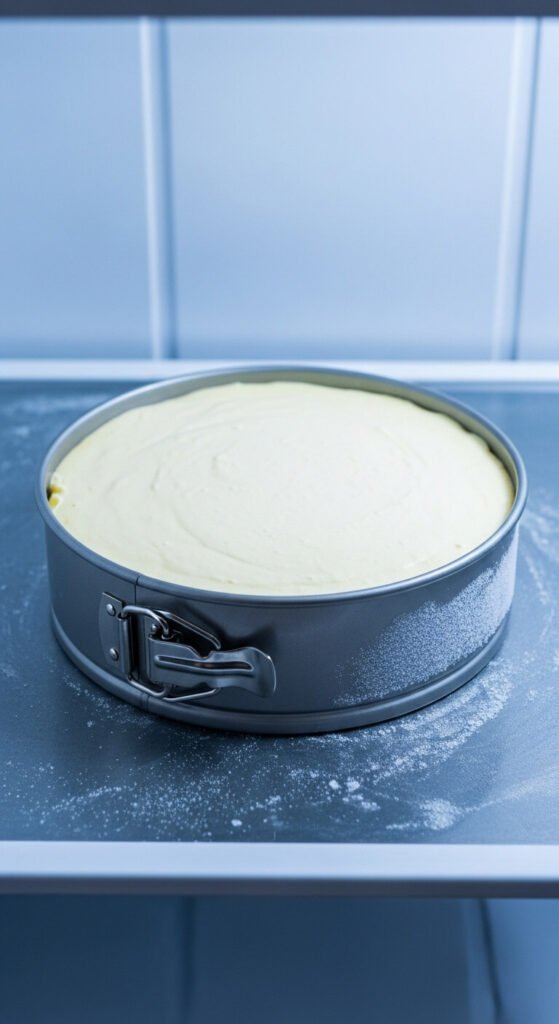
- Place the assembled, chilled cheesecake — still in the springform pan — in the freezer uncovered for 1 to 2 hours
- The goal is to freeze the surface and outer layer of the filling solid before wrapping
- Once the surface is firm and frozen, remove from the freezer and wrap immediately
Why this matters: Wrapping a soft cheesecake presses the plastic wrap against the filling and creates indentations, moisture traps, and uneven surface contact. Wrapping a frozen surface means the plastic conforms to a solid shape cleanly — no contact damage, no moisture issues, no wrap imprints in the finished surface.
Step 2 — Wrap It Properly
The wrapping method determines how long the cheesecake stays good in the freezer and whether it absorbs freezer odors.
The three-layer method:
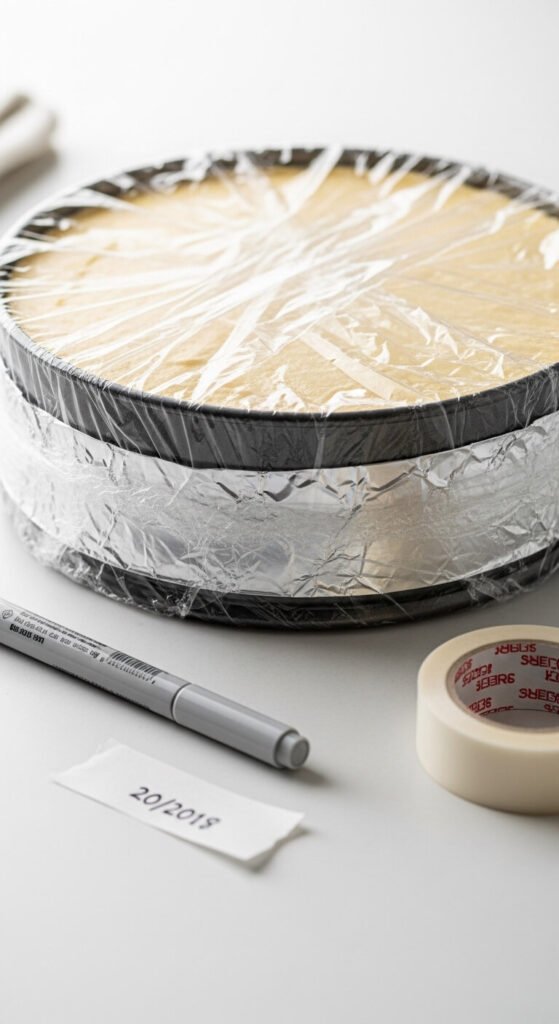
- First layer — plastic wrap pressed directly against the filling surface. Wrap the entire pan tightly, covering the top completely.
- Second layer — another full wrap of plastic wrap going in the opposite direction to the first. This double plastic layer is your moisture and odor barrier.
- Third layer — aluminum foil wrapped around the entire pan. Foil adds an additional barrier against freezer burn and the metallic odors that develop in long-term frozen storage.
Label with the date using masking tape and a permanent marker on the foil outer layer. This sounds obvious but matters enormously — frozen cheesecake looks identical at two weeks and two months.
Freezer shelf life: Up to 2 months for best quality. Technically safe beyond that, but texture and flavor decline noticeably after the two-month mark.
Freezing Individual Slices
If you’ve already cut the cheesecake — or if individual slices are more practical for your situation — the approach changes slightly.
Step by step:
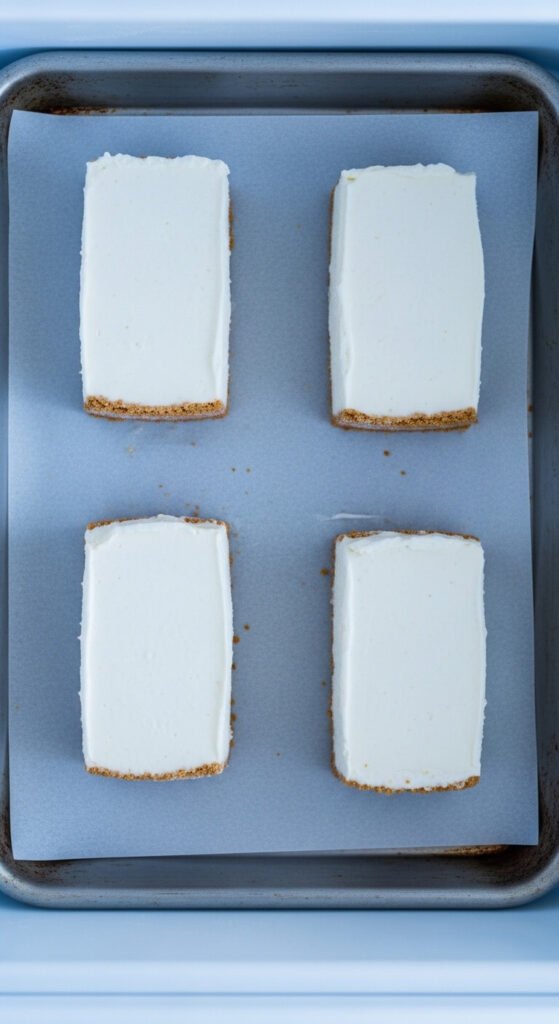
- Place cut slices in a single layer on a parchment-lined baking sheet
- Freeze uncovered for 1 to 2 hours until the surface is solid
- Wrap each individual slice in plastic wrap — two full layers
- Place wrapped slices in a labeled freezer-safe zip-lock bag with the air pressed out before sealing
- Lay flat in the freezer — don’t stack bags until slices are fully frozen solid
Individual slices are the more practical option for most households — you can pull one slice at a time without committing to thawing the entire cake.
Step 3 — Thaw It Correctly
This is where most freezing attempts succeed or fail. The thawing method has as much impact on final texture as the freezing method did.
The only correct way to thaw no-bake cheesecake:
Transfer the frozen cheesecake — still wrapped — directly from the freezer to the refrigerator. Allow it to thaw slowly and completely.
- Whole cheesecake: 6 to 8 hours in the refrigerator, or overnight
- Individual slices: 3 to 4 hours in the refrigerator
Do not thaw at room temperature. The outside of the cheesecake warms and softens while the interior remains frozen — the temperature differential causes the fat and water in the filling to separate at the surface, producing a wet, slightly curdled appearance that doesn’t fully resolve.
Do not microwave to speed up thawing. Any heat application creates the same separation problem, concentrated at whatever point the microwave energy hits first.
Adding Toppings — Before or After Freezing?
Always after. This is a firm rule with no good exceptions.
Fresh fruit, fruit compotes, caramel sauce, whipped cream, and any other topping should be applied after the cheesecake has fully thawed and is ready to serve. Toppings added before freezing suffer in multiple ways:
- Fresh fruit releases water as it freezes and thaws, soaking into the filling surface and making it wet and soft
- Whipped cream collapses during the freeze-thaw cycle and weeps liquid onto the filling
- Caramel and fruit sauces become watery and pool around the base
The filling itself freezes and thaws beautifully. Everything on top of it does not. Keep them separate until the moment of serving.

Signs Your Frozen Cheesecake Thawed Correctly
Before serving, a quick check confirms the texture came through the freeze-thaw cycle intact:
- Surface looks smooth and uniform — no wet patches, no separation, no visible ice crystal marks
- Center feels firm when gently pressed — not frozen solid, not wobbly
- No liquid pooling around the base inside the pan
- Filling holds a clean edge when the springform is released
If the surface shows slight condensation, blot gently with a paper towel before adding toppings. This is normal and cosmetic only — it doesn’t affect the flavor or interior texture at all.
Your Cheesecake Deserves Better Than Freezer Burn
Freezing no-bake cheesecake correctly is a 10-minute investment that preserves weeks of dessert at full quality. Pre-freeze before wrapping, use three protective layers, thaw slowly in the refrigerator, and add toppings only after thawing. Follow those four rules and your frozen cheesecake will taste identical to the day you made it.
Save this article to your baking and meal prep collection — it’s the guide that makes every no-bake cheesecake you make worth doubling the batch for.