What if your favorite snack took less than 15 minutes to make, required zero baking, and was actually good for you? Meet bliss balls — the little energy-packed treats that have taken over every health food café, lunchbox, and snack drawer for a very good reason. They’re chewy, naturally sweet, endlessly customizable, and dangerously easy to eat by the handful.
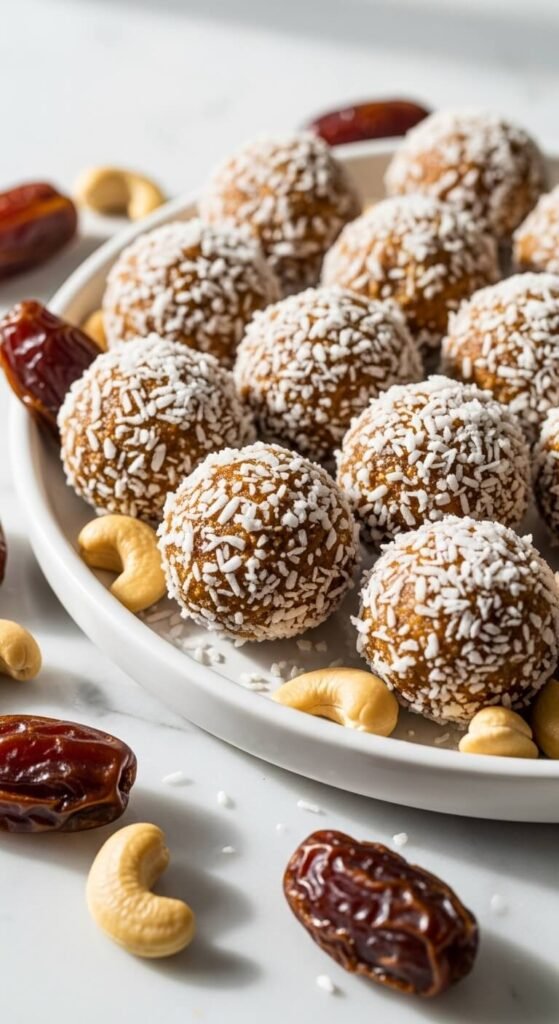
No refined sugar. No oven. Just pure, wholesome bliss.
Why Bliss Balls Deserve a Spot in Your Weekly Routine
These little bites aren’t just a trend — they’re genuinely one of the smartest snacks you can keep on hand. Here’s why they work so well:
- They satisfy sweet cravings without the crash that comes from processed sugar.
- They’re packed with real energy from nuts, seeds, and natural sweeteners like dates or honey.
- They last all week stored in the fridge, so you make one batch and snack all week long.
- They’re endlessly adaptable — change the flavors, coatings, and mix-ins to suit your mood.
Whether you need a post-workout bite, a 3 p.m. desk snack, or something to pop in the kids’ lunchboxes, bliss balls have you covered.
What You’ll Need
The base recipe is beautifully simple. From there, you can go in a million delicious directions.
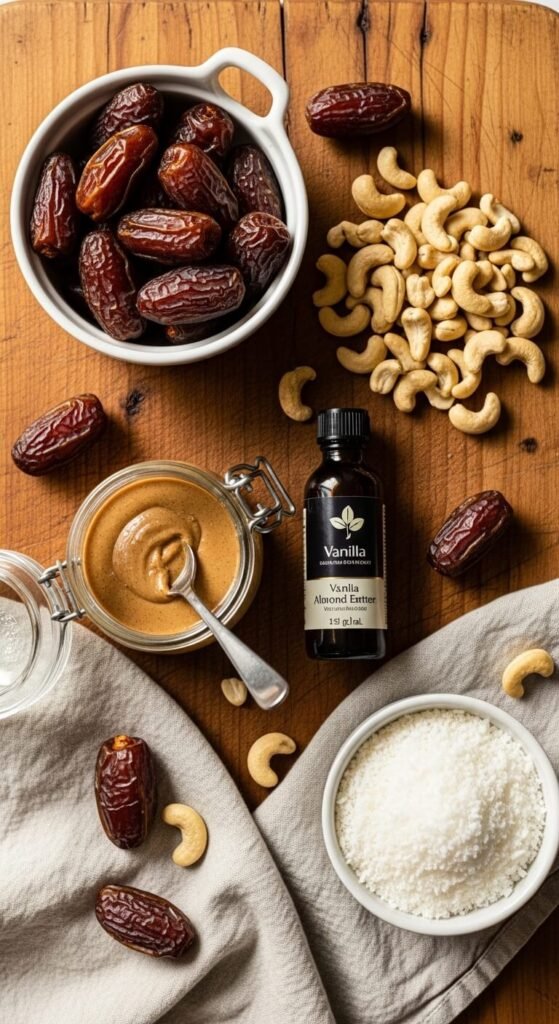
The base ingredients:
- 1 cup Medjool dates, pitted (the natural sweetener that holds everything together)
- 1 cup raw cashews or almonds
- 2 tablespoons nut butter (almond, peanut, or cashew)
- 1 tablespoon coconut oil
- 1 teaspoon vanilla extract
- A pinch of sea salt
Optional flavor boosters:
- 2 tablespoons cacao powder (for a chocolate version)
- 1 tablespoon chia seeds or flaxseeds (for extra nutrition)
- Zest of one lemon or orange (for a bright, citrusy twist)
- 1 teaspoon cinnamon or cardamom
For rolling:
- Shredded coconut, cacao powder, crushed pistachios, or sesame seeds
Step 1: Prep Your Dates
This step is quick but important. If your dates feel at all dry or firm, soak them in warm water for 10 minutes, then drain thoroughly before using.
Soft, sticky dates are what give bliss balls their natural caramel-like sweetness and that satisfying chewy texture. Medjool dates are ideal — they’re plump, rich, and blend like a dream.
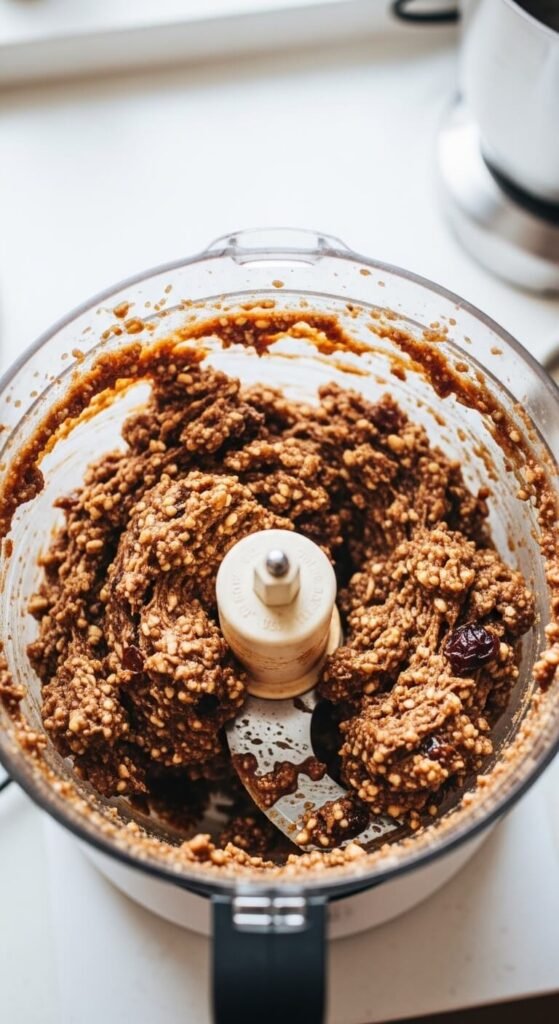
Step 2: Blend Everything Together
Add your nuts to a food processor and pulse until they break down into a rough, crumbly meal. Then add the dates, nut butter, coconut oil, vanilla, salt, and any flavor add-ins you’re using.
- Process for 1–2 minutes, scraping down the sides as needed.
- The mixture is ready when it starts to clump together and pull away from the sides of the bowl.
- Do a quick squeeze test — if it holds together when pressed between your fingers, you’re good to go.
Don’t over-process or you’ll end up with nut butter instead of a rollable dough. A little texture is your friend here.
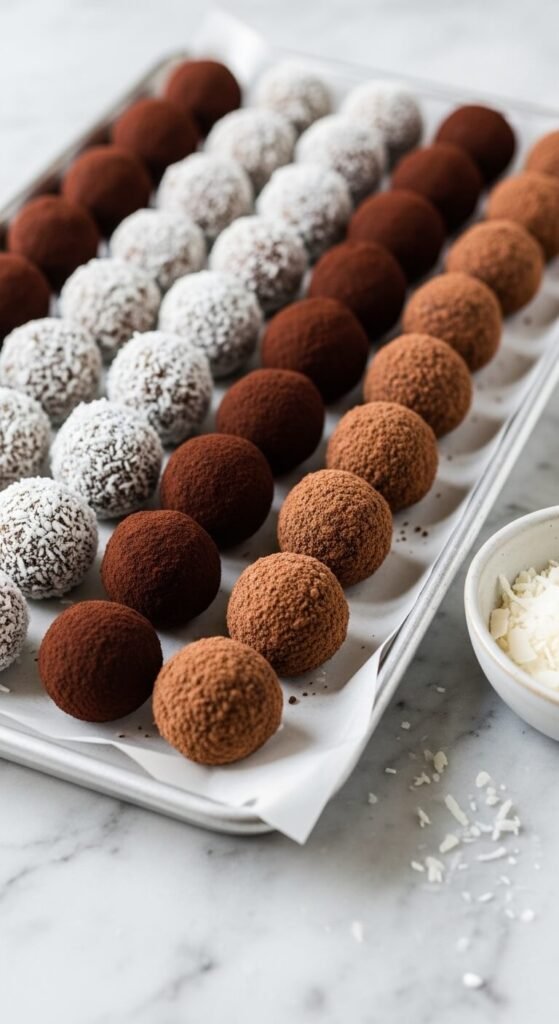
Step 3: Roll and Coat
Here’s the most satisfying part of the whole process.
- Scoop out roughly a tablespoon of mixture at a time.
- Roll it firmly between your palms until you get a smooth, compact ball.
- Immediately roll it in your chosen coating — coconut, cacao, crushed nuts, or sesame seeds.
If the mixture feels too sticky, pop it in the fridge for 10–15 minutes first. Cold dough is much easier to handle and rolls into neater shapes.
Aim for golf-ball size or slightly smaller — these are rich little bites, so a little goes a long way.
Step 4: Chill and Set
Transfer your finished bliss balls onto a lined tray or plate and refrigerate for at least 30 minutes before eating. This helps them firm up, hold their shape, and develop a slightly fudgy interior that’s honestly irresistible.
Once set, transfer them to an airtight container. They’ll keep in the fridge for up to two weeks or in the freezer for up to three months.
Flavor Variations Worth Trying
Once you’ve nailed the base recipe, the fun really begins. Here are a few combinations that never disappoint:
- Chocolate Brownie Bliss Balls — Add 2 tbsp cacao powder and roll in crushed dark chocolate.
- Lemon Coconut Bliss Balls — Add lemon zest and juice, roll in shredded coconut.
- Peanut Butter & Oat Bliss Balls — Swap cashews for oats and use peanut butter as the base.
- Matcha Vanilla Bliss Balls — Add 1 tsp matcha powder and roll in white sesame seeds.
- Spiced Chai Bliss Balls — Add cinnamon, cardamom, ginger, and a pinch of black pepper.
Tips for Perfect Bliss Balls Every Time
- Use a cookie scoop for uniform sizes — it makes rolling much faster and neater.
- Wet your hands slightly before rolling to prevent sticking.
- Toast your nuts first for a deeper, richer flavor that takes these to another level.
- Taste the mixture before rolling — adjust sweetness with an extra date or a drizzle of maple syrup if needed.
Your New Favourite Make-Ahead Snack
Bliss balls prove that eating well doesn’t have to be complicated, expensive, or time-consuming. A single batch made on Sunday keeps you fuelled with something genuinely nourishing all week long — no vending machine required.
They’re wholesome, portable, endlessly versatile, and honestly just a little bit addictive. Once you make them, you’ll wonder how your snack routine ever survived without them.
Save this recipe, share it with your health-conscious friend, and make a batch this weekend — your future self will absolutely thank you. 🌿✨