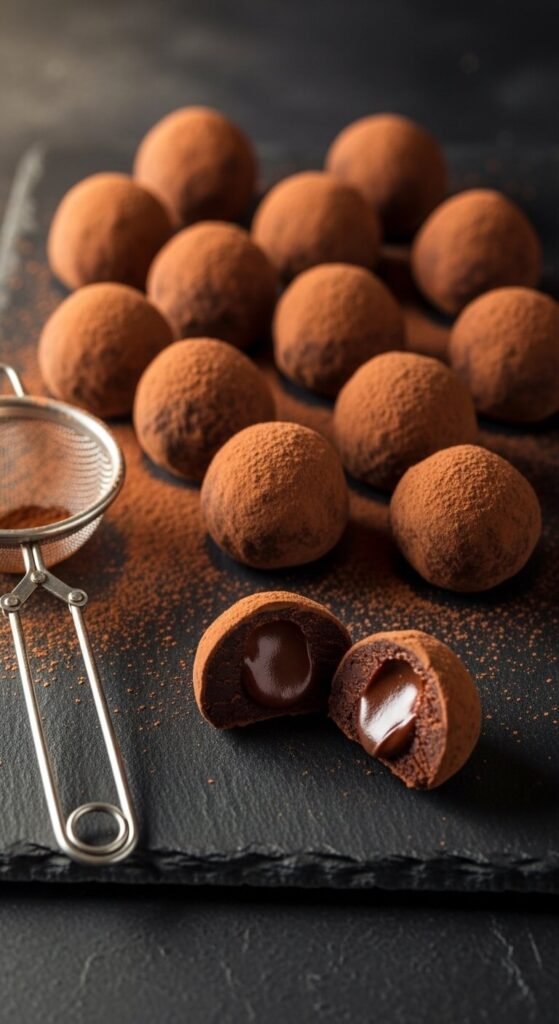
Some desserts are impressive because they look complicated. Chocolate truffles are impressive because they taste like they should be complicated — and they absolutely aren’t. Beneath that dusting of dark cocoa powder is nothing more than chocolate, cream, and butter, coaxed into something so deeply rich, so silkily smooth, so unmistakably luxurious that people genuinely struggle to believe you made them at home. No special equipment, no tempering, no pastry training required. Just a handful of quality ingredients, a little patience while things chill, and a cocoa-dusted finish that looks like it came straight from a Parisian chocolate shop. Here’s how to make them.
What You’ll Need
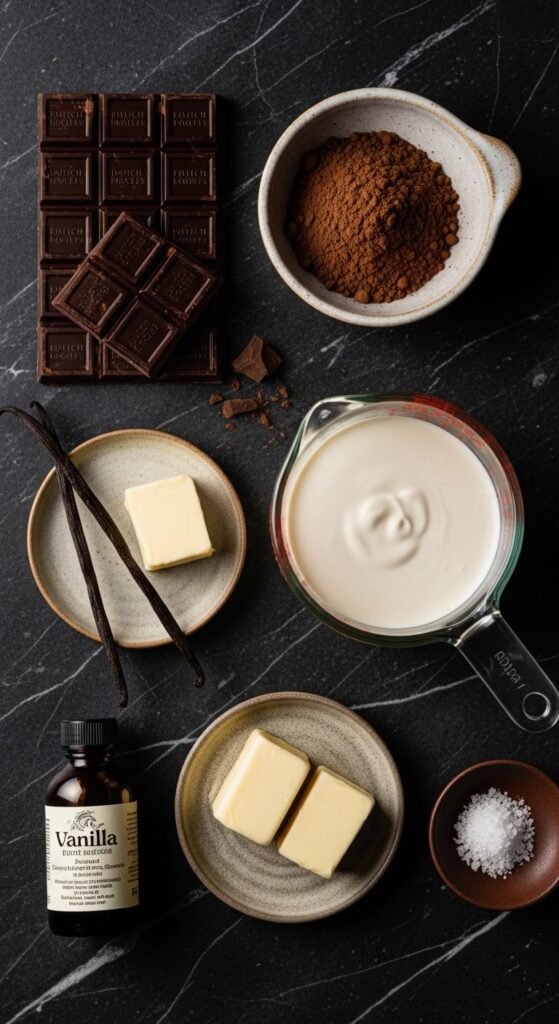
The truffle ingredient list is almost shockingly short. Which is exactly why quality matters so much — with only three main components, every one of them carries full weight.
For the ganache:
- 8 oz (225g) dark chocolate — 60–70% cacao is the sweet spot. Higher than 70% makes the truffles slightly bitter; lower makes them too sweet and soft.
- ½ cup (120ml) heavy whipping cream — full fat, always. The fat is what makes the ganache smooth and pliable.
- 2 tablespoons (30g) unsalted butter — adds gloss, richness, and that unmistakable melt-in-your-mouth quality.
- 1 teaspoon pure vanilla extract — rounds out the chocolate flavor without competing with it.
- Pinch of flaky sea salt — optional but transformative. A tiny amount makes the chocolate taste more intensely of itself.
For coating:
- ½ cup (50g) high-quality unsweetened cocoa powder — Dutch-process cocoa gives the deepest, most intense color and flavor. This is worth buying well.
Optional flavor additions:
- 1 tablespoon of espresso powder for a mocha truffle
- 1 tablespoon of orange zest stirred into the warm ganache
- A splash of Baileys, Kahlúa, or Grand Marnier for a grown-up version
- ½ teaspoon of peppermint extract for a mint chocolate truffle
Make the Ganache
This is the entire recipe. Everything else is just shaping and rolling.
Step 1 — Chop the chocolate finely
Chop your chocolate into very small, even pieces — roughly the size of a chocolate chip or smaller. The smaller and more uniform the pieces, the faster and more evenly they’ll melt. Uneven chunks leave you with partially melted lumps, which is the most common cause of grainy or broken ganache. Place the chopped chocolate in a heatproof bowl.
Step 2 — Heat the cream
Pour the heavy cream into a small saucepan and heat over medium heat until it just begins to simmer — you’re looking for tiny bubbles forming around the edge and a few wisps of steam. Do not bring it to a full boil. Boiling cream can cause the fat to separate and affect the ganache texture.
Step 3 — Combine
Pour the hot cream directly over the chopped chocolate. Let it sit completely undisturbed for 2 full minutes — this allows the heat to penetrate and begin melting the chocolate before you touch it. Then, starting from the center of the bowl and working outward in slow, small circles, stir gently with a spatula until the mixture is completely smooth, glossy, and unified.
Add the butter in small pieces and stir until fully melted and incorporated. Add vanilla and sea salt. Stir once more.
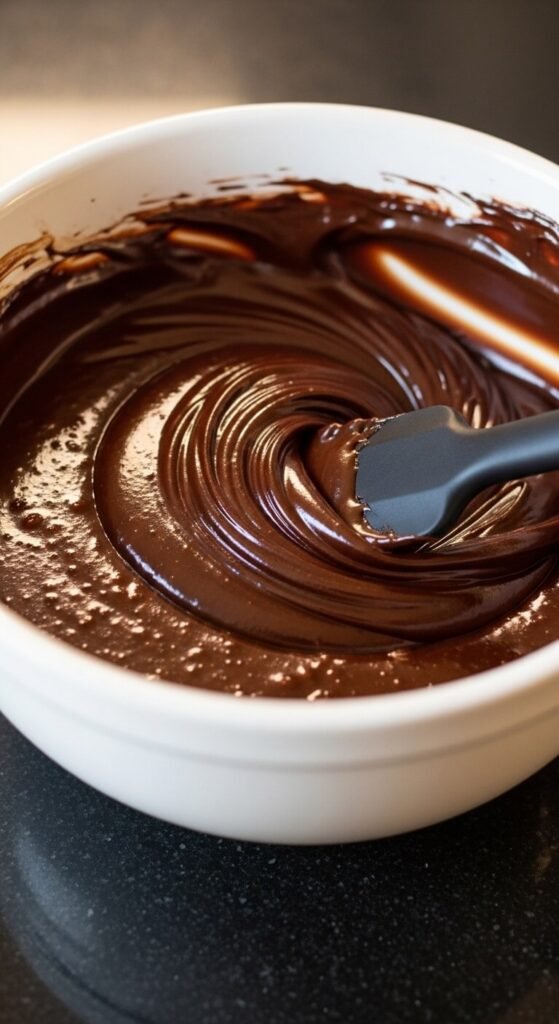
What perfectly made ganache looks like: Completely smooth, deeply glossy, pourable like thick cream, and uniform in color with no streaks.
Chill Until Firm
Cover the bowl with plastic wrap — pressing it directly onto the surface of the ganache to prevent a skin from forming — and refrigerate for at least 2 hours, or until the ganache is firm enough to scoop and roll without sticking to your hands.
A few chill time notes:
- 2 hours — gives you a scoopable ganache, slightly sticky but workable
- 4 hours or overnight — gives you a firmer ganache that’s much easier to roll cleanly
- If over-chilled and the ganache becomes rock solid, let it sit at room temperature for 10–15 minutes before scooping
The overnight chill is worth the wait — it makes the rolling process significantly easier and the finished truffles much rounder and cleaner.
Roll and Coat
This is the most hands-on and most satisfying step. Work quickly and confidently — body heat melts the ganache fast, so speed is your friend here.
How to roll perfect truffles:
- Use a small cookie scoop or a tablespoon measure to portion the ganache into roughly equal pieces onto a parchment-lined tray
- Chill the portions for 10 minutes if they’ve softened during scooping
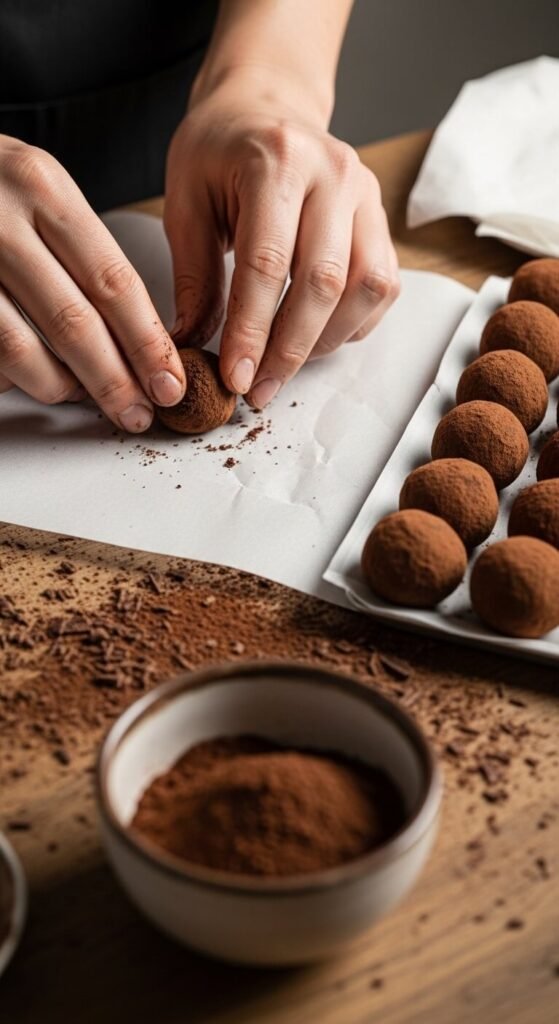
- Working quickly with cool, clean hands, roll each portion between your palms into a ball. Don’t aim for perfection — slight irregularity is part of a truffle’s handmade charm.
- Drop each rolled truffle into the bowl of cocoa powder and roll to coat completely
- Lift out with a fork, tap off any excess cocoa, and place on a clean parchment sheet
Pro tip for less mess: Keep a bowl of cool water nearby to rinse and dry your hands between every two or three truffles. Cool, dry hands = less sticking = rounder truffles.
For an extra-thick cocoa coating: Roll each truffle in cocoa twice — once right after rolling, then again just before serving. The second coating gives a beautiful, velvety, matte finish.
Storage and Gifting
Truffles keep beautifully in an airtight container in the refrigerator for up to two weeks — though they’re at their absolute best within the first three to four days when the ganache center is at peak creaminess.
For gifting:
- Line a small box or tin with parchment and arrange truffles in a single layer
- Dust one final time with cocoa powder just before closing the lid
- Add a small handwritten card — homemade chocolate truffles are one of the most genuinely appreciated gifts you can give
Let them come to room temperature for about 10 minutes before serving — cold truffles are good; room-temperature truffles are extraordinary.
The Takeaway
Chocolate truffles with cocoa powder are proof that the most luxurious desserts are often the simplest ones. Three main ingredients, one good technique, and the willingness to let things chill properly — that’s genuinely all it takes.
Save this recipe before the holidays, before a birthday, before the next time someone you love deserves something extraordinary — because these truffles never fail to make an impression, and now you know exactly how to make them perfectly. 🍫✨