Most snacks that call themselves “energy” anything are just sugar wearing a health costume. They spike your blood sugar, deliver about 20 minutes of alertness, and leave you more tired than before you ate them. Real, sustained energy comes from a specific combination of protein, healthy fat, fiber, and just enough natural sugar to make the whole thing worth eating — and energy balls, made correctly, deliver exactly that in a two-bite package you can keep in your fridge for two weeks.
The key phrase there is made correctly. Because there’s a version of energy balls that’s basically a candy truffle with oats in it. And then there’s this version.
Why Most Energy Balls Don’t Actually Work
Before the recipe, a quick explanation of why so many energy ball recipes leave you reaching for a second snack 30 minutes later.
The culprits are almost always:
- Too much honey or maple syrup — natural sugar still spikes blood sugar when there’s not enough protein or fat to slow absorption
- Not enough protein — oats and dates alone won’t sustain energy; protein is what extends the fuel curve
- Missing healthy fat — fat slows digestion and keeps you satisfied longer; without it, even a well-made energy ball burns off too quickly
The fix is straightforward: build every batch around a protein source, a fat source, a fiber source, and a binding agent — and keep the sweetener as a supporting player rather than the main ingredient.
The Base Recipe That Gets the Balance Right
This recipe makes approximately 20 balls and stores well for up to two weeks refrigerated.
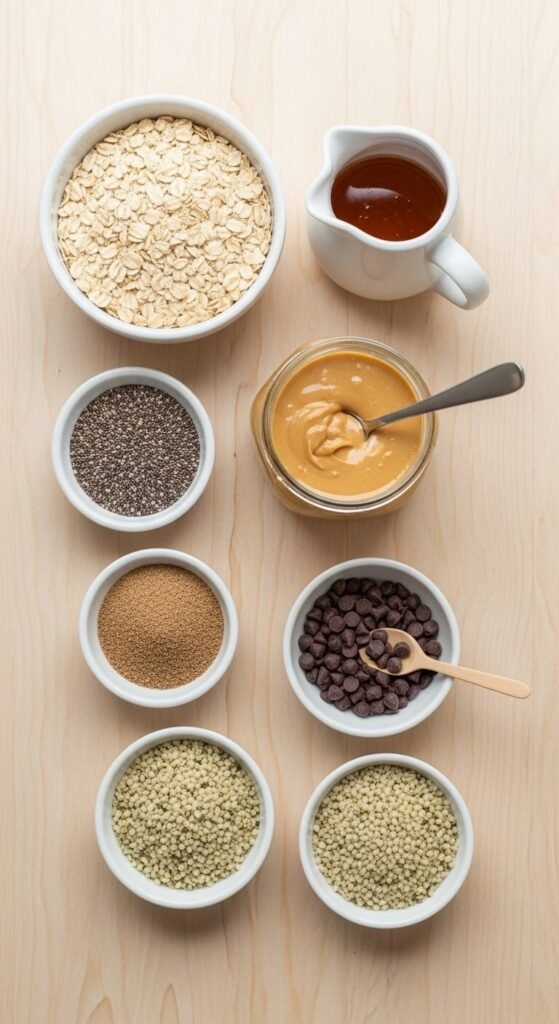
Ingredients:
- 1½ cups old-fashioned rolled oats
- ½ cup natural peanut butter or almond butter
- ⅓ cup honey or pure maple syrup
- ¼ cup ground flaxseed
- 2 tablespoons chia seeds
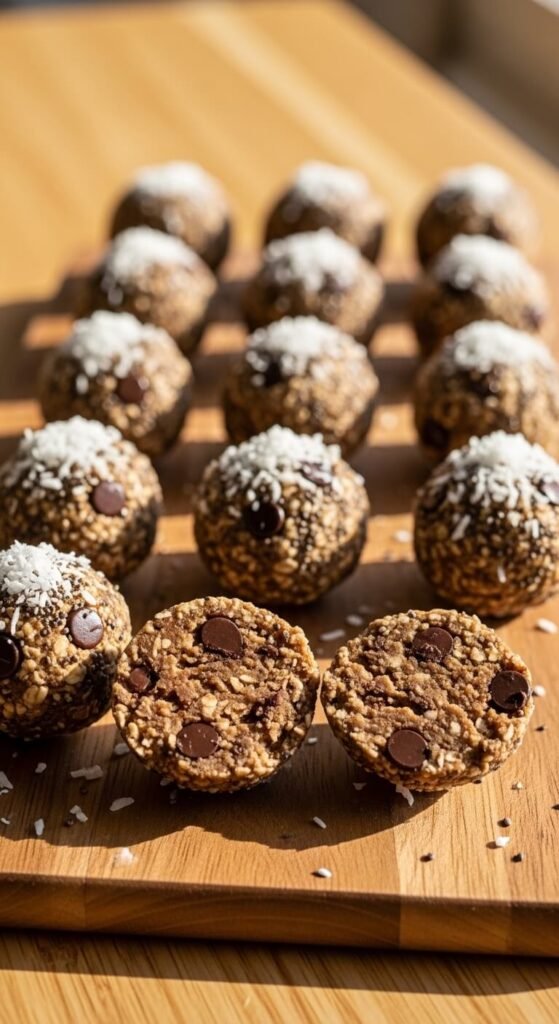
- ½ cup chocolate chips or dried cranberries
- 1 teaspoon pure vanilla extract
- 2 tablespoons hemp seeds (optional but highly recommended)
- Pinch of salt
Why each ingredient earns its place:
- Rolled oats — complex carbohydrate with beta-glucan fiber that slows glucose release
- Nut butter — protein and monounsaturated fat that sustains energy and keeps hunger away
- Ground flaxseed — fiber, omega-3s, and a binding agent that holds the balls together
- Chia seeds — expand with moisture, adding satiety and additional omega-3 fatty acids
- Hemp seeds — complete protein with all essential amino acids; adds a mild, nutty flavor
- Honey — the binder and sweetener, present in a supporting role at one-third cup for 20 portions
How to Make Them
The process is genuinely simple. No cooking. No equipment beyond a mixing bowl and your hands.
Step 1: Combine everything in a large bowl. Add all ingredients to a large mixing bowl and stir with a sturdy spatula or wooden spoon until completely combined. The mixture should hold together when pressed — if it looks too dry and crumbly, add one additional tablespoon of honey or nut butter. If it looks too wet and sticky, add two tablespoons of additional oats.
Step 2: Refrigerate the mixture for 30 minutes. This step matters more than it seems. Chilling firms up the nut butter and allows the chia seeds and flaxseed to absorb moisture from the honey. The mixture becomes significantly easier to roll and the finished balls hold their shape much better. Room temperature mixture sticks to your hands and produces uneven, messy balls.
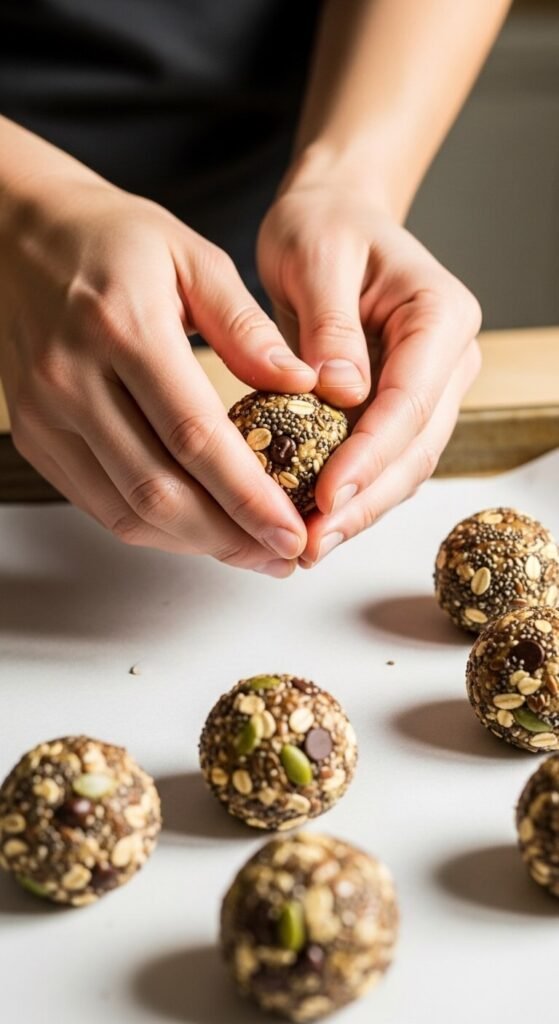
Step 3: Roll into balls. Use a tablespoon-sized cookie scoop or a measuring tablespoon for consistent sizing — this matters for even energy delivery and because uniform balls just look better. Roll each portion between your palms quickly. Wet your hands very slightly if the mixture sticks.
Step 4: Refrigerate until firm. Place rolled balls on a parchment-lined tray and refrigerate for at least 15 minutes before eating or storing.
Variations That Keep Things Interesting
Once the base formula is locked in, the variations are almost endless. Here are four that consistently work well:
Chocolate Coconut: Replace chocolate chips with cacao nibs, add 3 tablespoons unsweetened shredded coconut, and use almond butter. Roll finished balls in additional shredded coconut.
Lemon Ginger: Omit chocolate chips, add 2 tablespoons lemon zest, 1 teaspoon fresh grated ginger, and 2 tablespoons dried blueberries. Bright, clean flavor with serious anti-inflammatory benefits.
Espresso Chip: Add 1 teaspoon instant espresso powder to the base recipe. The coffee flavor pairs perfectly with the chocolate chips and provides a mild caffeine addition on top of the sustained energy from the other ingredients.
Protein-Forward Version: Add 2 tablespoons of your preferred unflavored or vanilla protein powder to the base recipe. Reduce oats by 2 tablespoons to compensate for the additional dry ingredient.
Storage and Grab-and-Go Tips
Energy balls are at their best when they’re accessible — meaning if they’re hidden in the back of the fridge in an unlabeled container, you won’t actually eat them when you need them.
Storage guidelines:
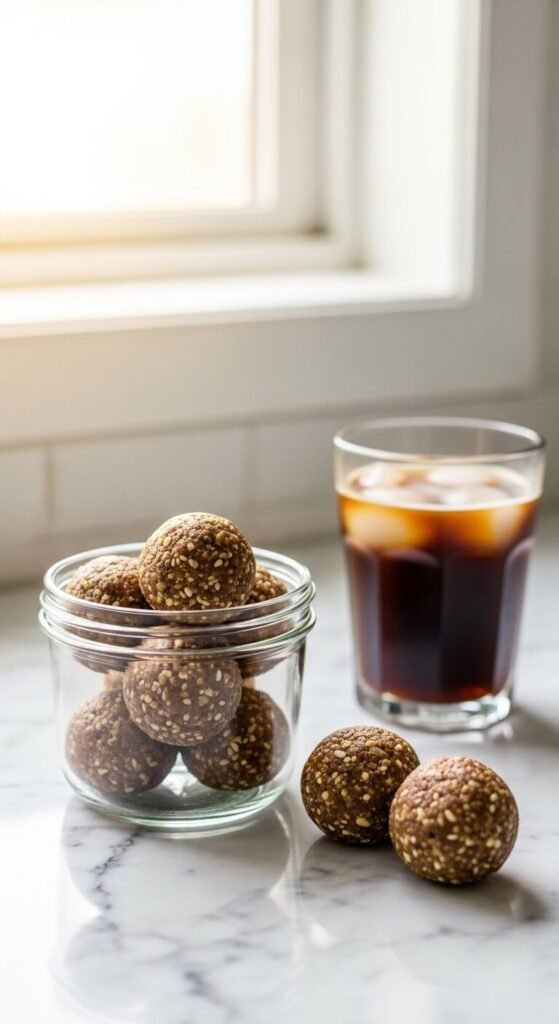
- Refrigerator: Airtight container for up to two weeks
- Freezer: Freeze in a single layer on a tray, then transfer to a container for up to three months — they thaw in 10 minutes at room temperature
- Meal prep tip: Make a double batch every two weeks and keep a small jar of four to six balls on an accessible refrigerator shelf for easy grabbing
When to eat them for best results:
- 30 minutes before a workout for pre-exercise fuel
- As a mid-morning or mid-afternoon snack between meals
- Paired with a piece of fruit for a complete, balanced small meal replacement
Make a Batch This Weekend
The difference between energy balls that actually work and ones that don’t comes down to intentional ingredient selection. Prioritize protein, fat, and fiber. Keep the sweetener proportional. Use ground flaxseed and chia seeds as both nutritional additions and natural binders. Follow the 30-minute chill before rolling.
That’s the complete formula. Twenty minutes of actual work, two weeks of reliable, genuinely sustaining snacks waiting in your fridge every time you open the door.
Save this recipe now and make your first batch this weekend — your Tuesday afternoon self will be very grateful you did.