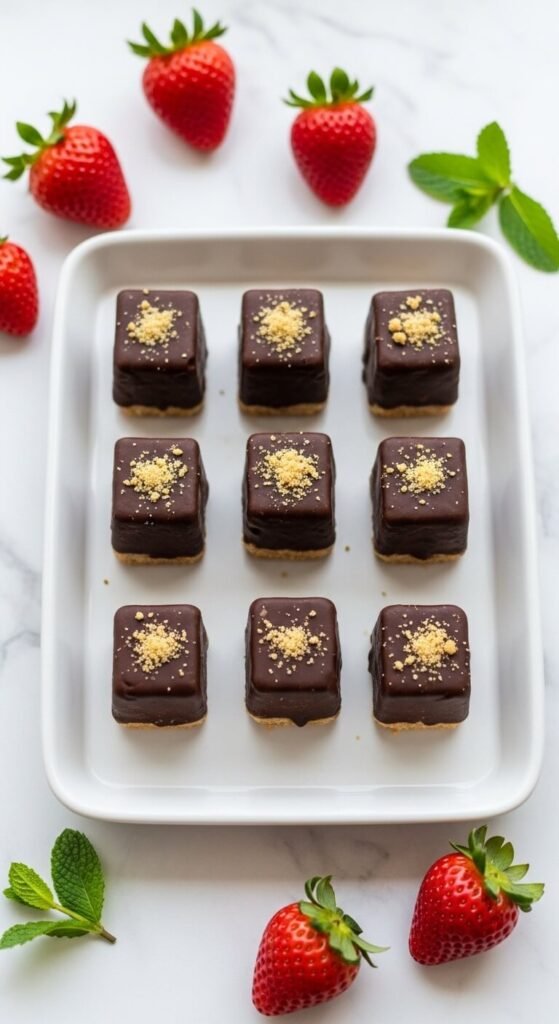
What if you could have a full cheesecake experience — creamy, rich, tangy, and completely satisfying — in exactly two bites, straight from the freezer, any time the craving strikes? These Frozen Cheesecake Bites make that dream entirely real. They’ve got a buttery graham cracker base, a dense and creamy cheesecake center, and an optional chocolate coating that takes them from “delightful little snack” to “wait, I need to make a second batch immediately.” Best of all, they’re portioned perfectly from the start — no slicing, no serving, no willpower required to stop at a reasonable amount.
One batch. Two dozen bites. Endless freezer satisfaction.
Why These Bites Belong in Every Freezer
The portion-control angle isn’t a gimmick — it’s genuinely one of the smartest things about this recipe. When a full cheesecake is sitting on your counter, moderation is a battle of willpower. When you have individually frozen bites, each one is its own complete, satisfying experience.
Here’s the full case for making these immediately:
- They’re individually frozen — grab one, two, or three and put the rest back. No cutting. No temptation spiral.
- They last up to six weeks in the freezer — make one big batch and you’re stocked for over a month.
- They’re endlessly customisable — swirl in fruit compote, dip in white chocolate, top with crushed Oreos. The base is a blank canvas.
- No baking required — the freezer does all the work.
- They look genuinely impressive — uniform, coated, and neat enough to serve to guests straight from the freezer.
These are the treats you keep for yourself and the ones you casually pull out when company arrives.
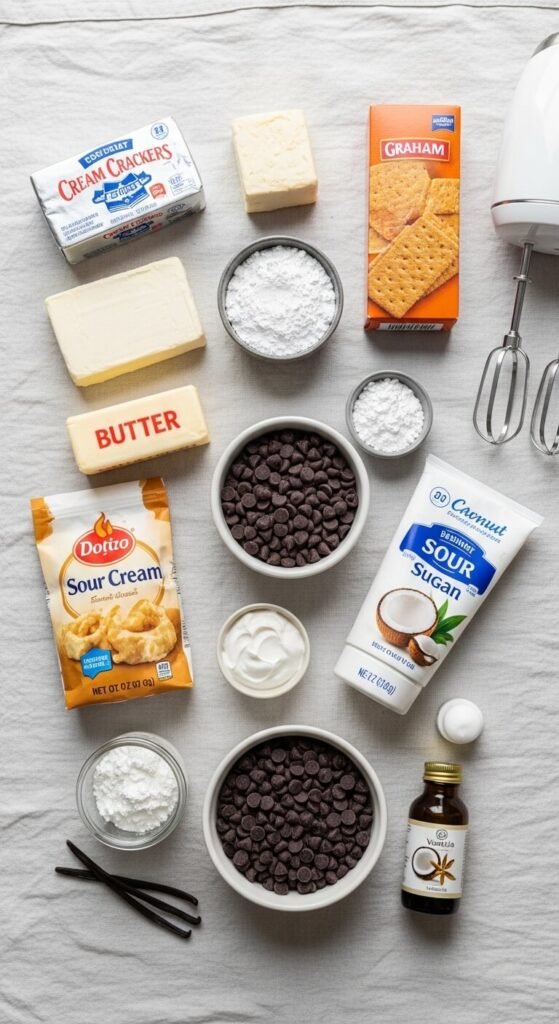
What You’ll Need
For the graham cracker base:
- 1 cup graham cracker crumbs (about 8 full crackers, crushed fine)
- 3 tablespoons unsalted butter, melted
- 1 tablespoon sugar
- Pinch of sea salt
For the cheesecake filling:
- 16 oz (2 blocks) full-fat cream cheese, softened to room temperature
- ½ cup powdered sugar
- 1 teaspoon vanilla extract
- 2 tablespoons sour cream or full-fat Greek yogurt (adds that classic cheesecake tang)
- Pinch of sea salt
For the chocolate coating (optional but highly recommended):
- 1½ cups dark or milk chocolate chips
- 1 tablespoon coconut oil
Topping ideas:
- Crushed graham crackers
- Flaky sea salt
- Freeze-dried strawberry powder
- Mini chocolate chips
- Crushed Oreos or shortbread
Step 1: Make the Graham Cracker Base
This little layer at the bottom of each bite is what transforms them from a cheesecake truffle into a proper, structured cheesecake experience.
- Combine the graham cracker crumbs, melted butter, sugar, and sea salt in a bowl and mix until the texture resembles damp sand.
- Line a standard 24-cup mini muffin tin with small paper liners.
- Add about 1 teaspoon of crust mixture to the bottom of each cup.
- Press it down firmly using the back of a small spoon or the bottom of a shot glass.
- Freeze for 10 minutes while you prepare the filling.
The crust doesn’t need to be thick — just enough to create that satisfying base layer in every bite.
Step 2: Make the Cheesecake Filling
Room temperature cream cheese is everything here. Cold cream cheese will not beat smooth — you’ll end up with lumps that freeze into unpleasant little pockets. Take it out of the fridge at least an hour before you start.
- Beat the softened cream cheese with a hand mixer or stand mixer on medium speed until completely smooth — about 2 minutes.
- Add the powdered sugar, vanilla extract, sour cream, and sea salt.
- Beat again until the mixture is silky, fluffy, and fully combined — about another 2 minutes.
- Taste it. Adjust vanilla or sweetness if needed.
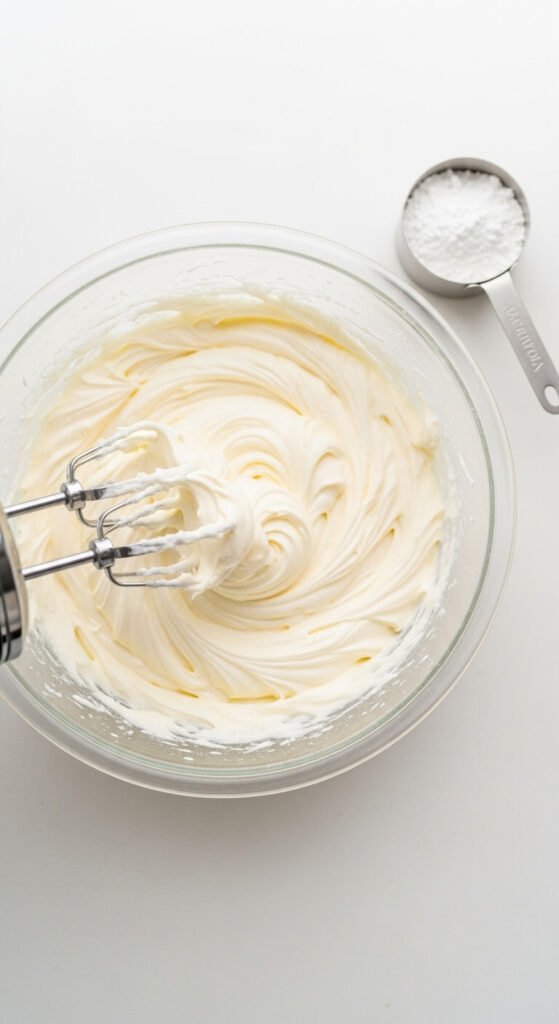
The filling should be thick enough to scoop but light enough to feel airy. If it seems too loose, refrigerate for 15 minutes before using.
Step 3: Fill and Freeze
- Spoon or pipe the cheesecake filling into each muffin cup over the chilled crust, filling them almost to the top.
- Smooth the tops with the back of a spoon or an offset spatula for a neat, flat surface.
- If you want a swirl of flavour inside, press a small dollop of strawberry jam, lemon curd, or caramel into the center of each cup before smoothing the top over it.
- Freeze for a minimum of 3–4 hours, or overnight for the cleanest unmoulding and firmest texture.
Once frozen solid, pop each bite out of the muffin tin and peel away the paper liner. They should release cleanly and hold their shape perfectly.
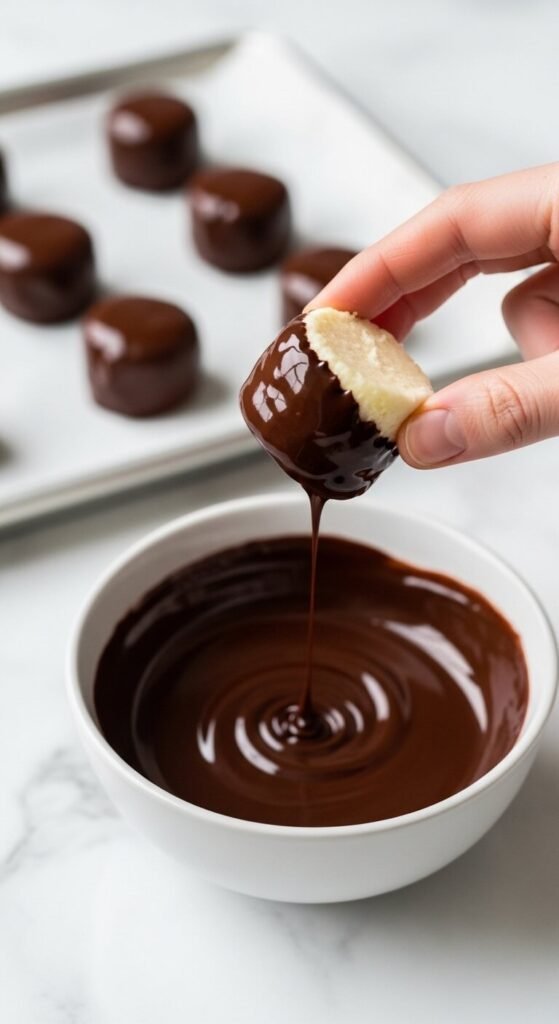
Step 4: Dip in Chocolate (The Upgrade Move)
Completely optional. Absolutely worth it.
- Melt the chocolate chips and coconut oil together in 30-second microwave bursts, stirring between each, until smooth and glossy.
- Let the melted chocolate cool for 2–3 minutes — you want it fluid but not hot enough to melt your frozen bites.
- Working quickly, dip the bottom half of each frozen cheesecake bite into the chocolate and let the excess drip off.
- Place it chocolate-side down on a parchment-lined tray.
- Immediately sprinkle your chosen topping — crushed graham crackers, flaky salt, freeze-dried berries — before the chocolate sets.
Return the tray to the freezer for another 20–30 minutes until the chocolate coating is completely set and firm.
Flavour Variations to Try
The base recipe is a perfect blank slate. Here’s where things get really fun:
- Strawberry Cheesecake Bites — swirl strawberry jam into the filling and dip in white chocolate for a classic combination.
- Lemon Cheesecake Bites — add 1 tablespoon of fresh lemon zest and a squeeze of lemon juice to the filling. Bright, tangy, and irresistible.
- Cookies and Cream Bites — crush Oreos into the base and fold extra crushed Oreo pieces into the filling before freezing.
- Salted Caramel Bites — press a small cube of store-bought caramel into the center of each bite before freezing, then finish with flaky sea salt on top of the chocolate coating.
- Peanut Butter Chocolate Bites — swirl 1 tablespoon of peanut butter into the cheesecake filling and coat in dark chocolate for a Reese’s-inspired moment.
Tips for Perfect Frozen Bites Every Time
- Fully softened cream cheese is non-negotiable — it’s the single most important factor in a smooth, lump-free filling.
- Work with frozen bites only when chocolate dipping — even slightly thawed bites will lose their shape in the warm chocolate.
- Store in a zip-lock bag or airtight container in the freezer with parchment between layers to prevent sticking.
- Let them sit for 3–5 minutes before eating — just enough time to take the deep freeze edge off and let the creaminess come through.
- A mini muffin tin is ideal — the standard 24-cup size creates the perfect two-bite portion. Silicone muffin pans make unmoulding even easier if you have one.
The Smartest Dessert in Your Freezer
Frozen Cheesecake Bites solve the age-old dessert dilemma: you want something rich and satisfying, but you don’t want to commit to an entire slice. These little bites give you all the creamy, tangy, buttery cheesecake satisfaction in a perfectly sized package — frozen, ready, and waiting every time the craving hits.
Make a batch, stock your freezer, and enjoy the very specific pleasure of knowing that dessert is always exactly two minutes away.
Save this recipe for later, share it with a fellow cheesecake lover, and fill your freezer this weekend — one bite at a time. 🍓🍫✨