An ice cream maker is a wonderful appliance that lives in approximately 8 percent of home kitchens and gets used approximately twice a year by the people who own one. If you’re in the other 92 percent — or if you’re in the 8 percent and yours is buried behind the bread machine and the fondue set — this is the article that makes the machine irrelevant. Genuinely creamy, scoopable, professional-quality frozen desserts are entirely achievable without a single piece of specialized equipment. What they require instead is an understanding of what an ice cream maker actually does — and how to replicate that result with tools you already own.
The short version: an ice cream maker churns the mixture while it freezes to break up ice crystals and incorporate air. Remove either of those two functions and you get grainy, icy frozen dessert instead of creamy. The methods below address both problems without requiring a single specialized appliance.

Method 1 — No-Churn Ice Cream (The Foolproof Classic)
This is the method that changed home frozen dessert making permanently when it became widely known. Two base ingredients. No machine. Genuinely creamy results that are indistinguishable from churned ice cream to most people eating it.
The base formula:
- 2 cups heavy whipping cream, cold
- 1 can (14 oz) sweetened condensed milk
- 1 teaspoon pure vanilla extract
- Pinch of salt
Why it works: Sweetened condensed milk is thick enough to stay soft at freezer temperatures — its sugar content lowers the freezing point of the mixture, preventing the hard, icy texture that plagues most homemade frozen desserts. The whipped heavy cream incorporates air into the base, replicating what a churning machine does mechanically.
The method:
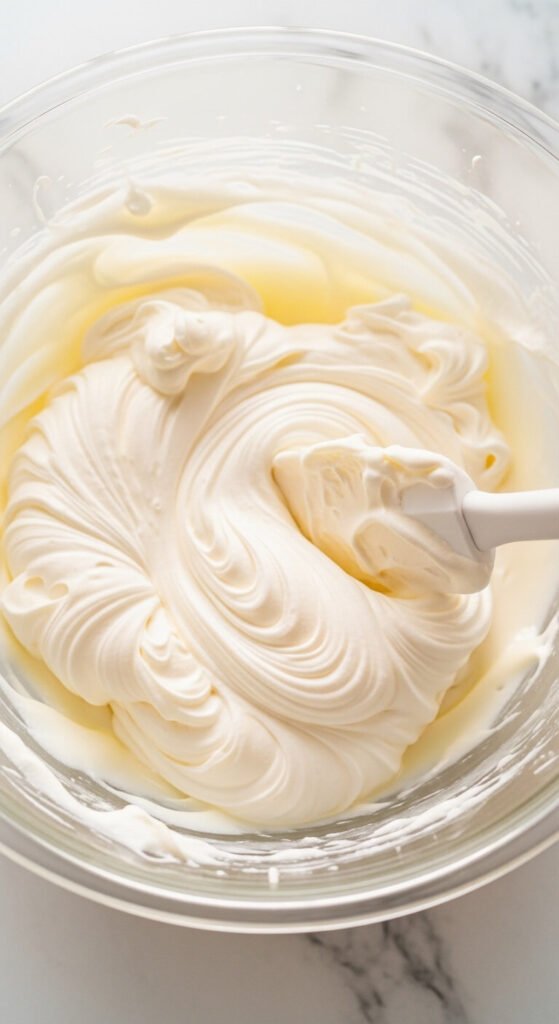
- Whip the cold heavy cream to firm peaks using a stand mixer or hand mixer
- Pour the sweetened condensed milk, vanilla, and salt into a separate large bowl
- Fold the whipped cream into the condensed milk in three additions — gently, preserving as much air as possible
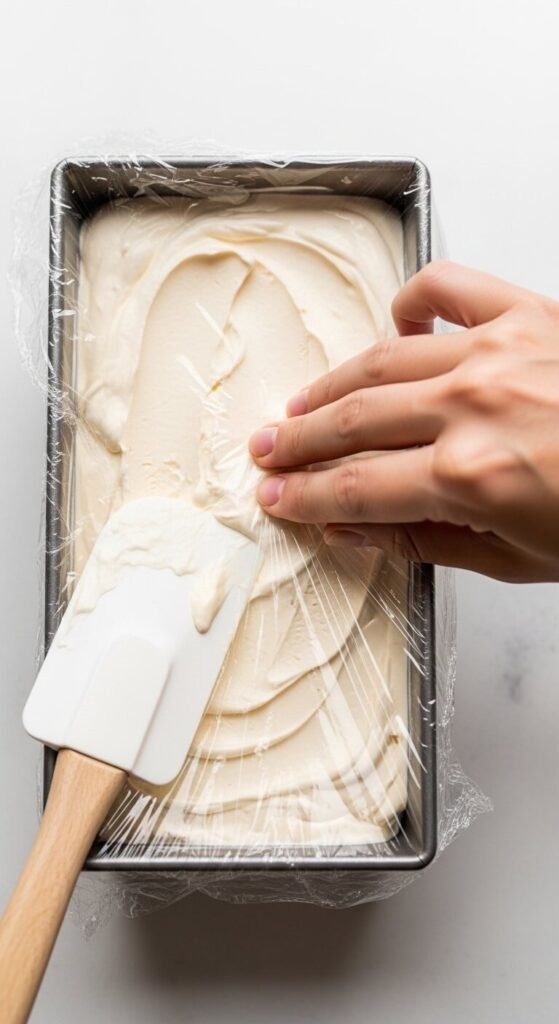
- Pour into a freezer-safe container, smooth the top flat, and press plastic wrap directly against the surface
- Freeze for a minimum of 6 hours — overnight is better
Flavor variations that work perfectly with this base:
- Chocolate: Whisk ⅓ cup Dutch-process cocoa powder into the condensed milk before folding in the cream
- Strawberry: Fold in ½ cup of mashed fresh strawberries with 1 tablespoon of sugar after combining the base
- Coffee: Dissolve 2 teaspoons of instant espresso powder in 1 tablespoon of warm water and add to the condensed milk
- Cookies and cream: Fold in 1 cup of crushed Oreos at the end before freezing
Method 2 — Frozen Banana Ice Cream (One Ingredient)
This one genuinely sounds implausible until you try it. One ingredient. No cream. No sugar. No condensed milk. Just frozen bananas processed in a blender or food processor — and the result is a soft-serve texture that is creamy, sweet, and scoopable in a way that seems to defy the laws of dairy-free dessert making.
What you need: 3 to 4 ripe bananas — the riper the better. Black-spotted bananas produce the sweetest, creamiest result.
The method:
- Peel and slice bananas into ½-inch rounds
- Freeze in a single layer on a parchment-lined tray for at least 2 hours
- Transfer frozen pieces to a food processor or high-powered blender
- Process, stopping to scrape down the sides every 30 seconds, until completely smooth and creamy — this takes 3 to 5 minutes total and goes through an alarming-looking crumbly stage before it suddenly turns silky
- Eat immediately as soft-serve or freeze for 1 hour for a scoopable consistency
Add 2 tablespoons of peanut butter, a handful of frozen berries, or 1 tablespoon of cocoa powder during processing for instant flavor variations.
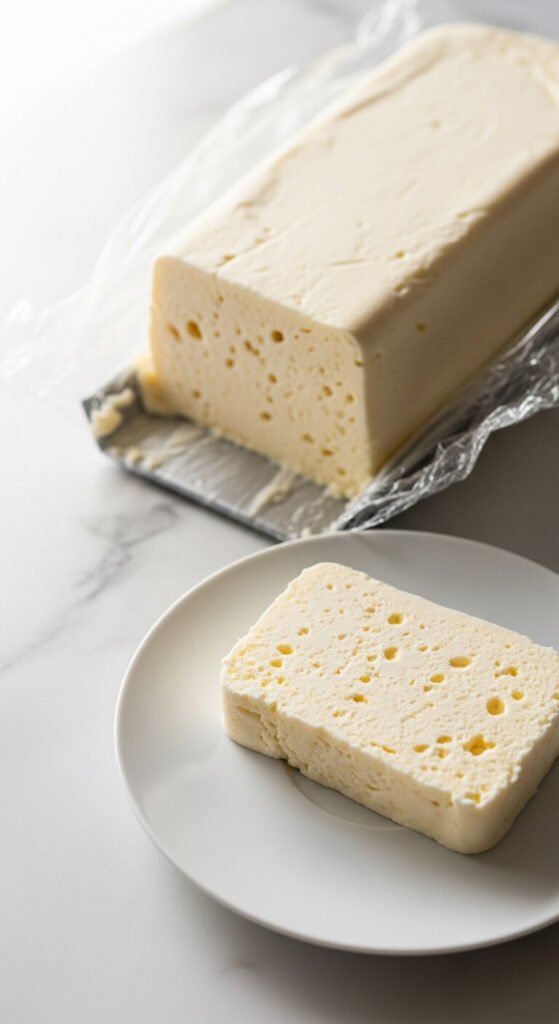
Method 3 — Semifreddo (The Italian Solution)
Semifreddo — literally “half cold” — is Italy’s answer to ice cream without a machine, and it has been producing spectacular results in home kitchens for centuries before electric churners existed. The texture sits between mousse and ice cream: lighter than ice cream, denser than frozen whipped cream, and absolutely extraordinary when made correctly.
Base ingredients:
- 4 large eggs, separated
- ½ cup granulated sugar, divided
- 1½ cups heavy whipping cream
- 1 teaspoon vanilla extract
- Pinch of salt
The method:
- Beat egg yolks with ¼ cup sugar until pale, thick, and ribbon-like — about 3 minutes
- Beat egg whites with a pinch of salt to soft peaks, then add remaining ¼ cup sugar and beat to firm peaks
- Whip the heavy cream to firm peaks separately
- Fold whipped cream into the yolk mixture first, then fold in the egg whites in two additions
- Pour into a loaf pan lined with plastic wrap, fold the wrap over the surface, and freeze for 6 hours minimum
The multiple aerated components — whipped yolks, whipped whites, whipped cream — create so many air bubbles that ice crystals simply can’t dominate the texture. The result slices cleanly and melts on the tongue like the best gelato you’ve ever had.
The Texture Problem — and How to Fix It
Every no-machine method has one potential enemy: large ice crystals that form during the slow home-freezer process and make the texture gritty rather than smooth.
Prevention strategies:
- Use alcohol sparingly — 1 to 2 tablespoons of vodka or liqueur added to any base lowers the freezing point without affecting flavor, keeping the texture softer
- Add a tablespoon of cream cheese to no-churn bases — it acts as an emulsifier and produces a noticeably smoother scoop
- Store in a shallow, wide container rather than a deep one — shallower depth means more even freezing with fewer large crystal formations
- Press plastic wrap directly against the surface always — exposed frozen dessert develops coarse ice crystals on the contact surface within hours
Save This — Your Freezer Just Became a Dessert Station
An ice cream maker is a luxury. Creamy, genuinely satisfying frozen desserts are not — they’re a can of condensed milk, some heavy cream, and a freezer away from existing in your life on a weekly basis.
Save this article to your dessert collection or pin it for the next hot afternoon when you want something cold and homemade without a machine in sight. Then make a batch tonight — it’ll be ready by tomorrow.