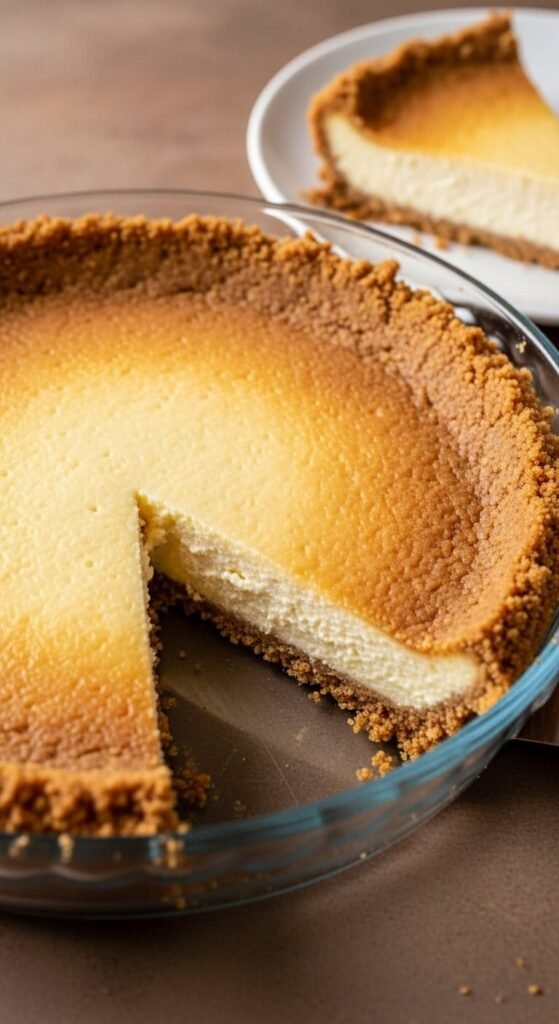
There are few things more disappointing in no-bake dessert making than lifting a slice of cheesecake from the dish only to watch the entire crust crumble off the base and scatter across the plate. The slice is beautiful. The filling is perfect. And the crust — the one part that should anchor everything together — has decided to opt out. A graham cracker crust that crumbles is almost always the result of one of three problems: not enough butter, crumbs that are too coarsely crushed, or not enough pressing pressure during assembly. All three are completely preventable once you know exactly what to do at each stage.
Here is everything you need to know to make a graham cracker crust that stays intact — from the first scoop to the last slice.
The Right Ratio: Crumbs, Butter, and Sugar
The ratio of crumbs to butter is the foundation of a crust that holds. Too little butter and the crumbs do not bind. Too much butter and the crust becomes greasy and dense rather than crisp and compact.
The ratio that works every time:
- 1½ cups graham cracker crumbs (approximately 12 full graham cracker sheets)
- 6 tablespoons unsalted butter, melted
- 3 tablespoons granulated sugar
This makes enough crust for a standard 9-inch pie dish or a 9-inch springform pan. For a deeper crust or a larger pan, increase everything by 25%.
How to know if the ratio is right:
After mixing, grab a small handful and squeeze it in your fist. It should hold together and keep the shape of your fist when you open your hand. If it crumbles apart, add one more tablespoon of melted butter and test again. If it feels wet or greasy, you have added too much — add two tablespoons of extra graham cracker crumbs to absorb the excess.
Crush the Crumbs Fine — Not Chunky
The fineness of the crumbs matters more than most recipes acknowledge. Large cracker pieces create a crust with structural gaps — the butter cannot reach every surface and the crumbs do not lock together properly.
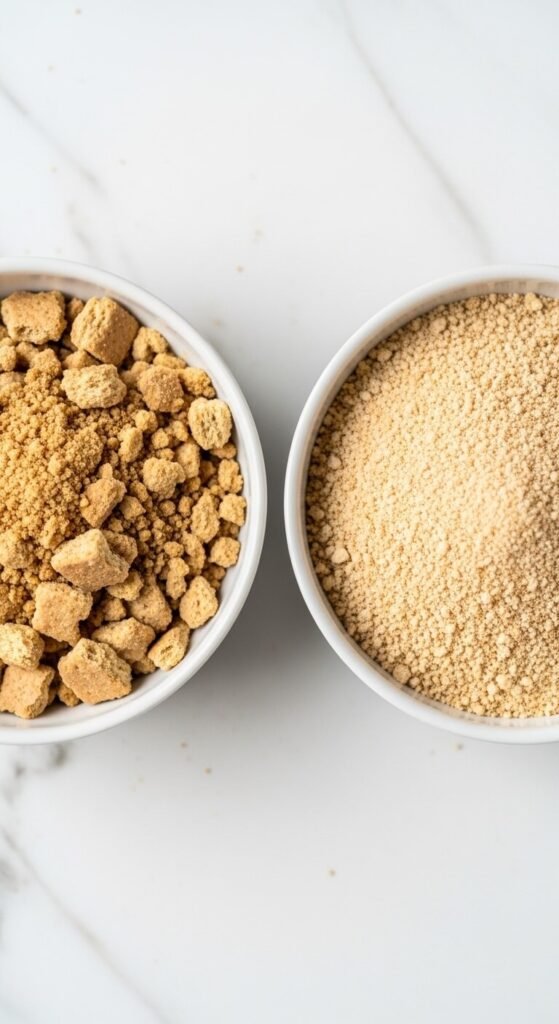
The best methods for fine crumbs:
- Food processor: The fastest and most consistent method. Pulse until the crumbs are uniformly fine with no visible cracker pieces remaining. Twelve full graham cracker sheets take approximately 30 seconds.
- Zip-lock bag and rolling pin: Place crackers in a sealed bag, press out the air, and roll firmly with a rolling pin. Work in sections and check for large pieces. This takes about 3 minutes and produces slightly less uniform results — but still works well if the large pieces are crushed out fully.
Pre-made graham cracker crumbs from a box are a completely valid shortcut and produce consistent results — the crumbs are already finely and uniformly ground.
The crumbs should feel almost like coarse sand — not fluffy, not chunky, not dusty. When you rub them between your fingers they should stick slightly to your fingertips from the natural oil in the cracker.
Press Hard — Much Harder Than You Think
This is the step where most home bakers underperform — and it is the single biggest reason crusts fall apart.
Pressing firmly compacts the crumb mixture so the butter bonds each particle to its neighbors. Light pressing leaves gaps between the crumbs. When the filling’s weight sits on a loosely pressed crust, those gaps collapse and the crust crumbles at the first slice.
The correct pressing technique:
- Pour the crumb mixture into the dish and distribute roughly with your fingers
- Use the flat bottom of a measuring cup to press the base — push down with firm, consistent pressure, overlapping each press so no area is missed
- Use a straight-sided glass to press up the sides — push outward against the pan wall and upward in a continuous motion
- Press the base a second time after the sides are done — the side-pressing often loosens the base crumbs
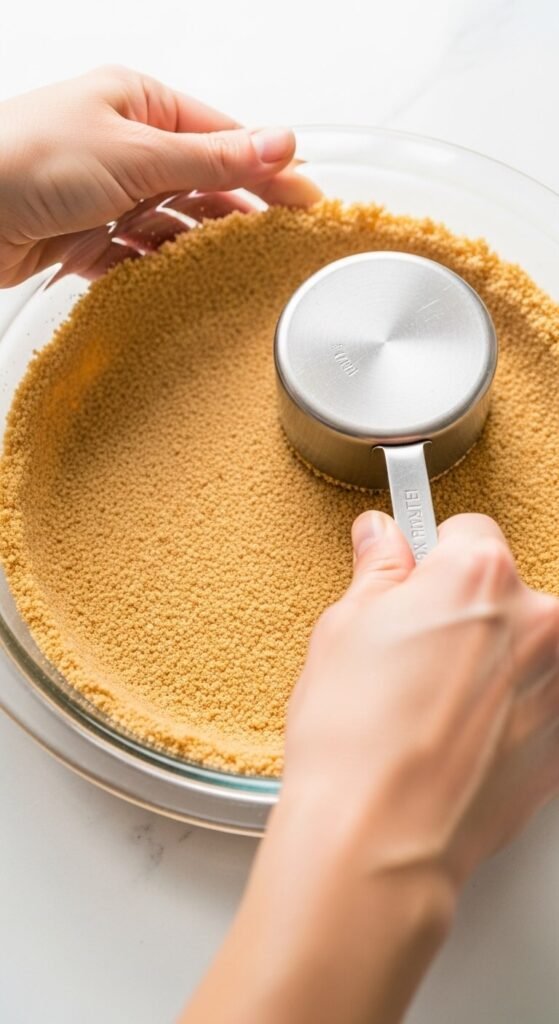
The crust should feel dense and solid after pressing — tap it lightly with your fingertip and it should not move or indent. If it feels loose, press again with more force.
Chill Before Filling — Every Time
For a no-bake cheesecake or pie, the crust must be chilled before the filling goes in. This step is non-negotiable.
Why chilling matters:
- The butter re-solidifies during chilling, acting as the glue that locks every crumb in place
- A warm or room-temperature crust softens when filling is poured in and cannot support the filling’s weight
- A chilled crust holds its shape cleanly when the filling is added and remains structurally intact through the full chilling period
Chill time: Minimum 30 minutes in the refrigerator. One hour is better.
If you are in a hurry, 15 minutes in the freezer produces the same result as 30 minutes in the fridge — the butter sets faster at lower temperature.
Getting Clean Slices Every Time
Even a perfectly made crust can crumble at the slicing stage if the technique is wrong.
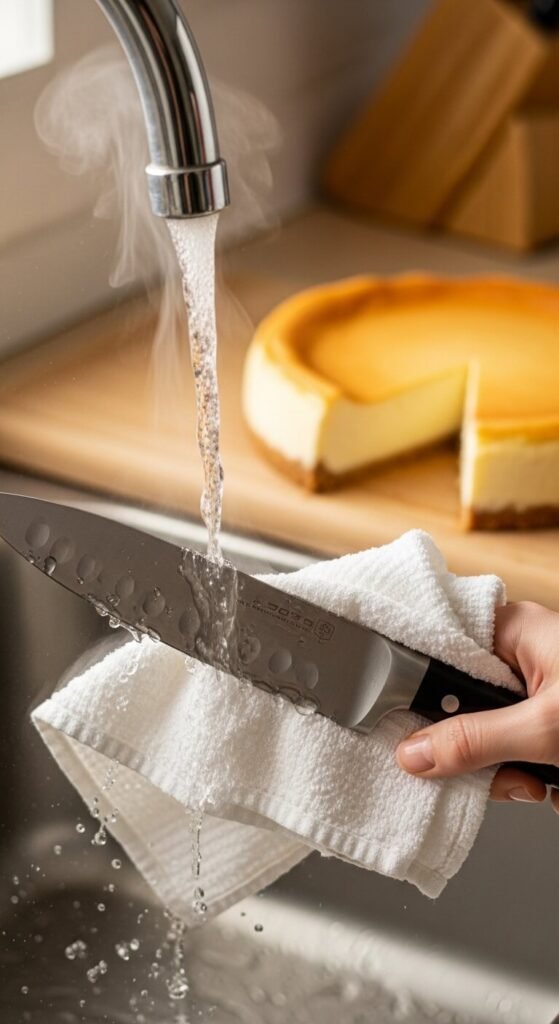
The slicing method for an intact crust:
- Run a thin, sharp knife under hot water and wipe it completely dry before each cut — the warm blade glides through the cold filling without dragging, which means no pulling force on the crust
- Use a single downward press rather than a sawing motion — sawing disrupts the crust laterally
- Wipe the blade clean between every cut
- For cheesecake in a springform pan, run the knife around the inside edge of the ring before releasing the latch — this frees any crust that has bonded to the pan sides
Four Rules That Guarantee a Perfect Crust
A graham cracker crust that never crumbles comes down to four commitments:
- The right ratio — 1½ cups crumbs to 6 tablespoons butter
- Fine, uniform crumbs — no chunks, no pieces
- Firm pressing — more pressure than feels necessary
- A full chill before filling
Follow all four and the crust will hold through slicing, plating, and the fork cutting through to the first bite — exactly the way it should.
Save this and pin it as your forever crust reference — because a cheesecake deserves a base that stays together all the way to the last slice.