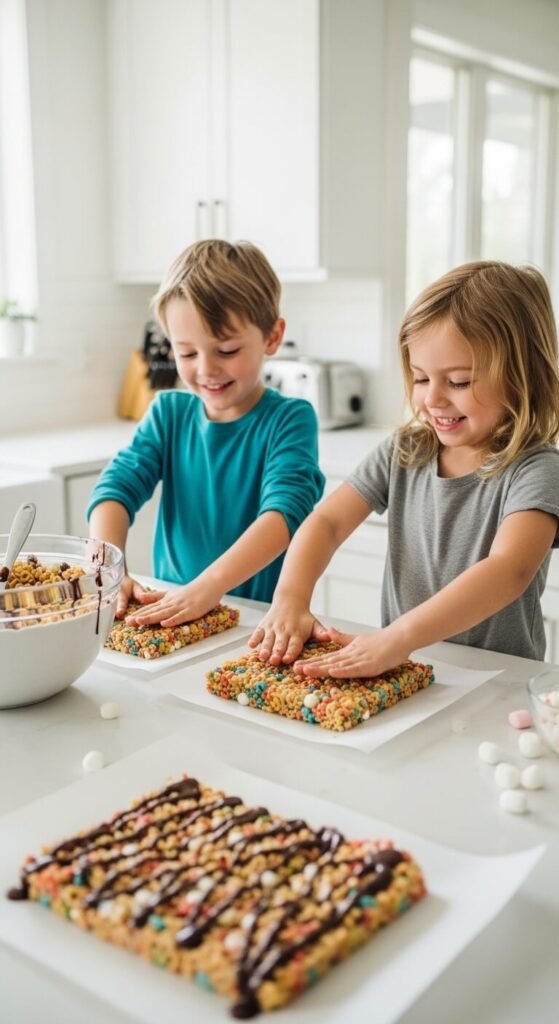
Some of the best kitchen memories aren’t about the food — they’re about the sticky hands, the proud smiles, and the moment a child holds up something they made themselves and says I did that. No-bake cereal bars are the perfect recipe for exactly that moment. No hot oven, no sharp knives, no complicated steps that require adult hands. Just a warm stovetop mixture, a bowl of cereal, a pan to press it into, and a kitchen full of kids who are genuinely, enthusiastically useful. These bars come together in under 20 minutes, taste like a proper treat, and create the kind of cooking experience kids ask to repeat on the very next rainy afternoon.
Why Cereal Bars Are the Perfect Kid Kitchen Project
Not every recipe welcomes small hands and short attention spans. Cereal bars do — and here’s why they work so well as a family cooking activity:
- The steps are distinct and manageable — measuring, pouring, stirring, pressing. Each step is short, tangible, and satisfying to complete.
- The timeline moves fast — kids can see results quickly, which keeps engagement high from start to finish
- Mistakes are forgiving — a little extra cereal, uneven pressing, a lopsided chocolate drizzle — none of it matters. The bars taste great regardless.
- Everyone has a job — one child can measure, one can pour, one can stir, one can press. Even very young children can help press the mixture into the pan.
- The payoff is immediate — “we made that” tastes completely different from “someone made that for us,” at any age
The Classic Recipe — Marshmallow Cereal Bars
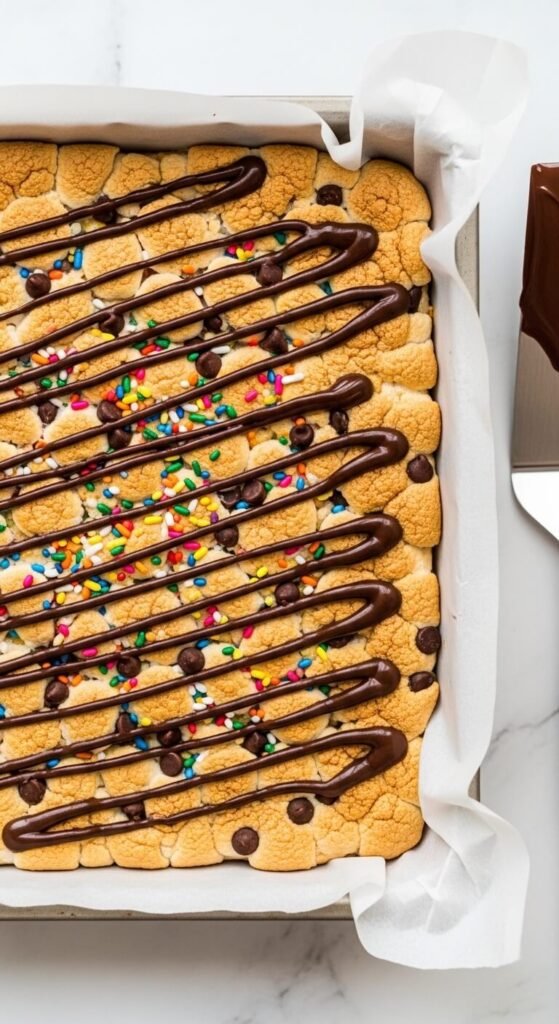
This is the foundation recipe — familiar, beloved, and endlessly adaptable. The classic Rice Krispie treat format, taken up a notch with a chocolate drizzle and a few mix-in options that make it feel a little more special than the original.
What you need (makes 16 bars):
- 6 cups (170g) crispy rice cereal — or any puffed cereal your kids love
- 4 cups (200g) mini marshmallows — plus a handful for the top if you like
- 3 tablespoons (45g) unsalted butter
- ½ teaspoon vanilla extract
- Pinch of salt
- Optional mix-ins: ½ cup of rainbow sprinkles, mini chocolate chips, dried cranberries, or crushed graham crackers stirred in at the end
- For drizzling: ½ cup melted chocolate chips (dark or milk, whichever your kids prefer)
How to make them:
- Line a 9×13 inch (23×33cm) baking pan with parchment paper, leaving overhang on the sides for easy lifting
- Melt butter in a large saucepan over low heat
- Add marshmallows and stir constantly until completely melted and smooth — about 3–4 minutes. Remove from heat immediately once melted.
- Stir in vanilla and salt
- Working quickly, add the cereal and any mix-ins, stirring until every piece is coated
- Pour into the prepared pan and press firmly into an even layer — damp hands or a piece of parchment on top makes this easier
- Drizzle with melted chocolate if using, and add extra sprinkles on top
- Let cool completely before cutting — about 30 minutes at room temperature, or 15 minutes in the fridge
Kid Jobs by Age — Everyone Gets to Help
One of the best things about this recipe is that it scales down the complexity perfectly by age. Assign jobs deliberately so every child feels genuinely involved.
Ages 2–4:
- Pour pre-measured ingredients into the bowl
- Stir the cereal mixture with a large wooden spoon
- Press the mixture into the pan with their hands (the most beloved job)
- Scatter sprinkles or chocolate chips on top
Ages 5–8:
- Measure the cereal and marshmallows
- Stir the marshmallow mixture on the stovetop (with close adult supervision)
- Press the bars evenly and firmly into the pan
- Drizzle the melted chocolate using a spoon or zip-lock bag with the corner snipped
Ages 9 and up:
- Handle the full stovetop step with light supervision
- Melt chocolate in the microwave independently
- Cut the bars once fully set, with a grown-up present
- Experiment with flavor variations and mix-in combinations
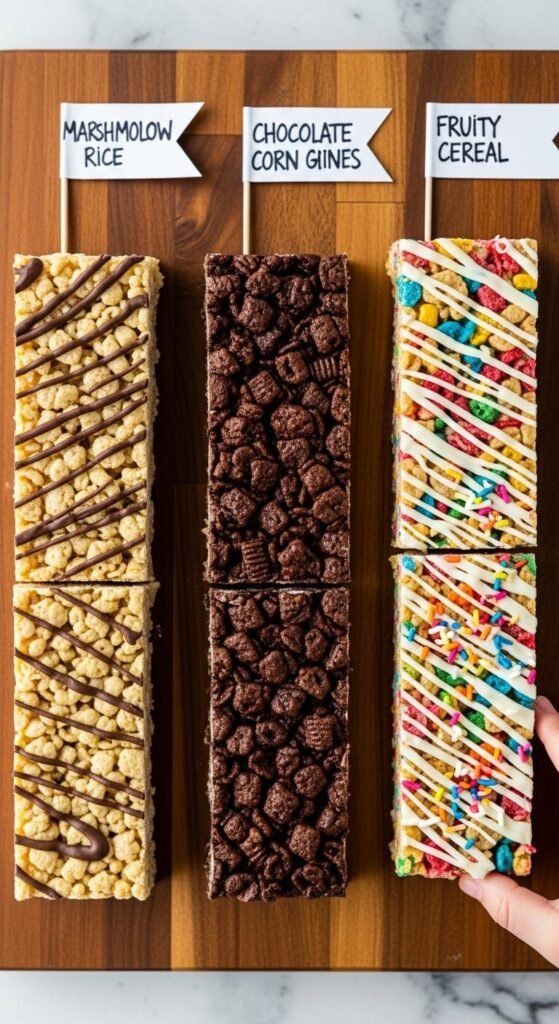
Three Variations Worth Making Together
Once kids know the base recipe, giving them creative input on the next batch is half the fun. Here are three variations that work beautifully and feel special enough to be exciting:
Peanut Butter Honey Bars Swap the butter for 3 tablespoons of peanut butter and replace the marshmallows with ⅓ cup honey heated until pourable. Add 1 cup of rolled oats to the cereal for extra chew. Press firmly and chill before cutting. Rich, nutty, and held together with natural sweetness.
Chocolate Corn Flake Clusters Melt 2 cups of chocolate chips with 1 tablespoon of coconut oil. Stir in 3 cups of corn flakes until coated. Drop spoonfuls onto parchment instead of pressing into a pan — these set as individual clusters rather than bars, which kids find even more satisfying to make and eat. Sprinkle with sea salt or sprinkles before the chocolate sets.
Rainbow Fruity Cereal Bars Use a brightly colored fruit-flavored cereal instead of plain rice cereal and add ½ cup of mini marshmallows left whole in the mixture after pressing so they’re visible in the finished bar. Drizzle with white chocolate and top with rainbow sprinkles. Visually stunning and wildly popular with the under-10 crowd.
Tips for a Stress-Free Kitchen Session
A few small preparations that make the cooking session genuinely enjoyable rather than chaotic:
- Pre-measure everything before the kids arrive at the counter — knowing every ingredient is ready reduces mid-recipe scrambling dramatically
- Line the pan in advance — one less step when the sticky mixture is in the bowl and timing matters
- Have damp cloths ready — sticky hands are inevitable and celebrated, but having a clean-up solution nearby keeps frustration low
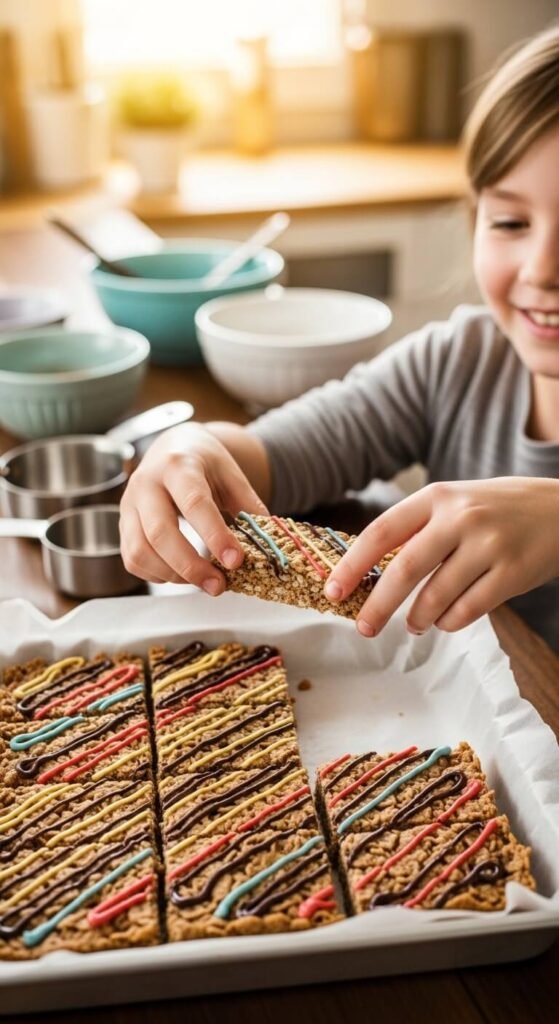
- Embrace imperfection loudly — if a child’s pressing is uneven or the chocolate drizzle goes sideways, respond with enthusiasm. The bar still tastes incredible and the child will remember making it long after the shape is forgotten.
- Cut bars while kids watch — the reveal of a clean cross-section, the first bar lifted from the pan, is a genuinely exciting moment. Let them see it.
The Takeaway
No-bake cereal bars aren’t just a snack recipe — they’re a kitchen experience that builds confidence, creates memories, and produces something genuinely delicious in under half an hour. The bars are great. The making of them together is better.
Save this recipe for the next rainy afternoon, school holiday, or weekend morning when you want an activity that ends with something worth eating — and a kitchen full of kids who are already asking when they can make the next batch. 🌈🍫✨