The filling is everything in a no-bake cheesecake. The crust is just a platform. The topping is optional decoration. But the filling — that thick, silky, lightly tangy cream that holds its shape when sliced while still melting on the tongue — is the reason people request cheesecake for their birthday instead of cake. Getting it right is not difficult, but it is specific. No-bake cheesecake filling that is genuinely ultra creamy rather than dense, grainy, or soft in the center comes down to four decisions: the fat content of your ingredients, the temperature of the cream cheese before you start, the order you mix everything, and how long the finished cheesecake rests in the fridge. Get those four things right and the filling takes care of itself.
Here is the complete guide to the creamiest no-bake cheesecake filling possible.
Start with the Right Ingredients at the Right Temperature
This is the step where most no-bake cheesecake fillings fail before they even begin.
The ingredients:
- 16 oz (2 blocks) full-fat cream cheese — full-fat only. Low-fat cream cheese contains more water and less fat, producing a filling that is thinner, less flavorful, and significantly harder to set firmly. Philadelphia Original is the most reliable brand for consistent results.
- 1 cup powdered sugar, sifted — not granulated sugar. Granulated sugar does not dissolve fully into cream cheese and leaves a slightly gritty texture. Sifting the powdered sugar prevents lumps.
- 1 cup heavy whipping cream — the highest fat content available, at least 36% fat. This is what gets whipped to stiff peaks and folded in for the airy, creamy texture.
- 1 teaspoon pure vanilla extract
- 2 tablespoons fresh lemon juice — the acid brightens the filling and amplifies the classic cheesecake tang that makes it taste genuinely rich rather than sweet-heavy.
The temperature rule:
The cream cheese must be fully at room temperature before you begin. Not slightly softened. Fully at room temperature — which means leaving it on the counter for at least one hour in a warm kitchen, or 90 minutes in a cooler one.
Cold cream cheese does not beat smooth. It stays in small lumps that no amount of mixing eliminates. Those lumps produce a grainy, uneven filling that ruins the texture regardless of how good everything else is.
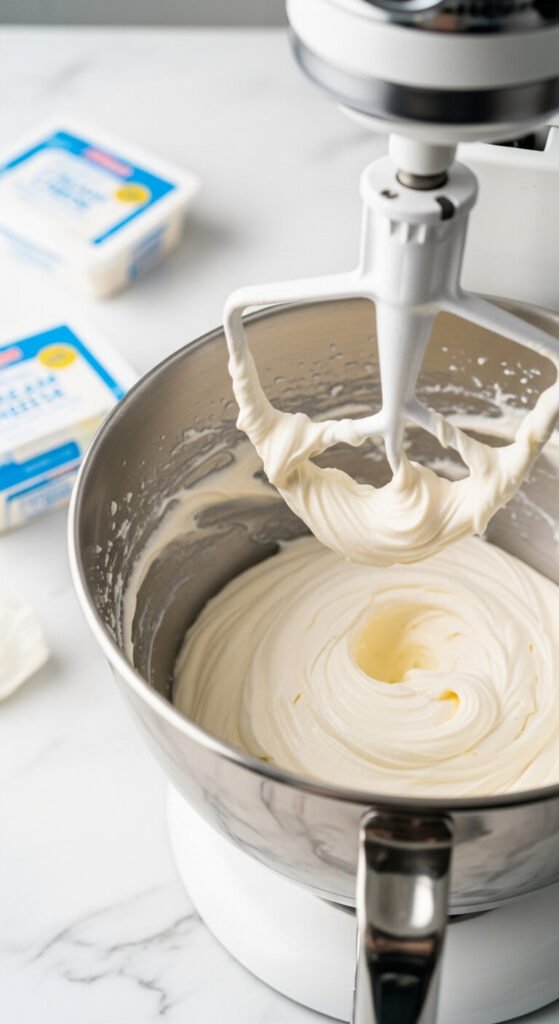
Beat the Cream Cheese Separately First
This is the step that makes the difference between a smooth filling and a lumpy one — and most recipes skip it.
Before adding anything else:
- Beat the room-temperature cream cheese on medium-high speed for two full minutes until it is completely smooth, fluffy, and slightly increased in volume
- Scrape down the bowl sides and beat for 30 more seconds — the sides always hide unbeaten cream cheese
- Only add the powdered sugar and lemon juice once the cream cheese is completely smooth
Why this matters: Adding sugar or liquid to lumpy cream cheese locks those lumps in permanently. Once you add moisture, the lumps bind and no further mixing will break them down. Beat the cream cheese smooth first — every time, without exception.
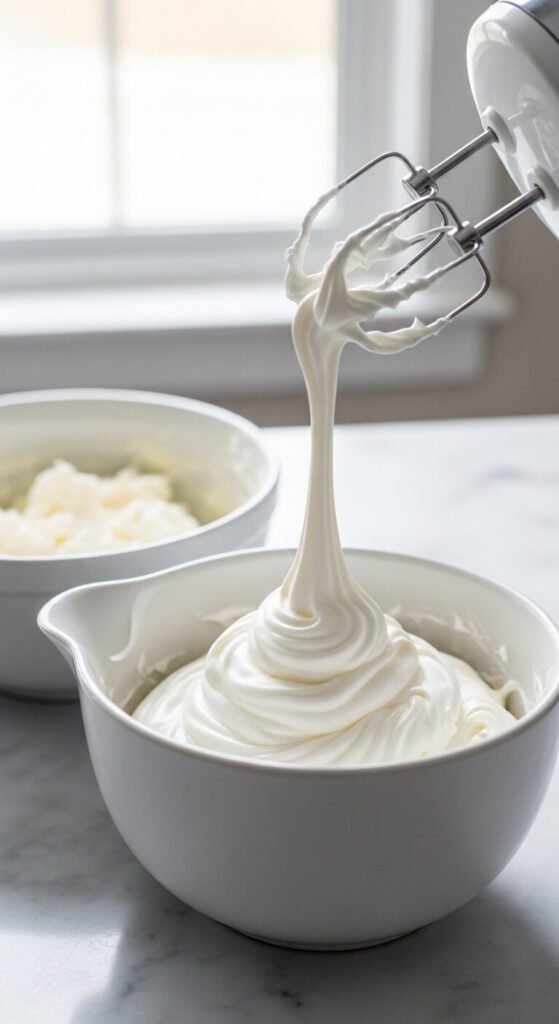
Whip the Cream Separately to Stiff Peaks
The heavy cream is what creates the light, airy texture in the finished filling — but only if it is whipped properly before folding in.
How to whip cream to stiff peaks:
- Use a cold bowl and cold beaters — put both in the freezer for ten minutes before whipping. Cold equipment keeps the fat in the cream from warming too quickly.
- Start on medium speed, then increase to high once the cream begins to thicken
- Stop when the cream holds firm peaks that do not droop when the beater is lifted — this is stiff peaks
- Do not over-whip — cream that has gone past stiff peaks turns grainy and buttery and cannot be salvaged
Fold, Don’t Mix
This is the step that preserves all the air you just whipped into the cream.
Add the whipped cream to the cream cheese mixture in two additions:
- Add the first half and fold with a large rubber spatula — cutting down through the center, sweeping along the bottom, and folding up over the top in a continuous motion
- Add the second half and fold until just combined — a few faint white streaks are fine and will disappear in the fridge
Do not use the electric mixer for this step. The mixer deflates the cream immediately and produces a dense, heavy filling rather than the light, airy texture that makes an ultra-creamy no-bake cheesecake genuinely exceptional.
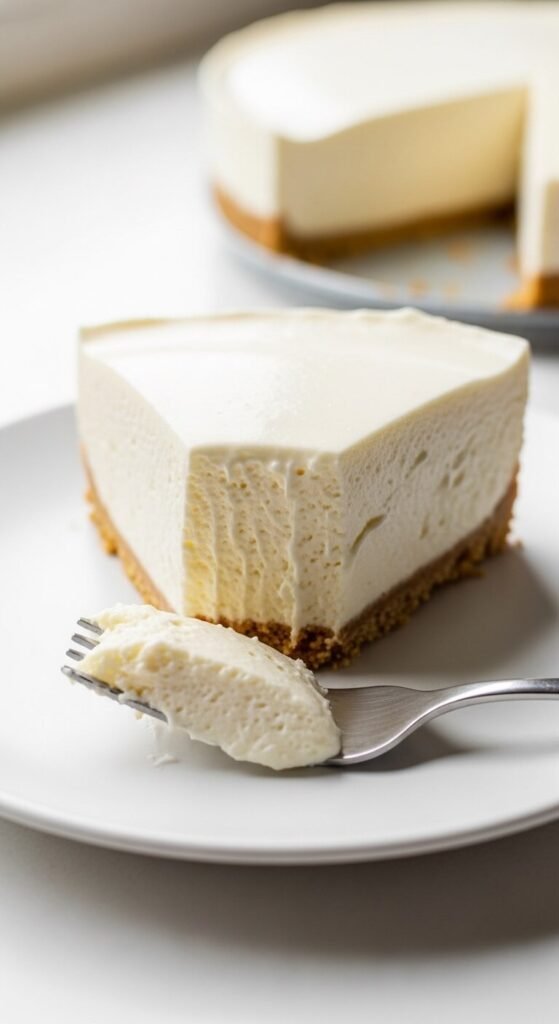
The finished filling should be:
- Thick enough to hold a peak when the spatula is lifted
- Smooth with a slight, gentle sheen
- Light enough to feel almost mousse-like when tasted
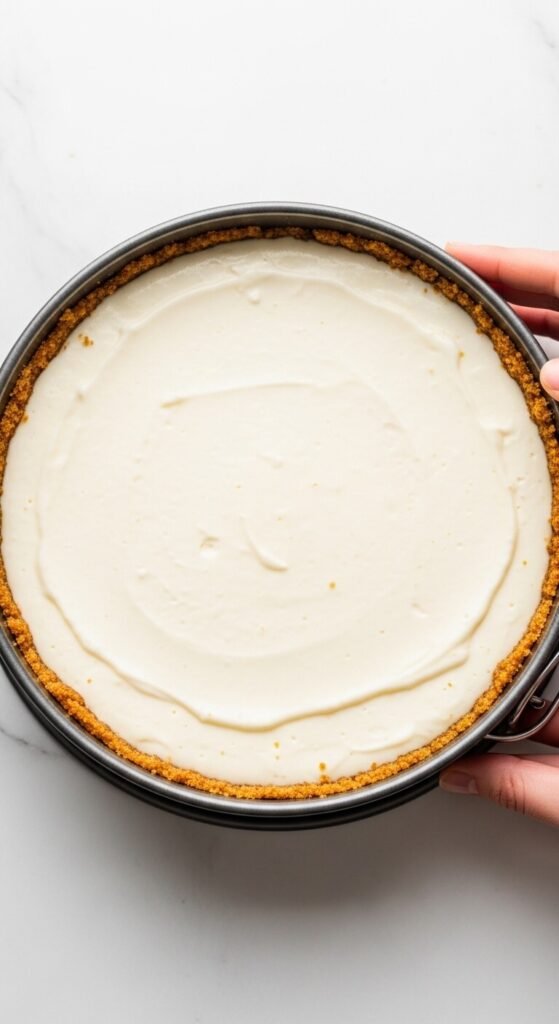
Fill, Chill, and Wait
Pour the finished filling into your prepared crust and smooth the surface with an offset spatula.
Refrigerate for a minimum of six hours. Overnight is better.
The fridge time is not just for the filling to firm up — it is for the flavor to develop fully. A cheesecake pulled at four hours will taste good. The same cheesecake at twelve hours will taste significantly richer, more complex, and more genuinely cheesecake-like.
Cover loosely with plastic wrap — do not press the wrap directly onto the surface or it will leave marks — and place the cheesecake on a flat shelf in the coldest part of the fridge.
Do not freeze — freezing converts the cream and cream cheese to an icy, grainy texture that does not recover when thawed.
The Cheesecake Your People Will Request Every Time
Ultra-creamy no-bake cheesecake filling is not about a complex technique. It is about four commitments: full-fat ingredients, room-temperature cream cheese, separately whipped cream folded gently, and enough fridge time. Every shortcut from that list produces a filling that is good but not great — and there is a specific, noticeable difference between the two that everyone at the table will feel even if they cannot name exactly what it is.
Save this and pin it as your forever cheesecake filling recipe — because once you make it this way, you will never go back to a different method.