You know that moment when you’re making cookies and the dough is just sitting there, looking absolutely perfect, and every instinct tells you to eat it straight from the bowl? This recipe gives you full permission to do exactly that — safely, deliciously, and without a single worry. These No-Bake Cookie Dough Bites are everything you love about raw cookie dough, made completely snack-safe and utterly poppable.

No eggs. No oven. No regrets.
Why These Cookie Dough Bites Are Pure Genius
Let’s be honest — nobody has ever looked at cookie dough and thought, I’ll just wait for these to bake. These bites cut out the waiting entirely and solve the one actual problem with eating raw dough: the raw flour and eggs.
Here’s what makes this recipe a keeper:
- No raw eggs — totally safe to eat straight from the bowl or the fridge.
- Heat-treated flour — a quick step that eliminates any risk and takes under two minutes.
- Ready in 20 minutes — from bowl to bites, start to finish.
- Customizable — chocolate chips, sprinkles, peanut butter, M&Ms — make them yours.
- Fridge-friendly — make a batch on Sunday and snack all week long.
Think of them as cookie dough’s cooler, more relaxed cousin who shows up with no drama and all the flavor.
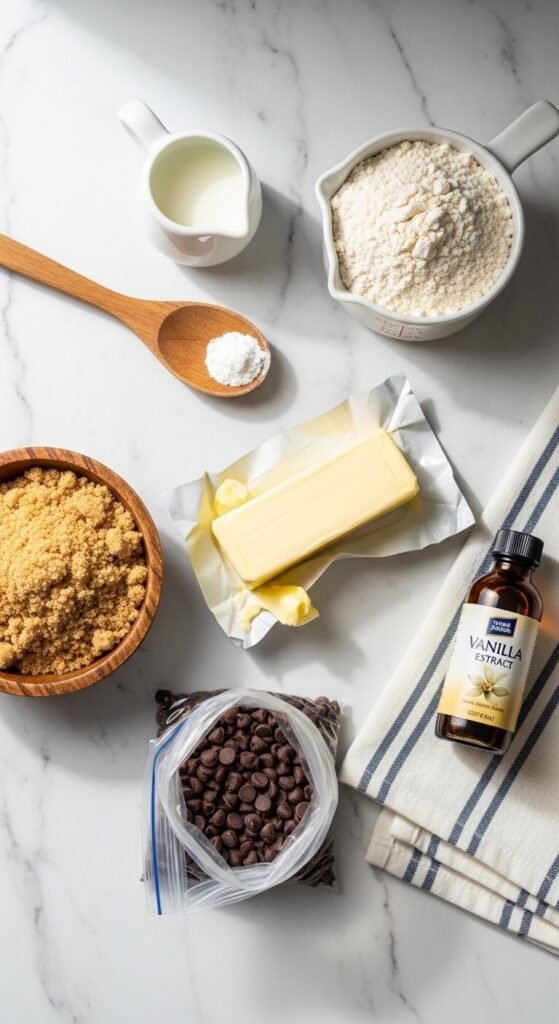
What You’ll Need
The ingredient list is short, pantry-friendly, and wonderfully unpretentious.
For the cookie dough base:
- 1 cup all-purpose flour (heat-treated — instructions below)
- ½ cup unsalted butter, softened to room temperature
- ½ cup packed brown sugar
- 2 tablespoons white sugar
- 2–3 tablespoons milk (any kind works)
- 1 teaspoon vanilla extract
- ¼ teaspoon salt
The mix-ins:
- ¾ cup mini chocolate chips (mini chips distribute better in every bite)
- Optional: rainbow sprinkles, crushed Oreos, peanut butter chips, or toffee bits
Step 1: Heat-Treat Your Flour (Don’t Skip This!)
Raw flour can actually carry bacteria — it’s the less-talked-about reason to bake your cookies. But the fix is incredibly easy and takes less than two minutes.
Microwave method:
- Spread the flour on a microwave-safe plate or in a bowl.
- Microwave in 30-second bursts, stirring between each, until it reaches 165°F internally.
- Let it cool completely before using.
Oven method:
- Spread flour on a lined baking sheet.
- Bake at 350°F for 5 minutes.
- Cool fully before adding to your dough.
That’s it. Safe flour, no fuss. Now you can eat with total confidence.
Step 2: Make the Cookie Dough
Once your flour is cooled, the rest comes together in one bowl and about five minutes.
- Beat the softened butter, brown sugar, and white sugar together until light and fluffy — about 2 minutes with a hand mixer or a good bit of elbow grease.
- Add the vanilla extract and salt, and mix until combined.
- Add the cooled heat-treated flour and stir until a soft dough forms.
- Add milk one tablespoon at a time until the dough reaches a thick, scoopable consistency — not too dry, not sticky.
- Fold in the mini chocolate chips.
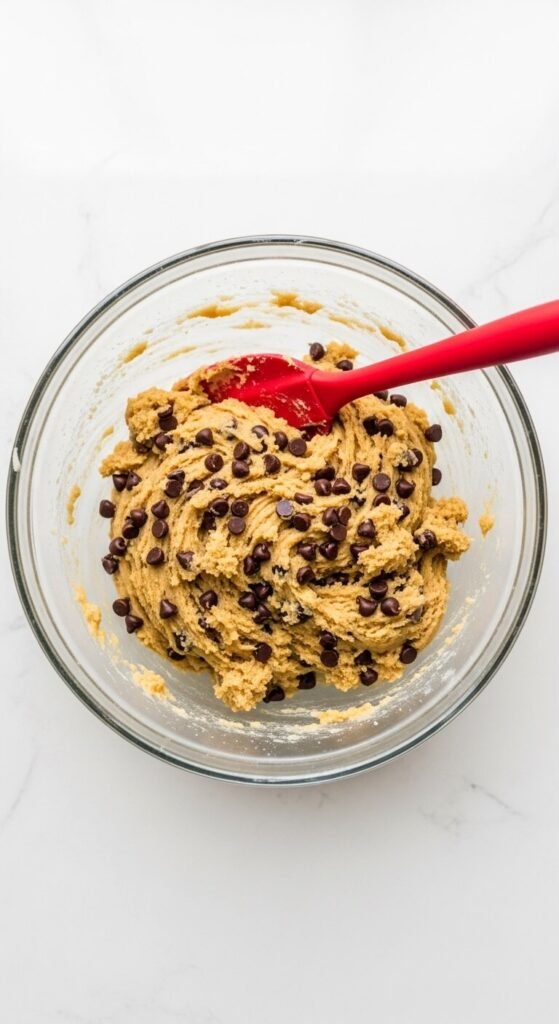
Taste test absolutely required at this stage. Adjust sweetness or vanilla to your preference — this is your dough and your rules.
Step 3: Roll Into Bites
Now comes the deeply satisfying part.
- Scoop out about one tablespoon of dough at a time using a small cookie scoop or spoon.
- Roll each portion between your palms into a smooth, round ball.
- Place them on a parchment-lined tray or plate as you go.
If the dough feels too soft or sticky to roll cleanly, pop the bowl in the fridge for 15–20 minutes first. Cold dough is firmer, easier to handle, and rolls into much neater little spheres.
Aim for roughly marble-to-grape size — small enough to pop in one bite, which is entirely the point.
Step 4: Chill and Enjoy
Transfer the tray to the fridge and chill the bites for at least 30 minutes. This firms them up beautifully and gives them that perfect, slightly fudgy bite that makes them dangerously snackable.

Once set, move them to an airtight container. They’ll keep in the fridge for up to 10 days and in the freezer for up to 3 months — though they rarely last anywhere near that long.
Fun Variations to Try
Once you’ve made the classic version and inevitably eaten half the batch in one sitting, branch out:
- Peanut Butter Cookie Dough Bites — Replace 2 tablespoons of butter with creamy peanut butter and add peanut butter chips.
- Birthday Cake Bites — Add rainbow sprinkles and a drop of almond extract for a funfetti vibe.
- Double Chocolate Bites — Mix 2 tablespoons of cocoa powder into the dough and roll them in chocolate shavings.
- S’mores Bites — Add mini marshmallows and crushed graham crackers to the mix.
- Oreo Cookie Dough Bites — Fold in crushed Oreo pieces and swap the chocolate chips for white chocolate.
Tips for the Best Results
- Use room temperature butter — cold butter won’t cream properly and you’ll end up with a lumpy dough.
- Mini chocolate chips are non-negotiable — regular-sized chips are too big for these little bites and tend to fall out when you roll them.
- A cookie scoop is your best friend — it keeps every bite uniform so they look as good as they taste.
- Make a double batch — trust the process. One batch is never enough.
Your New Favourite Snack-Anytime Treat
These No-Bake Cookie Dough Bites are proof that the best things in life don’t need an oven, a timer, or a complicated technique. They’re simple, joyful, and hit that sweet spot between snack and dessert without any of the guilt trip.
Keep a container in the fridge, stash a bag in the freezer, and pop one (or five) whenever the craving strikes — because life is simply better when cookie dough is always within reach.
Save this recipe for later, share it with your fellow cookie dough lovers, and make a batch this weekend — your snack game will never be the same. 🍪✨