No-bake cookies are the recipe that every home baker has a version of — and no-bake cookies made with cocoa powder are the version that actually delivers on the chocolate promise. When done right, they are fudgy, intensely chocolatey, slightly chewy at the edges, and deeply satisfying in a way that most baked cookies never quite achieve. When done wrong — and there is one specific way these cookies go wrong — you end up with a grainy, crumbly pile that never sets properly and falls apart the moment you pick one up. The difference between a batch that sets beautifully and one that doesn’t comes down almost entirely to a single 60-second window on the stovetop. Once you understand that window, these cookies become one of the most reliable and fastest recipes in your repertoire.
Here is the complete recipe and the technique that makes it work every time.
The Ingredients (And Why Each One Matters)
Makes approximately 24 cookies
- 2 cups granulated sugar — provides the structure that sets the cookies firm
- ½ cup unsalted butter — richness and flavor
- ½ cup whole milk — thins the mixture enough for proper boiling
- ¼ cup unsweetened cocoa powder — use Dutch-process cocoa for the deepest, darkest chocolate flavor; natural cocoa works but produces a lighter, slightly more acidic taste
- 3 cups old-fashioned rolled oats — not instant oats. Instant oats are too fine and produce a dense, pasty cookie. Rolled oats give the cookies their characteristic chewy, hearty texture.
- ½ cup natural peanut butter — binds the oats and adds richness. Smooth works better than chunky for a cohesive cookie structure.
- 1 teaspoon vanilla extract
- Pinch of fine sea salt — amplifies the chocolate flavor dramatically
The cocoa note: If you want the richest, most intense chocolate flavor, use Dutch-process (alkalized) cocoa powder. It has a deeper color, a smoother, less acidic taste, and produces cookies that look as dark and indulgent as they taste. Hershey’s Special Dark is an accessible supermarket option that produces noticeably richer results than standard natural cocoa.
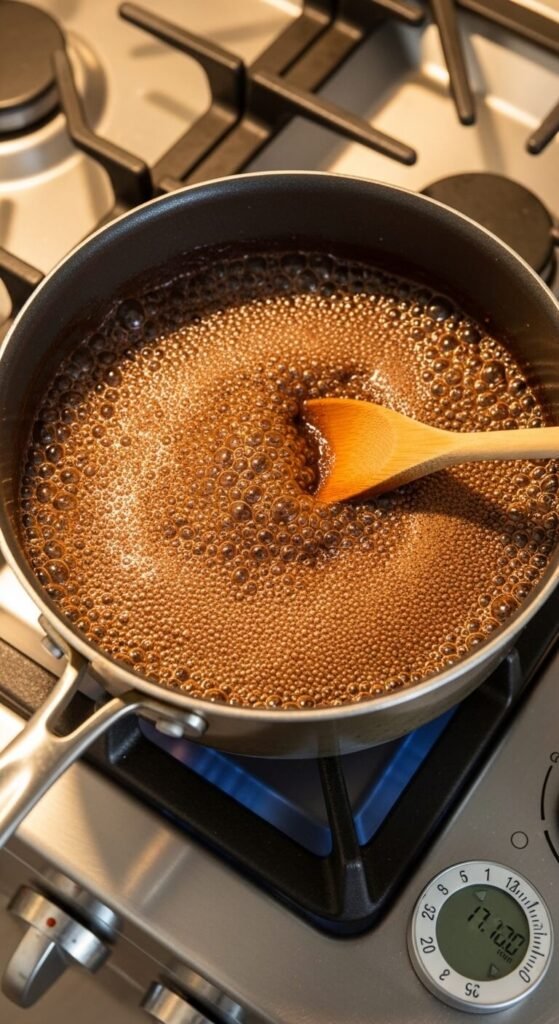
The Stovetop Step: The 60-Second Rule
This is the most important step in the entire recipe — and the one that determines whether your cookies set properly or turn into a grainy, crumbly mess.
The process:
- Combine sugar, butter, milk, and cocoa powder in a medium-to-large heavy-bottomed saucepan
- Cook over medium heat, stirring constantly, until the butter melts and the sugar begins to dissolve
- Bring to a full rolling boil — this means bubbles covering the entire surface, not just around the edges
- Once at a full rolling boil, cook for exactly 60 seconds without stirring while maintaining the boil
- Remove from heat immediately
Why the 60-second boil is non-negotiable:
The boil drives the mixture to the correct temperature — approximately 234°F (soft ball stage) — which is what makes the sugar set the cookies firm as they cool. Under-boiling (less than 60 seconds) produces cookies that never fully set and remain soft, greasy, and grainy. Over-boiling (more than 90 seconds) produces cookies that set too hard, feel dry, and crumble when handled.
You do not need a candy thermometer. You need a timer and a confident full boil. Start the 60 seconds the moment the boil covers the full surface of the mixture.
Adding the Oats and Peanut Butter
Work quickly after removing the pan from heat — the mixture begins to cool and thicken almost immediately.
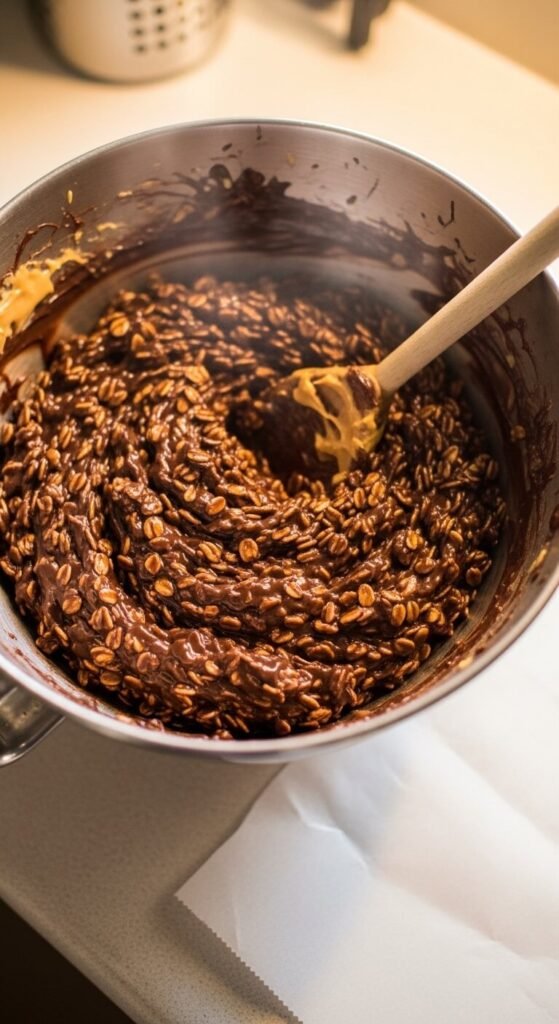
- Stir in the peanut butter and vanilla extract until fully combined — the peanut butter should melt and disappear into the mixture completely
- Add the rolled oats and stir quickly until every oat is evenly coated — no dry oats remaining at the bottom
- Add the pinch of sea salt and give one final stir
The mixture should look thick, glossy, and cohesive — not runny, not crumbly, not separated. If it looks right at this stage, it will set correctly.
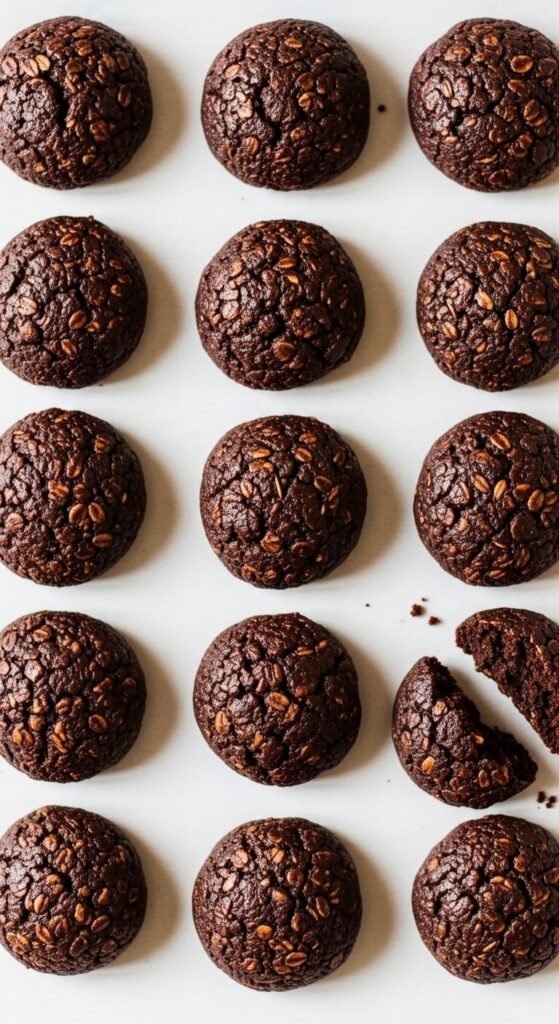
Dropping and Setting the Cookies
Drop the mixture onto parchment-lined baking sheets as quickly as possible — the mixture becomes harder to shape as it cools.
How to drop the cookies:
- Use a tablespoon or a cookie scoop for consistent sizing — consistency in size means consistent setting time across the batch
- Drop rounded mounds with slight spacing between them — they do not spread
- Use the back of the spoon to press each mound into a flat disc shape if you prefer a thinner cookie — the mound shape produces a chewier center while the flatter shape sets more evenly throughout
Setting time: The cookies need 30 minutes at room temperature to set completely. Do not move them during this time. Moving partially set cookies disrupts the sugar crystal structure and produces a grainy texture.
If the room is warm (above 75°F), refrigerate for 20 minutes instead — a warm kitchen slows the setting process significantly.
Troubleshooting: If Your Cookies Don’t Set
Even with the 60-second boil rule, variables like altitude, humidity, and stove calibration can occasionally affect results. Here is what to do:
- Cookies are soft and sticky after 30 minutes: The mixture was under-boiled. Refrigerate for 20 minutes — they will firm up in the cold even if they did not set at room temperature.
- Cookies are crumbly and dry: The mixture was over-boiled. Add one tablespoon of milk to the remaining warm mixture in the pan, stir, and re-drop. The additional moisture brings them back.
- Cookies are grainy: Sugar crystallized during the boil from stirring. Do not stir once the boil begins — set a timer and keep your hands off the spoon.
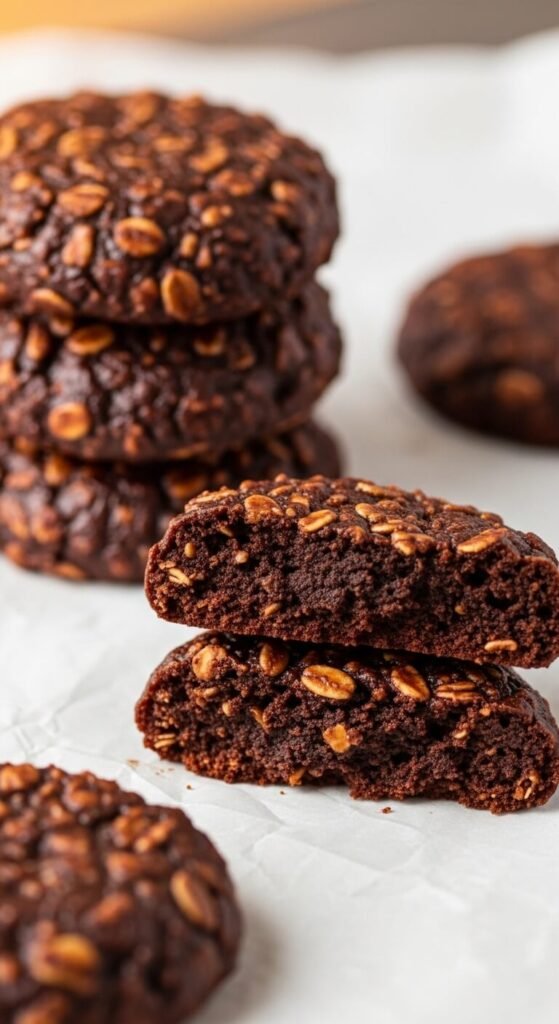
The Best Batch You’ve Ever Made
Once the 60-second boil clicks into muscle memory, no-bake cocoa cookies become one of the fastest and most reliable sweet treats in the kitchen. Twelve minutes of active time. Thirty minutes to set. A batch of 24 cookies that tastes like fudgy chocolate heaven and costs about $4 to make from start to finish.
Save this recipe and pin it — because these are the cookies people ask for the recipe every single time, and now you have the technique that makes them work perfectly.