If you believe chocolate and mint were made for each other — and honestly, the evidence is overwhelming — then this recipe was written specifically for you. These No-Bake Mint Brownies are built in three gorgeous layers: a dense, fudgy chocolate base, a cool and creamy mint filling that turns the most beautiful shade of pale green, and a glossy dark chocolate top that sets into a satisfying snap. They live in the fridge, slice like a dream, and deliver that iconic chocolate-mint combination in every single bite. No oven required. No compromise on flavour.
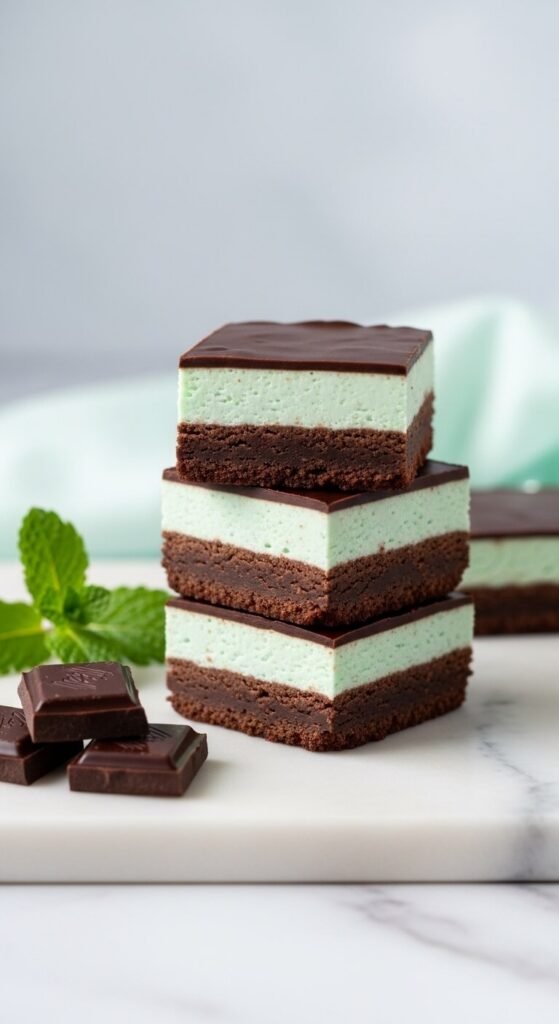
Three layers. One pan. Zero baking. Pure chocolate-mint perfection.
Why This Recipe Is the Ultimate Chocolate-Mint Treat
The chocolate-mint combination has earned its devoted following for good reason — that cool, bright contrast against deep, bitter chocolate is one of the most satisfying flavour pairings in existence. This recipe is the best possible vehicle for it:
- Three distinct layers mean you get all three elements in every single bite — fudgy chocolate, cool mint cream, snappy chocolate top.
- No baking required — the fridge does all the setting work while you do something more enjoyable.
- The mint layer is fully adjustable — a little peppermint extract goes a long way, and you control exactly how bold the mint flavour hits.
- They look stunning sliced — pale green sandwiched between two layers of dark chocolate is a genuinely beautiful cross-section.
- They keep beautifully — fridge-stable for up to ten days, which means make-ahead dessert glory is always within reach.
These are the bars that convert people who say they don’t like mint desserts.
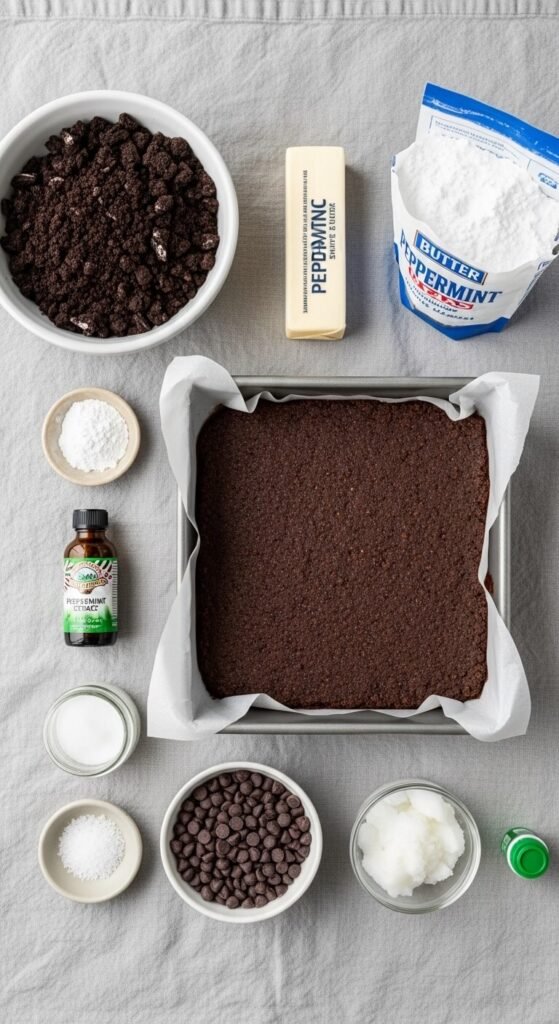
What You’ll Need
Three layers, three short ingredient lists. Nothing unusual, nothing hard to find.
For the chocolate base layer:
- 1½ cups chocolate cookie crumbs (Oreos with filling removed, or chocolate graham crackers)
- ¼ cup unsweetened cocoa powder
- ½ cup powdered sugar
- 6 tablespoons unsalted butter, melted
- 1 teaspoon vanilla extract
- Pinch of sea salt
For the mint cream layer:
- 2 cups powdered sugar, sifted
- 4 tablespoons unsalted butter, softened
- 3 tablespoons heavy cream or full-fat coconut cream
- 1 teaspoon pure peppermint extract (start here — add more to taste)
- A few drops of green food colouring (optional, but makes the layers visually pop)
For the chocolate top layer:
- 1½ cups dark chocolate chips
- 2 tablespoons unsalted butter or coconut oil
- Pinch of flaky sea salt for finishing
Step 1: Build the Chocolate Base
This layer is the foundation — dense, fudgy, and deeply chocolatey. It needs to be firm enough to support the layers above it, which means pressing it in with intention.
- Combine the chocolate cookie crumbs, cocoa powder, powdered sugar, and sea salt in a bowl and whisk together until no lumps remain.
- Pour in the melted butter and vanilla extract and stir until the mixture is fully combined and resembles a thick, moist, press-able dough.
- Line an 8×8-inch pan with parchment paper, leaving overhang on both sides.
- Transfer the mixture to the pan and press firmly into a flat, even layer using the back of a measuring cup or the base of a glass.
Press hard here — a compact, well-packed base holds together cleanly when sliced and gives a satisfying dense bite that anchors the whole bar.
- Refrigerate for 20 minutes until firm before adding the mint layer.
Step 2: Make the Mint Cream Layer
This is the layer that makes the whole thing sing — pale, cool, creamy, and bright with real peppermint flavour.
- Beat the softened butter until fluffy — about 1 minute with a hand mixer.
- Add the sifted powdered sugar, heavy cream, and peppermint extract and beat on low until combined, then increase to medium speed and beat until smooth and creamy — about 2 minutes.
- Add green food colouring one drop at a time, mixing between each addition, until you reach a soft, pale mint green. A subtle colour is far more elegant than a vivid one — less is more.
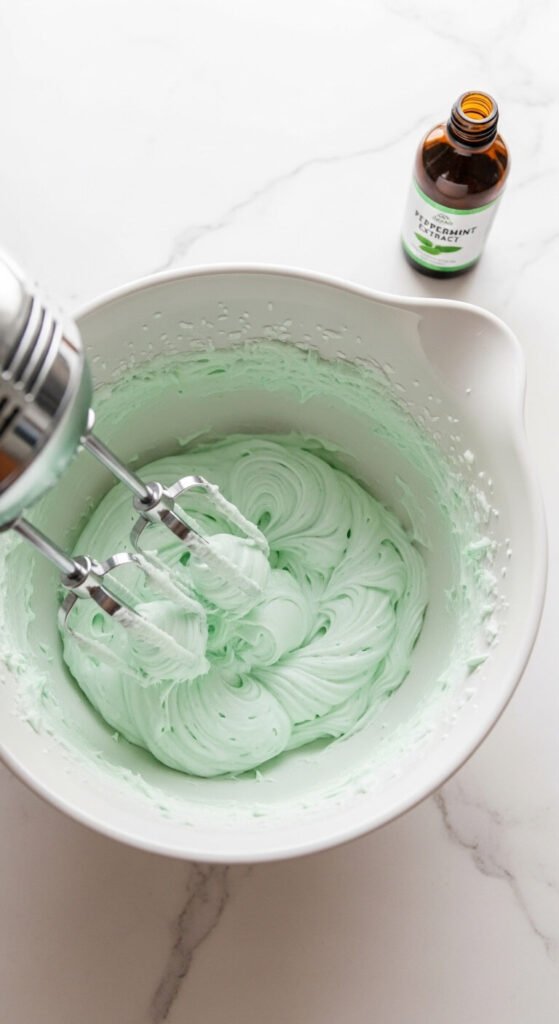
- Taste the mixture and adjust peppermint to your preference. Remember — peppermint extract is potent. Add it in small increments and taste as you go.
- Spread the mint cream evenly over the chilled chocolate base in a smooth, level layer.
- Refrigerate for another 20–30 minutes until the mint layer is firm to the touch.
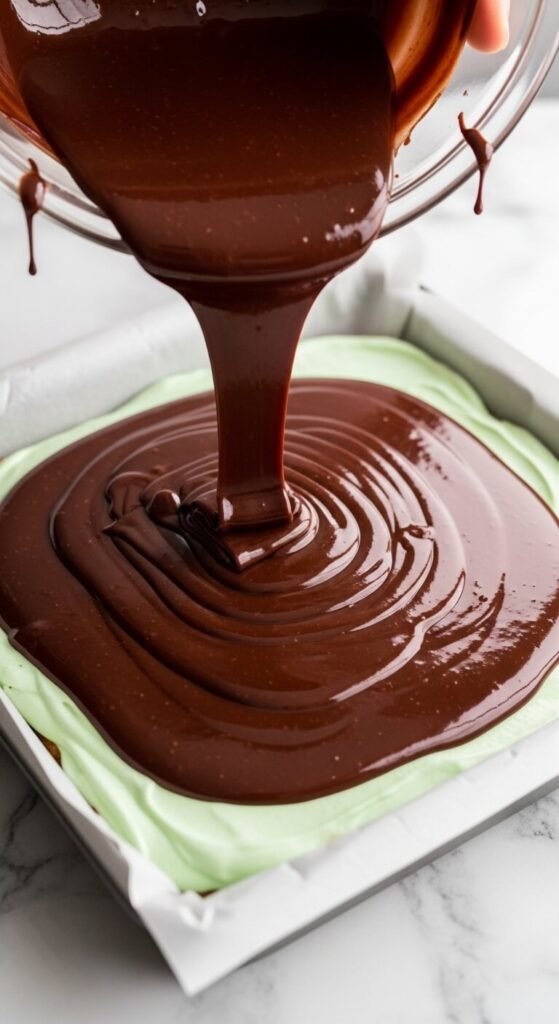
Step 3: Add the Chocolate Top
The final layer is what ties everything together — glossy, dark, and satisfying in the way only a good chocolate topping can be.
- Melt the dark chocolate chips and butter together in the microwave in 20-second bursts, stirring between each interval, until completely smooth and glossy.
- Let the melted chocolate cool for 3–4 minutes — it should be pourable but not steaming hot, which can melt the mint layer beneath.
- Pour over the chilled mint layer and tilt the pan gently to spread it into a perfectly even, level coat.
- Sprinkle flaky sea salt lightly over the surface immediately — it adds a final sophisticated contrast that makes the chocolate flavour bloom.
Refrigerate for a final 1–2 hours until the chocolate top is completely set and firm throughout.
The Slice — Making It Beautiful
This moment is deeply satisfying when done correctly.
- Lift the entire slab out using the parchment overhang and place on a cutting board.
- Run a large sharp knife under hot water, dry it completely, then press straight down through all three layers in one clean motion.
- Wipe the blade and repeat the hot water step between every single cut.
- The result: clean, defined edges revealing all three layers in perfect cross-section — dark chocolate, pale green, dark chocolate.
Cut into bars, squares, or triangles depending on how you plan to serve them. For the most dramatic layer reveal, cut into rectangles rather than small squares.
Tips for Perfect Mint Brownies
- Chill each layer fully before adding the next — this is the one rule that cannot be skipped or rushed.
- Start with less peppermint extract — you can always add more, but you can’t take it out once it’s in. A quarter teaspoon at a time is a wise approach.
- Use good quality dark chocolate for the top — it’s the first thing people taste and the flavour difference between mediocre and excellent chocolate is immediately noticeable.
- Score the top layer lightly with a knife before it fully sets to mark your cutting lines — this prevents the chocolate cracking unpredictably when you slice.
- Store covered in the fridge for up to ten days. They actually taste better on day two once all three layers have fully settled into each other.
Variations Worth Exploring
- White Chocolate Mint Bars — swap the top dark chocolate layer for white chocolate for a sweeter, creamier version that still looks stunning.
- Oreo Mint Brownies — use Oreo crumbs for the entire base and press extra Oreo pieces into the mint layer before adding the chocolate top.
- Dark Chocolate Peppermint Bark Style — make the base thinner and the top layer thicker, then press crushed candy canes into the chocolate topping for a festive holiday version.
- Mocha Mint Bars — add 1 teaspoon of instant espresso powder to the chocolate base for a coffee-mint-chocolate trio that is genuinely sophisticated.
The Bars That Win Every Time
There’s something about the chocolate-mint combination that feels both classic and exciting every single time — familiar enough to be comforting, bright enough to feel special. These No-Bake Mint Brownies capture it perfectly across three layers that look as good as they taste.
Make them for a gathering and watch them disappear. Make them for yourself and enjoy knowing the fridge holds something this good for the rest of the week.
Save this recipe, share it with your fellow chocolate-mint devotees, and make a batch this weekend — three layers of pure joy are waiting. 🍫🌿✨