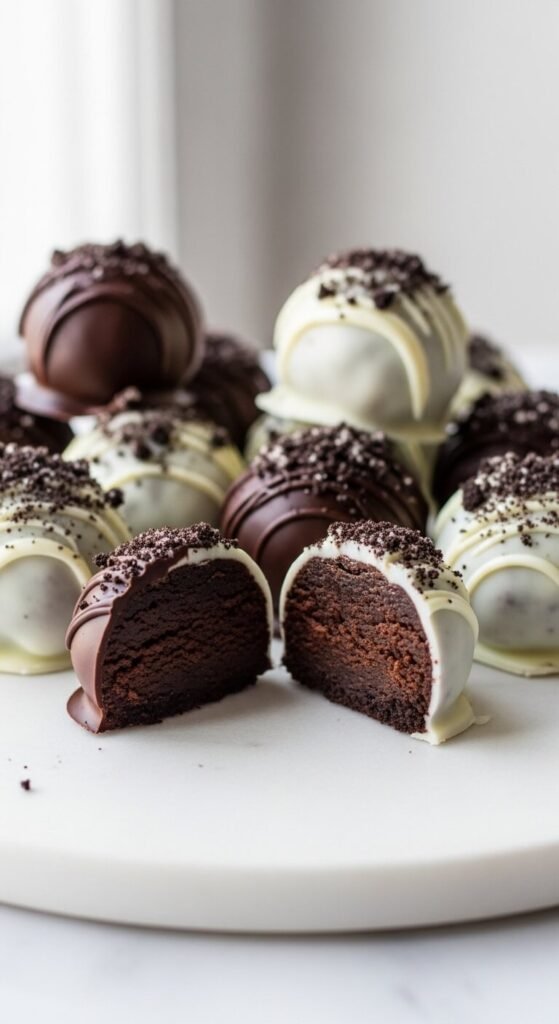
Three ingredients. No oven. Twenty minutes. And the result looks like something you’d pay four dollars each for at a bakery display case. Oreo truffles are one of those recipes that genuinely seems too good to be true — until you make them the first time and realize you’ve just unlocked one of the easiest, most crowd-pleasing desserts in existence. They disappear at every party, every holiday gathering, and every bake sale within the first fifteen minutes. Every single time.
The best part? Nobody ever guesses how simple they are. You don’t have to tell them.
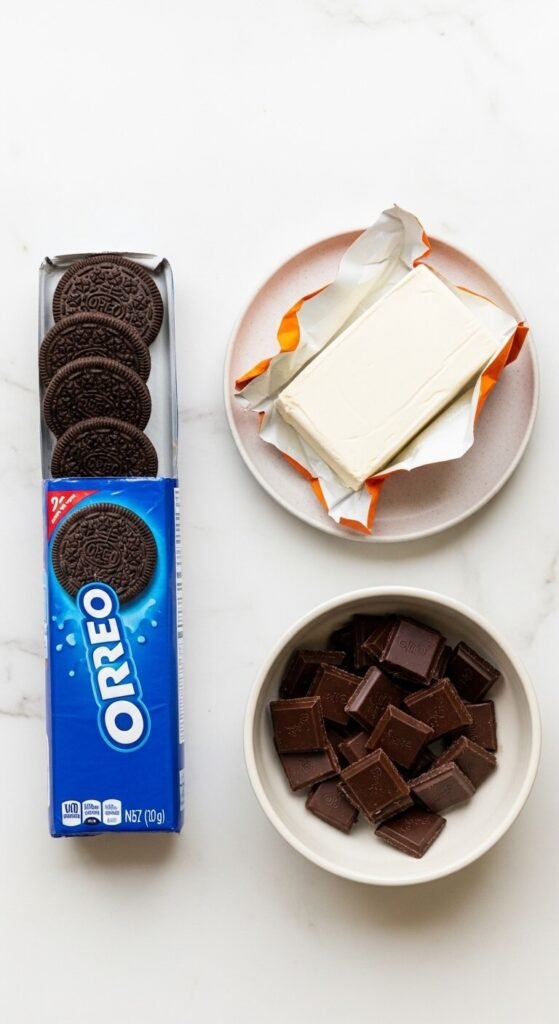
The 3 Ingredients You Need
That’s genuinely it. Three things. No substitutions required, no specialty ingredients, no trip to a specialty grocery store.
- 1 package (14.3 oz) Oreo cookies — the original classic flavor
- 8 oz full-fat cream cheese — softened to room temperature
- 12 oz chocolate melting wafers or chocolate bark — dark, milk, or white chocolate
Notes on each ingredient:
- Use original Oreos, not Double Stuf. The extra filling in Double Stuf changes the ratio of cookie to cream and the mixture becomes too soft to roll cleanly. Regular Oreos have the right balance.
- Full-fat cream cheese only. The reduced-fat version has more moisture and the truffle mixture will be too loose to shape. Pull it out of the fridge an hour before starting so it blends without lumps.
- Chocolate melting wafers — sold as Wilton Candy Melts or Baker’s dipping chocolate — are far easier to work with than chopped chocolate bars. They melt smoothly, don’t require tempering, and set quickly at room temperature with a clean snap.
Step 1 — Crush the Oreos Completely
The texture of your finished truffle depends entirely on how finely you crush the cookies. You want a uniform, fine crumb — not chunky pieces — so the mixture comes together into a smooth, moldable dough.
Two methods:
- Food processor: Pulse the entire package of Oreos — filling and all — until you have fine, even crumbs with no visible cookie chunks. Takes about 30 seconds.
- Zip-lock bag and rolling pin: Place cookies in a large sealed bag and roll firmly back and forth until completely pulverized. Takes about 2 minutes and is a surprisingly satisfying process.
Reserve about 2 tablespoons of the crumbs in a small separate bowl. You’ll use these later for topping the finished truffles.
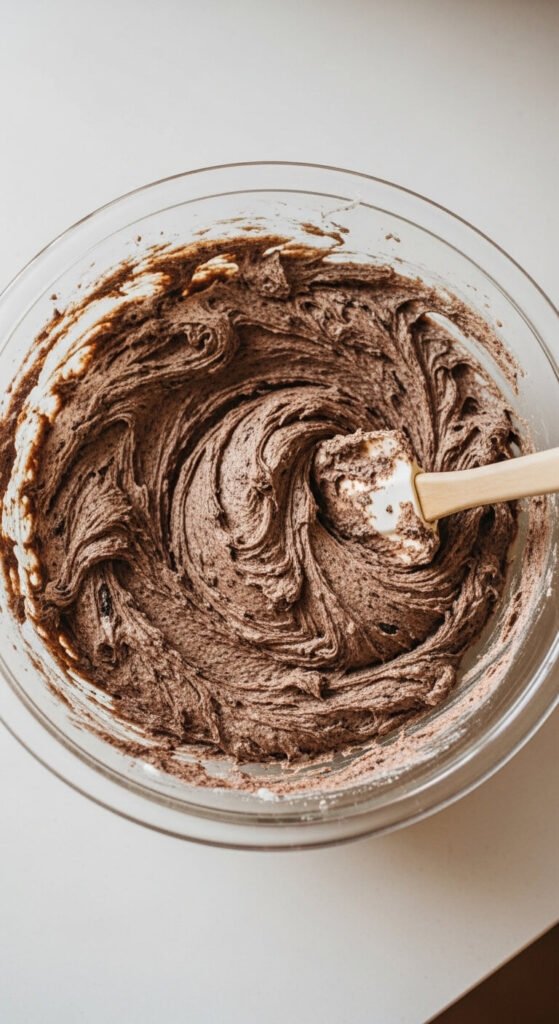
Step 2 — Mix and Chill the Truffle Dough
Add the softened cream cheese to the Oreo crumbs. Mix with a hand mixer or a sturdy spatula until completely combined — the mixture should look like dark, uniform fudge with no streaks of white cream cheese visible anywhere.
It will be sticky. That’s correct.
Refrigerate the mixture for 30 minutes. This step is worth it. Chilled dough holds its shape when rolled and the truffles come out rounder and cleaner. Room temperature dough sticks to your hands and produces lopsided, messy balls that melt back flat before you can dip them.
Step 3 — Roll Into Balls
Once chilled, use a tablespoon-sized cookie scoop or a measuring tablespoon to portion the dough consistently. Roll each portion between your palms quickly — the warmth of your hands softens the dough fast, so speed matters here.
Tips for rolling cleanly:
- Lightly coat your palms with a small amount of softened butter or coconut oil if the dough sticks
- Work in batches — scoop all portions first, then roll them all
- Aim for balls roughly 1 inch in diameter — about the size of a large grape
- Place finished balls on a parchment-lined baking sheet
Once all the truffles are rolled, refrigerate for another 15 minutes before dipping. Cold, firm truffles stay on the dipping fork and don’t fall apart in the warm chocolate.
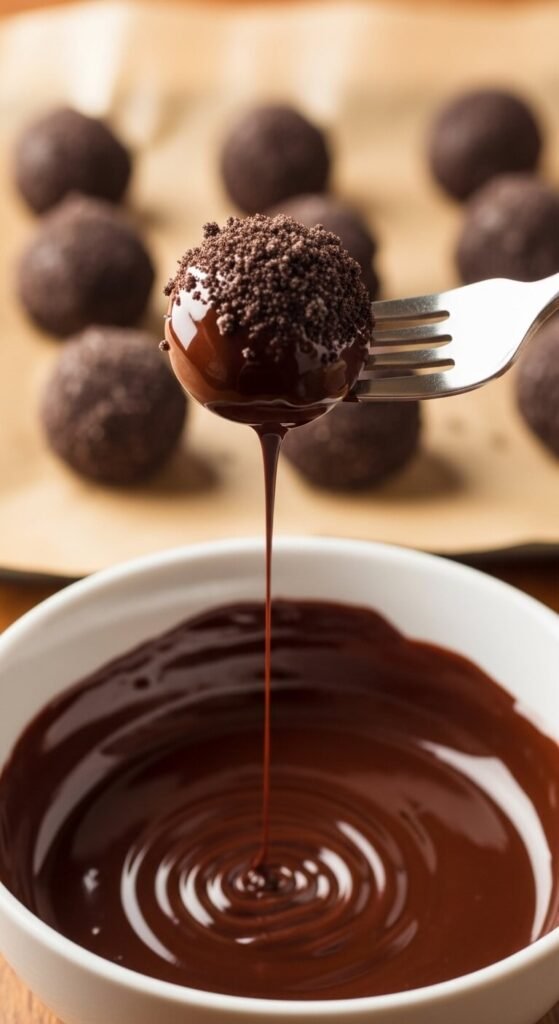
Step 4 — Dip in Chocolate
This is the step that looks intimidating but is actually very forgiving once you get your technique down.
Melt the chocolate: Microwave chocolate wafers in a deep, narrow microwave-safe bowl in 30-second intervals, stirring between each, until fully melted and smooth. A deep narrow bowl — rather than a wide shallow one — makes dipping significantly easier.
Dipping method:
- Drop one chilled truffle into the melted chocolate
- Use a fork to roll it until fully coated
- Lift with the fork and tap the handle gently against the bowl edge to let excess chocolate drip off
- Slide onto parchment paper using a toothpick or second fork to push it cleanly off the tines
- Immediately sprinkle with reserved Oreo crumbs before the chocolate sets
Work quickly. The chilled truffle will start setting the chocolate around it almost immediately, which means you have about 20 to 30 seconds per truffle before the coating locks in.
Variations and Finishing Ideas
Once you’ve mastered the base recipe, these simple swaps keep things interesting:
- White chocolate dipped with dark chocolate drizzle — melt a small amount of dark chocolate and drizzle over set white chocolate truffles with a fork
- Peppermint Oreo version — use Peppermint Oreos and dip in white chocolate, finish with crushed candy cane
- Colored candy melt coating — use seasonal candy melt colors for holidays and special occasions
- Sea salt finish — a small pinch of flaky sea salt on dark chocolate dipped truffles is genuinely extraordinary
Storage: Keep finished truffles in an airtight container in the refrigerator for up to one week. They can also be frozen for up to two months — freeze in a single layer first, then transfer to a container once solid.
Three Ingredients, Zero Regrets
Oreo truffles are the rare recipe where the effort-to-impression ratio is almost comically in your favor. You spend twenty active minutes in the kitchen and walk away with a tray of confections that look professionally made and taste even better than they look.
Save this recipe right now — you will want it for the next birthday, holiday, potluck, or Tuesday afternoon when you need something extraordinary with almost no effort at all. And maybe don’t mention the three ingredients until after everyone has had seconds.