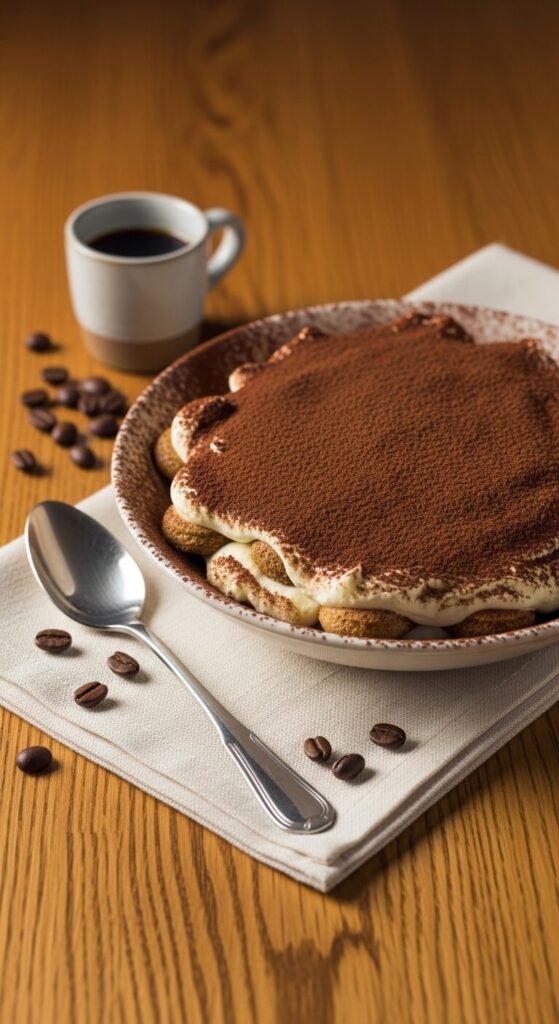
Close your eyes and picture the best dessert you’ve ever had at an Italian restaurant. Chances are, it was tiramisu. That first spoonful — velvety mascarpone cream, espresso-soaked biscuits, a cloud of bittersweet cocoa — is the kind of thing that makes the whole table go quiet. Here’s the secret Italian restaurants don’t advertise: tiramisu is one of the easiest desserts on earth to make at home. No oven. No water bath. No complicated techniques. Just a handful of beautiful ingredients, a little patience, and a fridge doing most of the work. Let’s make it.
Gather Your Ingredients First
Great tiramisu starts at the grocery store. This dessert has very few ingredients — which means every single one matters. Don’t cut corners here.
What you’ll need (serves 8–10):
- 6 large egg yolks
- ¾ cup (150g) caster or granulated sugar
- 1 lb (450g) full-fat mascarpone cheese, at room temperature
- 1½ cups (360ml) heavy whipping cream, cold
- 1½ cups (360ml) freshly brewed espresso, cooled completely
- 3 tablespoons Kahlúa, dark rum, or Marsala wine (optional but highly recommended)
- 28–32 Savoiardi ladyfinger biscuits
- 3–4 tablespoons good quality unsweetened cocoa powder, for dusting
A few ingredient notes:
- Mascarpone is non-negotiable — cream cheese is not a substitute. It has a completely different flavor and texture.
- Your espresso needs to be genuinely strong. If you don’t have an espresso machine, brew a very concentrated moka pot coffee or use two tablespoons of instant espresso dissolved in hot water.
- Cold heavy cream whips better and faster — keep it in the fridge until the exact moment you need it.
Make the Silky Mascarpone Cream
This is the soul of your tiramisu — and it comes together in minutes.
In a large mixing bowl, combine the egg yolks and sugar. Whisk vigorously for about 3–4 minutes until the mixture turns pale, thick, and falls from the whisk in a slow ribbon. If you have an electric mixer, use it on medium-high for about 2 minutes.
Add the room temperature mascarpone and fold it gently into the yolk mixture until completely smooth. Take your time here — mascarpone that’s been rushed in can turn grainy or lumpy, and you want absolute silk.
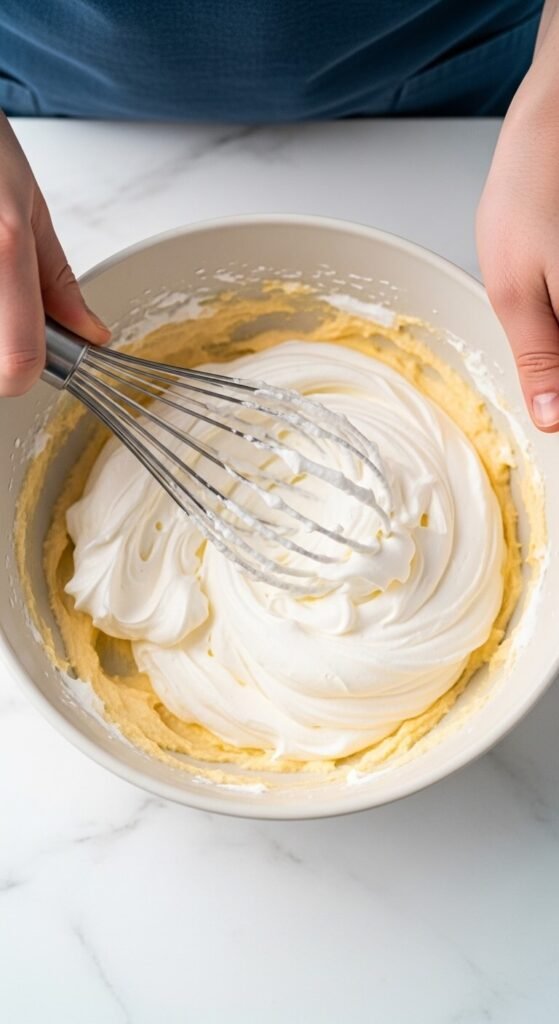
In a separate bowl, whip the cold heavy cream to stiff peaks — it should hold its shape firmly when you pull the whisk away. Fold the whipped cream into the mascarpone in two gentle additions, using a large spatula and slow, sweeping strokes. You’re preserving the air that will make the finished cream light and mousse-like rather than dense and heavy.
Prepare the Coffee Soak
Mix your cooled espresso with the liqueur of your choice in a wide, shallow bowl. Wide enough to dip a whole ladyfinger in one smooth motion.
The golden rule of ladyfinger dipping:
- One second per side. That’s it.
- Ladyfingers are porous and thirsty — they absorb liquid faster than you’d expect. A long soak turns them to mush. A quick dip gives you that perfect texture: moist and coffee-flavored all the way through, but still holding their structure in the finished dish.
- Dip in a single smooth motion — in, flip, out. No hovering, no second-guessing.

Assemble Your Tiramisu
Grab a 9×13 inch (23×33cm) baking dish. Now build your layers:
- Layer one — Dip ladyfingers one by one and lay them snugly across the bottom of the dish in a single even layer. Break them in half if needed to fill gaps.
- Cream layer one — Spread exactly half the mascarpone cream over the ladyfingers, smoothing it to the edges with a spatula.
- Layer two — Repeat with a second layer of dipped ladyfingers, arranged neatly on top.
- Cream layer two — Spread the remaining mascarpone cream over the top and smooth it beautifully. This is the face of your tiramisu — take a moment to make it even.
That’s the whole assembly. Simple, satisfying, and already smelling like Rome.
Chill, Then Finish With Cocoa
Cover the dish tightly with plastic wrap and refrigerate. Here’s where most people get impatient — don’t.
- Minimum: 4 hours
- Better: Overnight
- Best: 24 hours
The chill time isn’t optional — it’s what transforms a loose, wobbly assembly into a set, sliceable, perfectly structured tiramisu. The cream firms up. The ladyfingers soften fully and meld with the cream. The flavors deepen and marry into something completely cohesive. Every extra hour in the fridge makes it better.
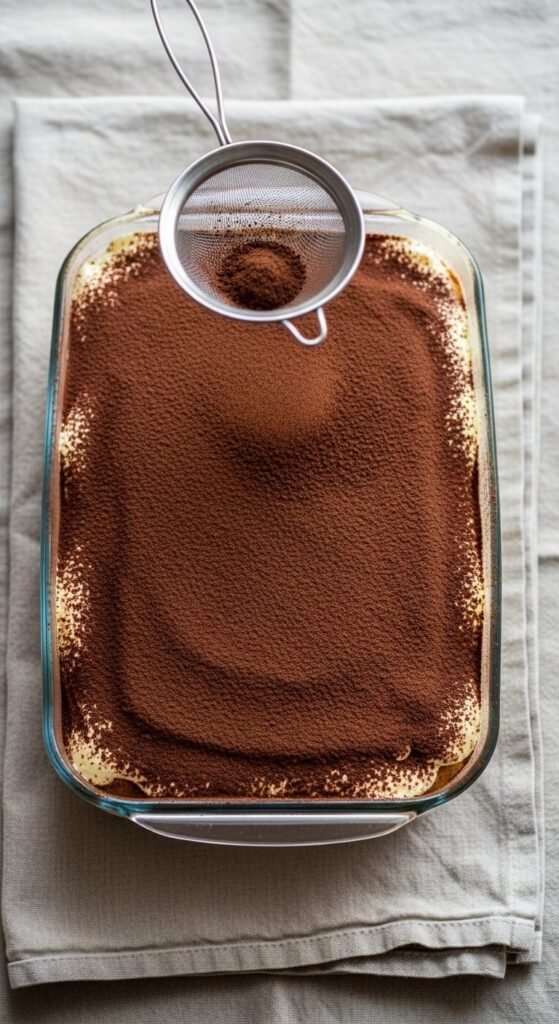
When you’re ready to serve, dust the entire top generously with cocoa powder through a fine mesh sieve. Do this right before serving — not before refrigerating — for a clean, elegant finish that hasn’t absorbed into the cream.
Optional final touches:
- Dark chocolate shavings curled over the cocoa
- A tiny pinch of flaky sea salt over each portion before serving — unexpected and extraordinary
- Individual mason jars or wine glasses for a dinner-party presentation that looks effortlessly elegant
Common Mistakes to Avoid
A few things that trip people up the first time:
- Soggy ladyfingers — caused by dipping too long. One second per side, always.
- Lumpy cream — caused by cold mascarpone. Always bring it to room temperature before mixing.
- Cream that won’t hold — caused by under-whipping. Stiff peaks, not soft.
- Flat flavor — caused by weak coffee. Brew it strong, or go stronger than feels comfortable.
The Takeaway
This is the kind of recipe that makes people think you spent hours in the kitchen when really you spent 30 minutes and then let the refrigerator do the rest. It’s make-ahead, crowd-pleasing, and genuinely, deeply delicious.
Save this recipe now and make it the night before your next gathering — because the best tiramisu is always the one that’s been patiently waiting in the fridge overnight, ready to steal the show. ☕🍫✨