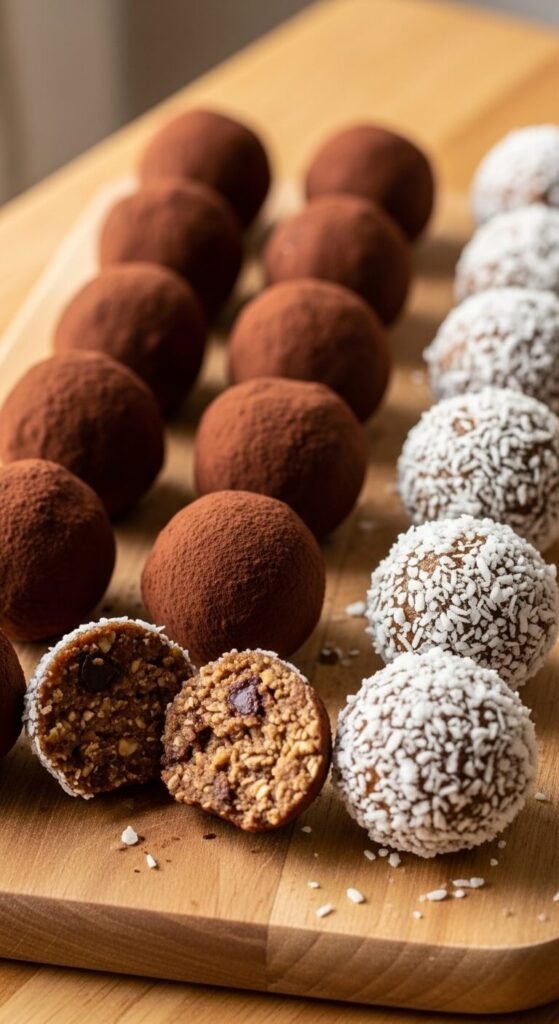
The protein ball problem is real and it is widespread. Someone discovers they need more protein in their diet, finds a recipe online, dutifully mixes together protein powder, oats, and almond butter, rolls the mixture into balls, and produces something with the flavor profile and texture of compressed sawdust with a faint vanilla aftertaste. They eat two out of obligation, store the rest in the fridge, and quietly throw them away four days later. The issue isn’t the concept — protein balls are genuinely a good idea. The issue is that most recipes treat protein powder as the star of the show when it should be a supporting ingredient that disappears into a well-balanced, actually delicious base.
Make them correctly and protein balls taste like a treat you chose to eat. Make them incorrectly and they taste like a supplement you’re enduring. This guide covers the difference.
Why Most Protein Balls Taste Bad
The cardboard problem almost always traces back to one of three causes — and usually all three working together.
Too much protein powder. Protein powder is a processed concentrate with a flavor that most manufacturers mask imperfectly with sweeteners and artificial flavoring. Used in small amounts, it’s undetectable. Used in large amounts — as most protein ball recipes specify — it dominates every other flavor in the mixture and produces that distinctive chalky, artificial aftertaste.
The wrong protein powder. Whey isolate, casein, and plant-based protein powders behave completely differently in no-bake recipes. Casein especially absorbs moisture aggressively and produces a dry, dense texture that no amount of nut butter fully rescues.
Not enough fat and natural sweetness. Protein powder, oats, and a minimal amount of honey produces a nutritionally correct but gastronomically punishing result. Fat from nut butter and natural sweetness from honey, dates, or maple syrup are what make a protein ball taste like food rather than a supplement delivery mechanism.
The Formula That Actually Works
The key ratio: protein powder should represent no more than 25% of the total dry ingredients by volume. Everything else carries the flavor, and the protein powder slips in quietly doing its job without announcing itself.
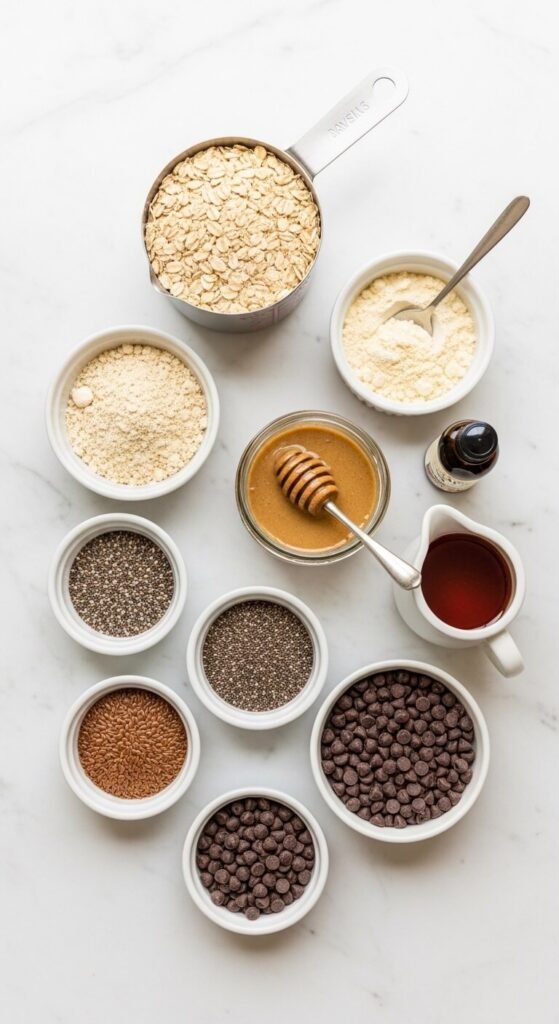
Ingredients for approximately 20 protein balls:
- 1½ cups old-fashioned rolled oats
- ¼ cup vanilla whey protein powder — not casein, not plant-based for this recipe
- ½ cup natural almond butter or peanut butter
- ⅓ cup honey or pure maple syrup
- 2 tablespoons ground flaxseed
- 1 tablespoon chia seeds
- ½ cup mini chocolate chips
- 1 teaspoon pure vanilla extract
- ¼ teaspoon salt — this is non-negotiable
- 2 to 3 tablespoons whole milk or water if needed for consistency
Why vanilla whey specifically: Whey protein has the most neutral flavor and the smoothest texture of any protein powder category in no-bake applications. Vanilla flavor masks the protein taste better than unflavored versions, which still carry a distinct whey note that the other ingredients don’t fully cover.
The Mixing and Texture Technique
The order you mix ingredients in matters more than most protein ball recipes acknowledge.
Step by step:
- Combine the oats, protein powder, flaxseed, chia seeds, and salt in a large bowl and whisk to distribute evenly. No pockets of pure protein powder in the finished ball.
- In a separate small bowl, stir together the almond butter, honey, and vanilla until unified and smooth. Warming the honey slightly — 10 seconds in the microwave — makes it significantly easier to stir.
- Pour the wet ingredients over the dry and stir with a sturdy spatula until every oat is coated. The mixture will look crumbly at first. Keep mixing.
- Fold in the chocolate chips.
- Check the consistency. Press a small amount in your fist — it should hold its shape cleanly without crumbling and without sticking to your palm excessively. If crumbly, add milk one tablespoon at a time. If too sticky, add two tablespoons of oats.
- Refrigerate for 30 minutes before rolling. This is the step that separates clean, round protein balls from misshapen lumps. Cold mixture holds its shape during rolling. Room temperature mixture sticks to your hands and softens before you can form it properly.
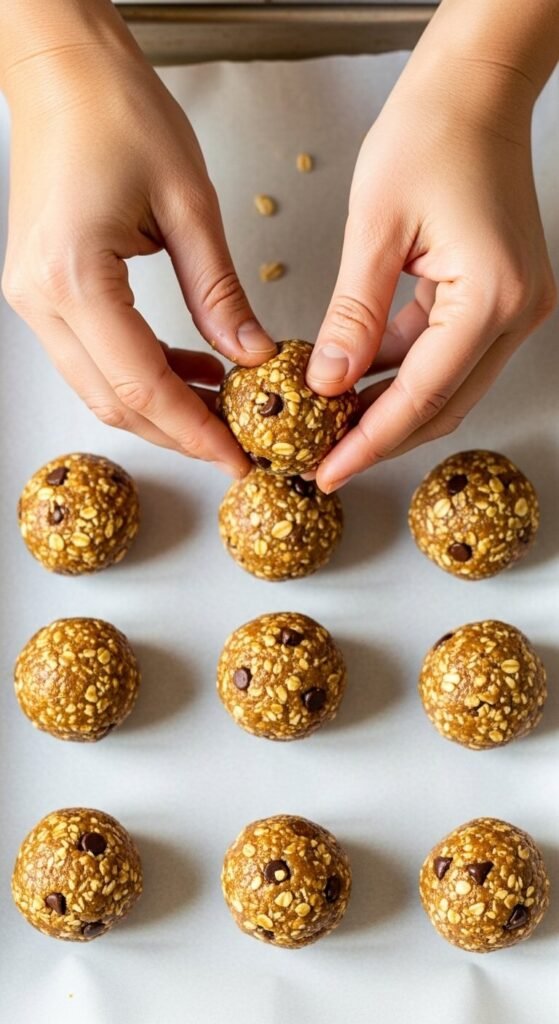
Rolling Technique for Uniform Results
Use a tablespoon-sized cookie scoop for consistent portioning. Roll each portion between your palms quickly — speed prevents the warmth of your hands from softening the mixture before the ball is formed.
Tips for cleaner rolling:
- Lightly dampen your palms with cold water between every three or four balls
- Work in batches — scoop all portions first, then roll them all at once
- Place finished balls immediately on a parchment-lined tray without stacking
Once all balls are rolled, refrigerate for another 15 minutes before eating or storing. This final chill firms everything up and produces that satisfying, slightly dense bite rather than a soft, squishy texture.
The Flavor Upgrades That Make People Ask for the Recipe
Once the base formula is solid, these additions move protein balls from “surprisingly edible” to “genuinely delicious”:
Salt is the most important upgrade. The ¼ teaspoon in the base recipe is a minimum. A pinch of flaky sea salt pressed into the top of each rolled ball after refrigerating adds a flavor contrast that makes the chocolate taste richer and the sweetness more complex.
Toast the oats first. Spread rolled oats on a dry baking sheet and bake at 350°F for 8 minutes until lightly golden. The toasted flavor adds a nutty depth that raw oats simply don’t have — and it’s the detail that makes people ask what’s different about yours.
Add a tablespoon of cacao powder to the dry ingredients for a chocolate version that tastes like a no-bake brownie ball rather than a health food product.
Use natural peanut butter with a pinch of extra salt rather than almond butter for a flavor profile closer to a peanut butter cup — which is considerably more motivating than something described as a protein supplement.
Storage for Maximum Freshness
- Refrigerator: Airtight container in a single layer with parchment between layers — up to 2 weeks
- Freezer: Freeze on a parchment-lined tray until solid, then transfer to a labeled freezer bag — up to 3 months
- Grab-and-go tip: Keep a small jar of four to six balls on an accessible refrigerator shelf rather than buried in a back container — visible and accessible snacks get eaten, hidden ones get forgotten
Save This Recipe — Good Protein Snacks Exist Now
Protein balls that taste like cardboard are a choice — specifically, the choice to use too much protein powder, too little fat, and skip the salt. Fix those three things and you get a snack that genuinely competes with the less nutritious options sitting on the counter beside them.
Pin this recipe to your healthy snacks board right now and make your first batch this weekend — your post-workout, mid-afternoon, need-something-now future self will be significantly happier for it.