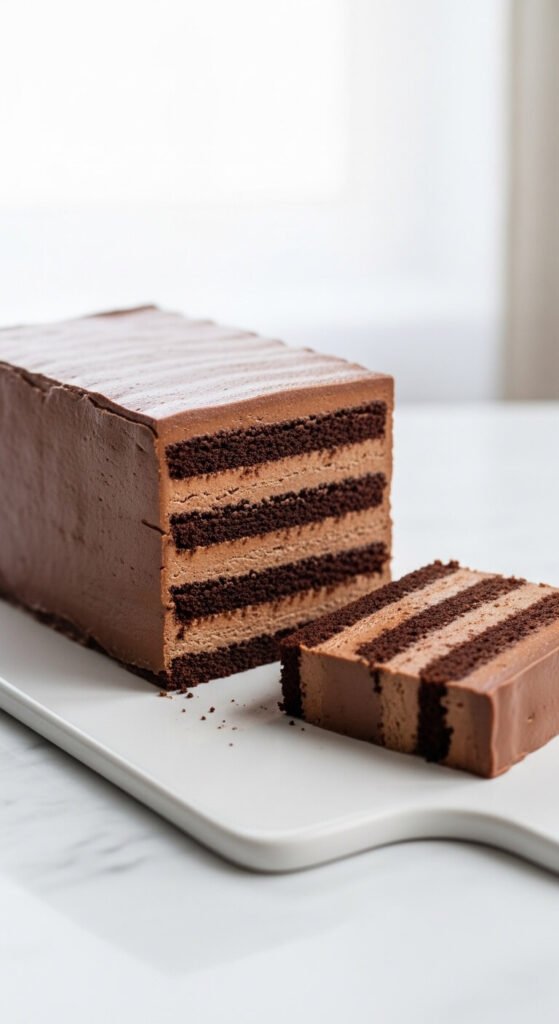
Refrigerator cake is one of those desserts that looks entirely achievable right up until the moment you try to serve it — and then the knife goes in, the layers slide, the biscuits crumble sideways, and the whole thing collapses into a delicious but visually catastrophic pile on the serving plate. The concept is so simple that the structural failure feels personal. Layers of cream and cookies, chilled until set, sliced cleanly and served beautifully — that’s the promise. Delivering on it requires understanding exactly what holds a refrigerator cake together and why the approach most people use doesn’t quite get there. This guide fixes that completely.
Why Refrigerator Cakes Collapse When Cut
Before the recipe, a quick diagnosis of the structural problem — because most refrigerator cake issues trace back to one of three specific causes.
The cream filling is too soft. A filling that’s delicious at room temperature is often too loose to maintain its shape under the pressure of a slicing knife. The layers slide rather than hold.
The biscuit layers absorbed too much moisture. Cookies and biscuits need to soften into a cake-like texture — but if they absorb too much cream they become waterlogged and lose their structural integrity entirely, turning into a layer that compresses and smears rather than slices.
The cake wasn’t chilled long enough or at the right temperature. A refrigerator cake that’s been chilled for three hours is a fundamentally different structural object than one that’s been chilled for twelve. The fat in the cream needs to fully solidify throughout every layer — and that takes longer than most recipes acknowledge.
The Filling That Actually Holds
The filling is the structural heart of a refrigerator cake. It needs to be firm enough to slice cleanly when cold but rich enough to taste indulgent at the temperature it’s actually eaten.
The base filling recipe for one full cake:
- 300ml heavy whipping cream, cold
- 250g full-fat mascarpone, room temperature
- 3 tablespoons powdered sugar, sifted
- 1 teaspoon pure vanilla extract
- 2 tablespoons Dutch-process cocoa powder — for a chocolate version
- Pinch of salt
Why mascarpone instead of cream cheese: Mascarpone has a higher fat content and a neutral flavor that sets firmer than cream cheese when cold. It also whips beautifully with heavy cream, producing a filling that holds its shape under a knife rather than compressing. The combination of mascarpone and whipped cream gives you richness, structure, and flavor working together.
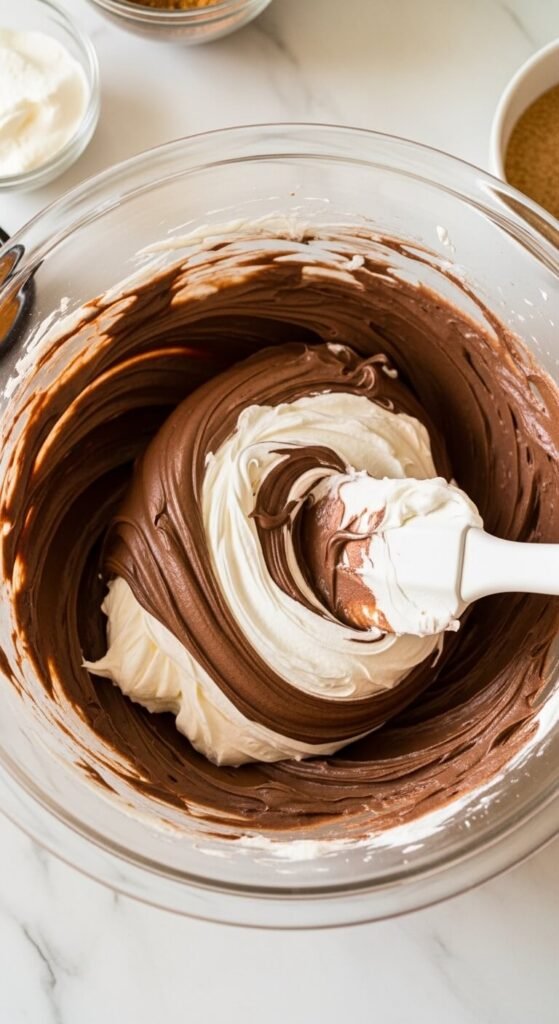
The mixing method that produces the best structure: Beat the mascarpone, powdered sugar, vanilla, cocoa, and salt together until smooth and unified. In a separate cold bowl, whip the cold heavy cream to firm peaks. Fold the whipped cream into the mascarpone in three additions. The resulting filling should hold a firm shape when a spoon is drawn through it — not flow back together immediately.
Choose the Right Biscuit Layer
Not all cookies and biscuits behave the same way in a refrigerator cake. The choice of biscuit determines how well the cake holds together just as much as the filling does.
Best choices for structural integrity:
- Chocolate digestive biscuits — the gold standard. They soften to a perfectly cake-like texture without disintegrating, and their thickness provides genuine structural support between filling layers
- Oreo wafers — remove the filling or use it as part of the cream component. The wafers soften evenly and slice cleanly
- Rich Tea biscuits — thinner but reliable. Use a double layer for equivalent thickness
- Speculoos cookies — add a spiced, caramel-like flavor dimension and hold their shape exceptionally well
What to avoid: Wafer-thin cookies, overly crisp crackers that shatter rather than soften, and anything with a heavily aerated texture that collapses under filling weight.
Critical detail — do not dip or soak the biscuits. Unlike tiramisu, refrigerator cake biscuit layers should be placed dry. The moisture they need to soften comes entirely from the cream layer above and below them over the chilling period. Dipped biscuits become waterlogged and structurally useless. Dry biscuits absorb exactly the right amount of moisture during the overnight chill.
The Assembly Method That Produces Clean Layers
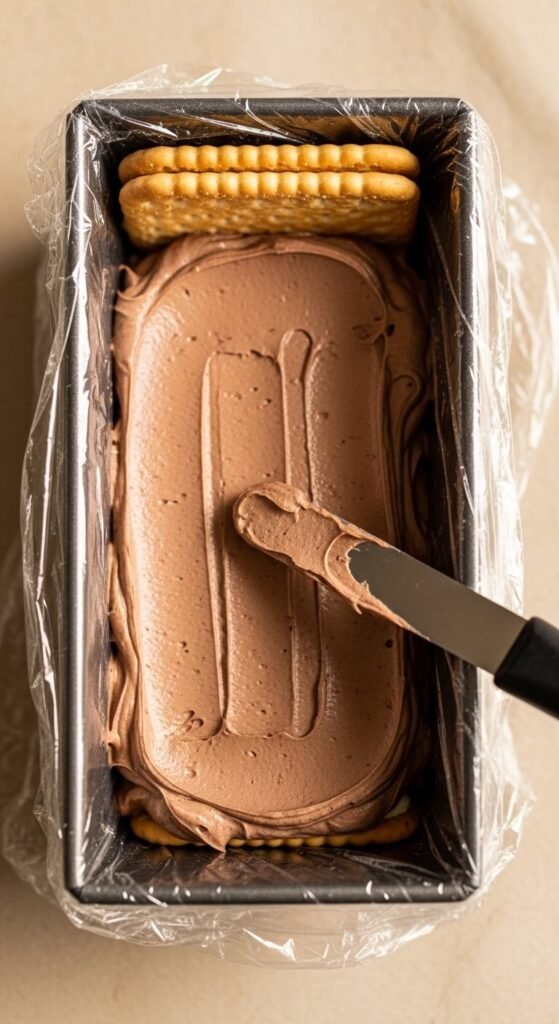
Use a standard 9×5 loaf pan lined with two layers of plastic wrap, leaving generous overhang on all four sides. The plastic wrap is your release mechanism — without it, the first slice destroys the rest of the cake.
Assembly order:
- Spread a ½-inch layer of filling on the pan base — this anchors the first biscuit layer
- Place a single layer of biscuits, trimming to fit cleanly against the pan walls — gaps create structural weak points
- Spread another generous ½-inch layer of filling, smoothed completely flat
- Repeat biscuit layer, then filling, until you reach the top of the pan — typically four biscuit layers and five filling layers
- Finish with a filling layer on top, smoothed flat
- Fold the plastic wrap overhang over the top surface and press gently to seal
The Chilling Protocol That Makes Slicing Possible
This is the non-negotiable part. A refrigerator cake chilled for less than eight hours is a different structural object than one chilled for twelve — and the difference shows immediately when the knife goes in.
The recommended chilling sequence:
- Refrigerate for a minimum of 8 hours — overnight is standard
- For the cleanest possible slices, move to the freezer for 30 minutes immediately before serving
- The brief freeze firms the filling to a consistency where it holds its shape against the knife pressure without the layers sliding
Before slicing:
- Lift the entire cake out of the pan using the plastic wrap overhang onto a cutting board
- Peel back the plastic wrap from the top and sides completely
- Run a sharp knife under hot water and dry before every cut
- Slice with a single downward press — one clean motion per cut, no sawing
Toppings That Finish It Beautifully
Add toppings after removing from the pan and just before serving:
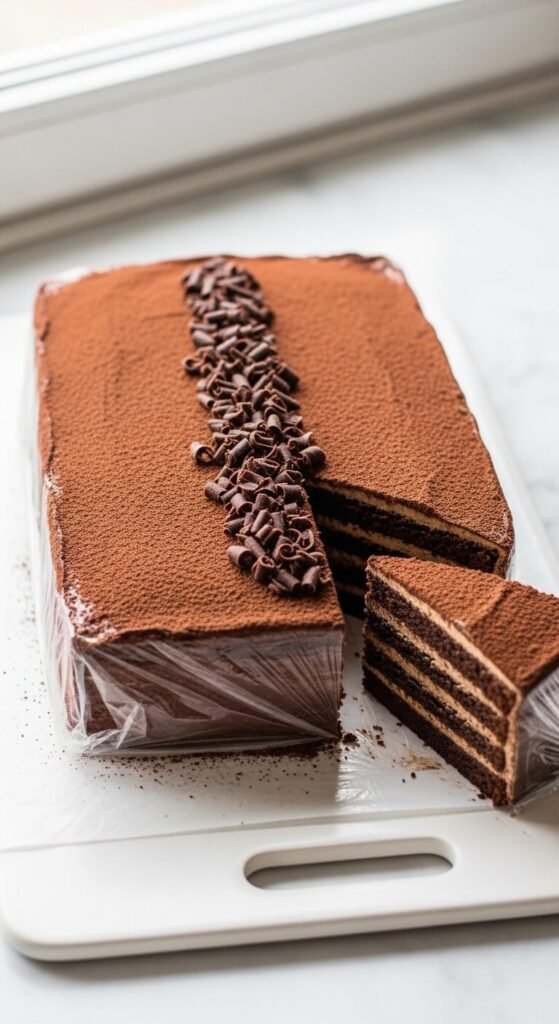
- Dark chocolate shavings created by running a vegetable peeler along a cold chocolate bar
- Dusted cocoa powder through a fine mesh sieve for an even, matte finish
- Crushed biscuits scattered across the top surface for texture contrast
- Whipped cream rosettes piped along the top edge using a star tip
Save This Recipe — Clean Slices Are Possible Every Time
A refrigerator cake that holds together when sliced isn’t luck — it’s mascarpone filling beaten to the right consistency, dry biscuit layers placed without soaking, an overnight chill followed by a brief freezer rest, and a warm knife drawn cleanly through the whole thing in one motion.
Pin this recipe to your no-bake desserts collection right now — make it the night before your next dinner party and serve something that looks as deliberate as anything that ever came out of an oven.