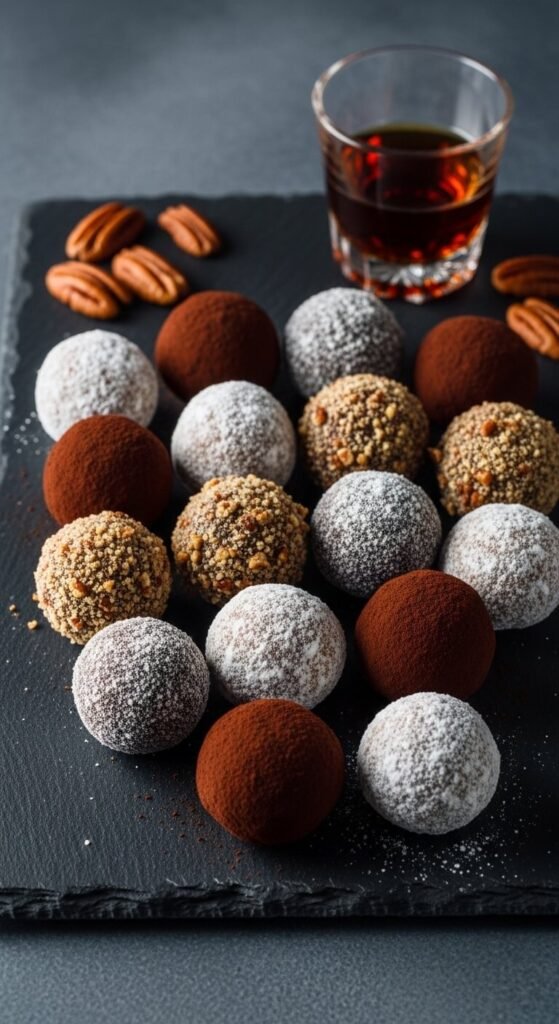
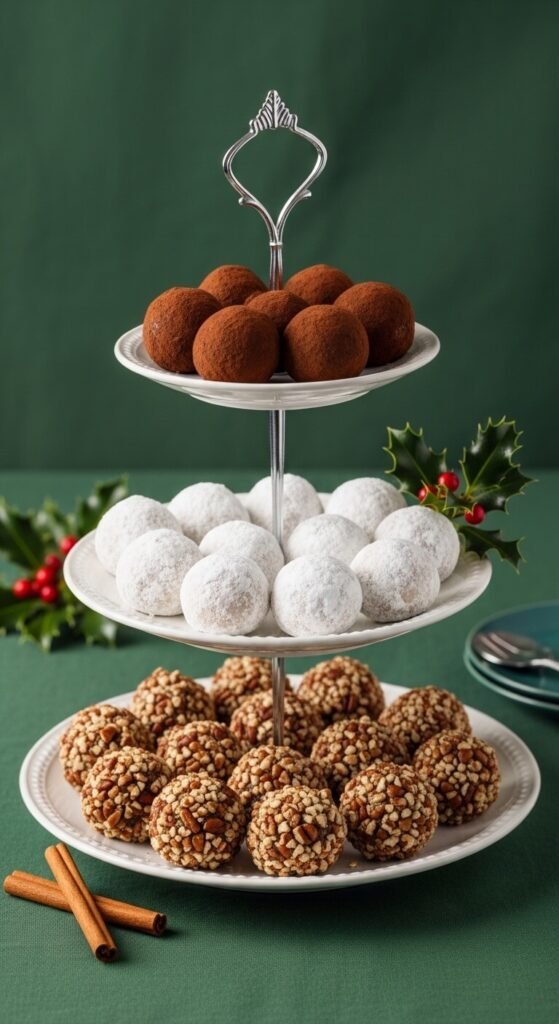
Rum balls occupy a very specific and very beloved place in the world of no-bake treats — somewhere between a dessert and a grown-up indulgence that has absolutely no business being as easy to make as it is. They’re rich, deeply chocolatey, slightly boozy, dusted in something beautiful, and sophisticated enough to sit on a holiday dessert platter without apology. The problem with most rum ball recipes is that they either taste like chocolate with a vague hint of rum, or they taste like a shot glass coated in cocoa powder with no middle ground in sight. This version gets the balance exactly right — bold enough to be interesting, smooth enough to eat three in a row without noticing.
What You’ll Need
The beauty of rum balls is that the ingredient list is short, the technique is simple, and the results are wildly disproportionate to the effort. Almost every ingredient here is already in your pantry.
What you need (makes about 30 balls):
- 2 cups (200g) vanilla wafer crumbs — about one 11 oz box, crushed finely in a food processor or zip-lock bag
- 1 cup (120g) powdered sugar, sifted — plus more for rolling
- 3 tablespoons unsweetened cocoa powder
- 1 cup (100g) finely chopped pecans or walnuts — toasted for extra depth
- 3 tablespoons light corn syrup or honey — the binder that holds everything together
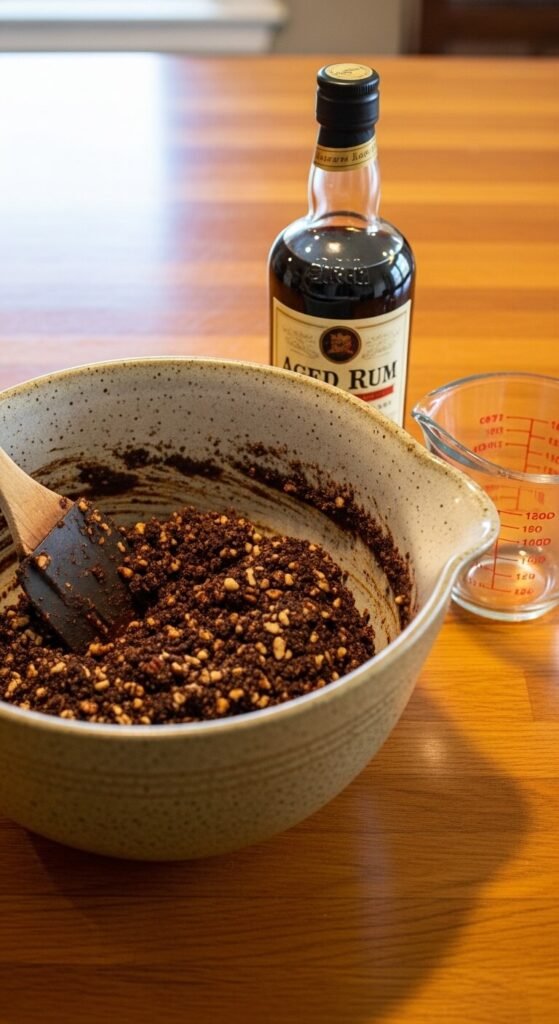
- ⅓ cup (80ml) dark rum — the star ingredient, and the one that deserves real attention
- 1 teaspoon vanilla extract
- Pinch of salt
For coating (choose one or all three):
- Powdered sugar — classic, elegant, and snowy white
- Unsweetened cocoa powder — deep, intense, and sophisticated
- Finely chopped toasted nuts — adds crunch and a nutty contrast
- Chocolate sprinkles — festive and fun for holiday plates
On the rum: Use a dark rum you’d actually want to drink — Bacardi Dark, Mount Gay, or Myers’s are all excellent. The rum’s flavor comes through clearly in the finished ball, so quality matters. Spiced rum works beautifully too, adding warmth and complexity. Avoid white rum — it lacks the depth this recipe is built around.
Make the Dough
This is genuinely one of the most satisfying recipes to make — no heat required, everything comes together in one bowl, and the kitchen smells extraordinary by the time you’re done.
Step 1: In a large mixing bowl, whisk together the vanilla wafer crumbs, sifted powdered sugar, cocoa powder, chopped nuts, and salt until evenly combined.
Step 2: In a small bowl, stir together the rum, corn syrup, and vanilla extract until the corn syrup is fully dissolved.
Step 3: Pour the rum mixture over the dry ingredients and stir with a spatula until a cohesive, slightly sticky dough forms. It should hold together cleanly when pressed between your fingers without crumbling.
If the dough seems too dry: Add rum one teaspoon at a time until it holds together. Different wafer brands absorb liquid differently — trust the texture over the exact measurement.
If the dough seems too wet: Add a tablespoon of extra vanilla wafer crumbs and let it sit for 5 minutes. The crumbs will absorb the excess moisture.
The Crucial Rest — Don’t Skip It
Here’s the step that most recipes rush past: the dough needs to rest before rolling.
Cover the bowl with plastic wrap and let it sit at room temperature for 30 minutes, or refrigerate for 1 hour. During this time the crumbs fully absorb the rum and corn syrup, the dough firms up significantly, and the flavors begin to meld into something far more unified than the sum of their parts.
Skipping this step means soft, sticky dough that’s hard to roll cleanly and results in misshaped balls that don’t hold their coating well. Respecting this step means a firm, workable dough that rolls into perfect rounds and holds its shape beautifully.
Roll and Coat
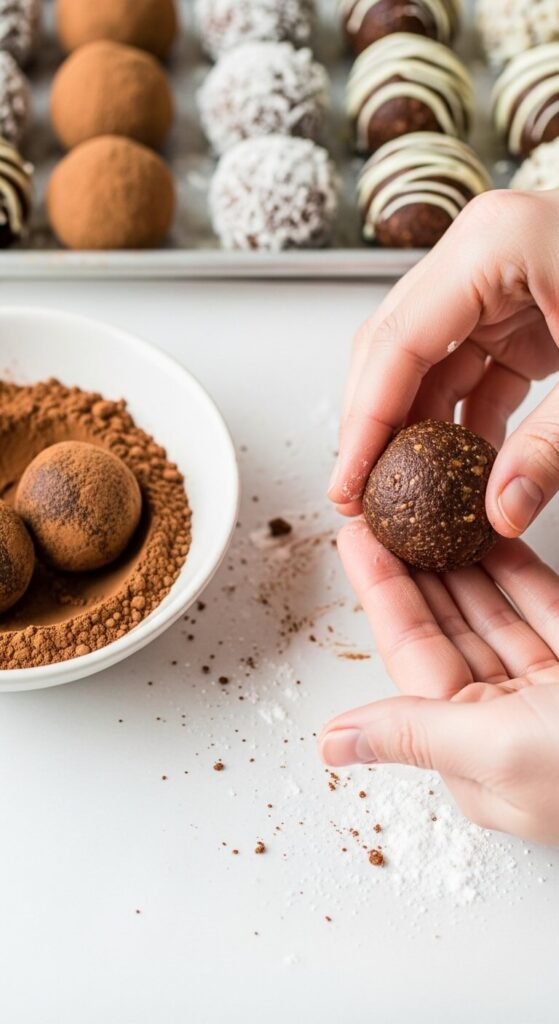
Set out your coating options in shallow bowls. Now the most satisfying part begins.
How to roll perfect rum balls:
- Scoop about 1 tablespoon of dough and roll between your palms into a smooth ball — roughly the size of a large marble or a small truffle
- Roll immediately in your coating of choice, pressing gently so the coating adheres
- Place on a parchment-lined tray
- Repeat until all the dough is used
Tips for clean, round balls:
- Work with slightly cool hands — rinse with cold water and dry thoroughly between every few rolls to prevent sticking
- Roll with confident, even pressure — hesitant rolling creates lumpy, uneven balls
- If the mixture starts warming and sticking, refrigerate the bowl for 10 minutes before continuing
The Second Rest — Also Non-Negotiable
Once all your balls are rolled and coated, cover the tray loosely and refrigerate for at least 24 hours before serving.
This second rest is where rum balls transform from good to extraordinary. The rum flavor mellows and deepens, the chocolate richness intensifies, the cocoa or powdered sugar coating absorbs a microscopic amount of moisture from the ball and adheres more completely, and every element rounds out and smooths into a more cohesive, sophisticated flavor.
Rum balls made and eaten the same day taste fine. Rum balls made 24 to 48 hours ahead taste like something worth making every single holiday season for the rest of your life.
Storage: Keep in an airtight container in the refrigerator for up to two weeks. They actually continue improving through the first week. Bring to room temperature for 15 minutes before serving — slightly cool but not cold is the ideal eating temperature.
Variations Worth Trying
Once you’ve made the classic version, the formula adapts beautifully:
- Bourbon balls — swap rum for good bourbon and add ½ teaspoon of cinnamon to the dry mixture
- Kahlúa chocolate balls — replace rum with Kahlúa and add an extra tablespoon of cocoa powder
- Brandy and orange — use brandy instead of rum and add 1 tablespoon of orange zest to the dough
- Non-alcoholic version — replace rum with strong brewed coffee cooled to room temperature, plus 1 teaspoon of rum extract for flavor without the alcohol
The Takeaway
Rum balls are proof that the most impressive party treat is often the one that requires no oven, no special equipment, and nothing more than a good bottle of dark rum and the patience to let the fridge do the real work.
Save this recipe before the holiday season, before a dinner party, or before the next occasion that calls for something special in a very small package — make them two days ahead, plate them beautifully, and let people wonder how you found the time. 🍫🥃✨