You spent 20 minutes making a perfect batch of no-bake brownies, energy balls, or cheesecake — and by day three, they taste like a vague memory of what they used to be. The chocolate is bloomed white. The cheesecake has a wet, weeping surface. The energy balls have dried out into something resembling chalk. No-bake desserts are wonderfully easy to make and surprisingly easy to ruin in storage — not because they’re delicate, but because most people store them the same way regardless of what they actually are. Different no-bake desserts have genuinely different storage requirements, and understanding those differences is what keeps them tasting freshly made for three, five, or even ten days after you made them.
The Two Enemies of No-Bake Desserts
Before getting into specific storage methods, understand what you’re actually fighting against.
Enemy 1: Moisture. No-bake desserts made with cream cheese, condensed milk, or fresh fruit release moisture over time. That moisture softens crusts, makes surfaces weep, and turns crisp textures soggy. The goal is to contain moisture within the dessert rather than letting it migrate outward — or letting outside humidity migrate inward.
Enemy 2: Air exposure. Oxygen dries out surfaces, causes chocolate to bloom, turns nut butters rancid faster, and strips flavor from anything with a delicate aroma. Proper airtight storage slows every one of these processes dramatically.
The solution to both is the same: the right container with the right barrier between layers.
Storing No-Bake Cheesecake
Cheesecake is the most moisture-sensitive no-bake dessert category and needs the most specific storage approach.
Whole uncut cheesecake:
- Keep in the springform pan until serving
- Press plastic wrap directly against the filling surface — not tented above it
- This direct contact prevents surface weeping and skin formation
- Refrigerate for up to 5 days
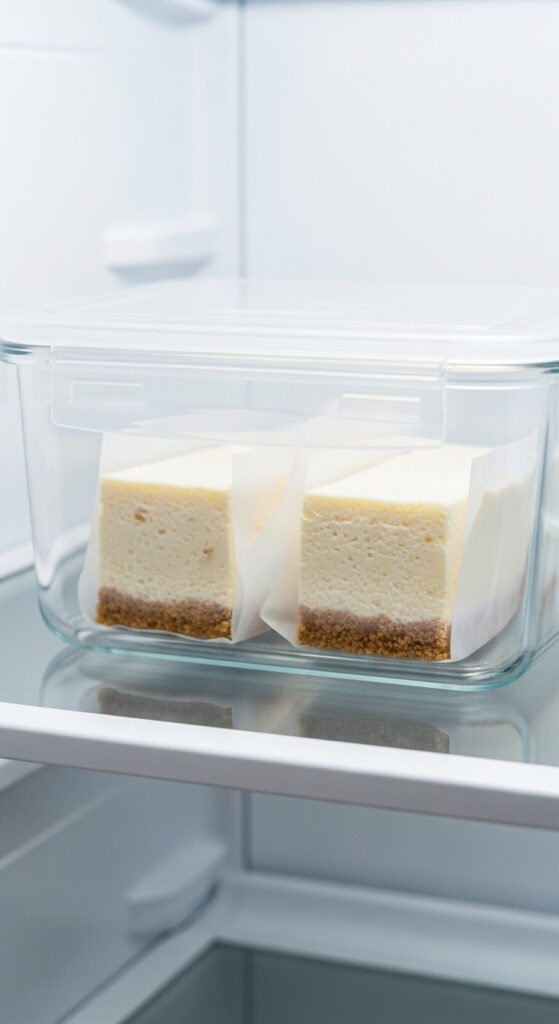
Sliced cheesecake:
- Store individual slices in an airtight container with a lid
- Place a small sheet of parchment between each slice to prevent surfaces from sticking together
- Do not stack more than two slices — the weight compresses the bottom slice
- Refrigerator shelf life: 4 to 5 days
Freezing cheesecake:
- Freeze slices individually on a parchment-lined tray until solid
- Wrap each frozen slice in plastic wrap, then in foil
- Transfer to a freezer bag and store for up to 2 months
- Thaw overnight in the refrigerator — never at room temperature, which causes condensation and a watery surface
Storing Bars, Brownies, and Slices
No-bake bars — peanut butter bars, brownie squares, oat-based slices — are the most forgiving category to store, but one detail makes or breaks multi-day freshness.
The parchment layer rule: Always place a sheet of parchment paper between every layer of bars in a storage container. Without it, chocolate tops stick to the bottoms of the bars above them, and pulling them apart destroys both pieces.
For bars with a chocolate top layer:
- Store in a single layer if possible, or maximum two layers with parchment between
- Airtight container in the refrigerator for up to 10 days
- Allow bars to sit at room temperature for 8 to 10 minutes before eating — cold chocolate is hard and waxy, slightly tempered chocolate is snappy and flavorful
For bars without chocolate:
- Room temperature storage in an airtight container works for up to 3 days
- Refrigerator extends shelf life to 7 to 10 days
- Freezer storage up to 3 months — thaw at room temperature for 20 minutes
Storing Energy Balls and Truffles
Round, bite-sized no-bake treats are the easiest category to store well — and the easiest to ruin by not thinking about surface contact.
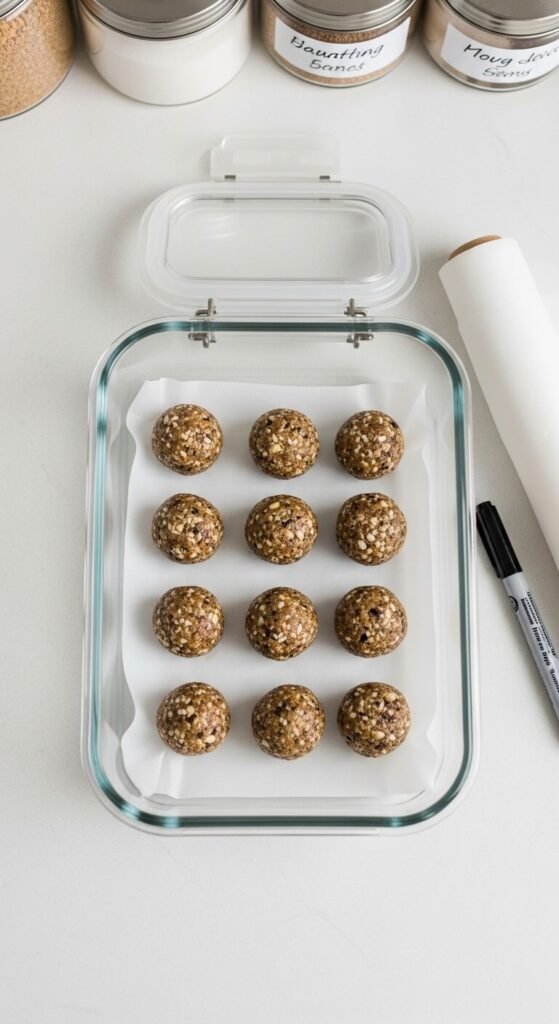
Key rules:
- Never store in a pile without separation — the weight and contact causes them to flatten and stick together
- Store in a single layer in a wide, shallow container with a lid
- If you need to stack, place parchment between layers
- Refrigerator: up to 2 weeks for most energy balls and truffles
- Freezer: up to 3 months — freeze in a single layer first, then transfer to a labeled bag
Cocoa-dusted truffles specifically: The cocoa coating absorbs moisture from the refrigerator over time and becomes tacky. Store these with a small piece of food-safe silica gel or a folded paper towel in the container to absorb excess humidity.
Storing Rice Crispy Treats
Rice crispy treats have one specific enemy: air. Exposed to open air, they go stale and hard within hours. Properly sealed, they stay soft for days.
The wrapping method that works:
- Cut treats into individual squares
- Wrap each piece individually in plastic wrap — this is more effective than storing them together in a container where they press against each other
- Place individually wrapped treats in an airtight container or zip-lock bag
- Store at room temperature only — the refrigerator makes them hard and stale faster than leaving them out
Shelf life:
- Room temperature, individually wrapped: 3 days soft, up to 5 days acceptable
- Freezer, individually wrapped then bagged: 6 weeks — thaw at room temperature for 15 minutes
Universal Storage Rules That Apply to Everything
Regardless of what type of no-bake dessert you’re storing, these principles always apply:
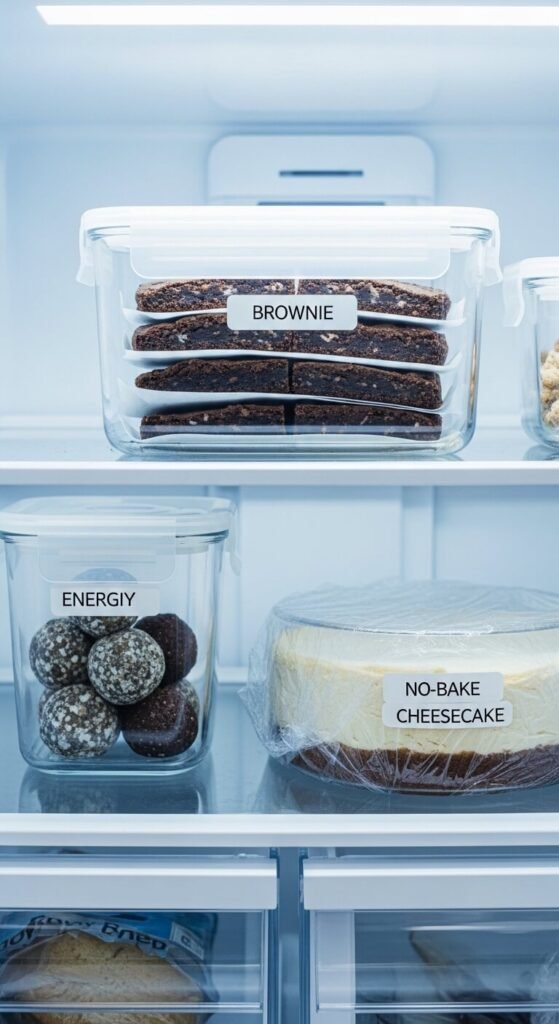
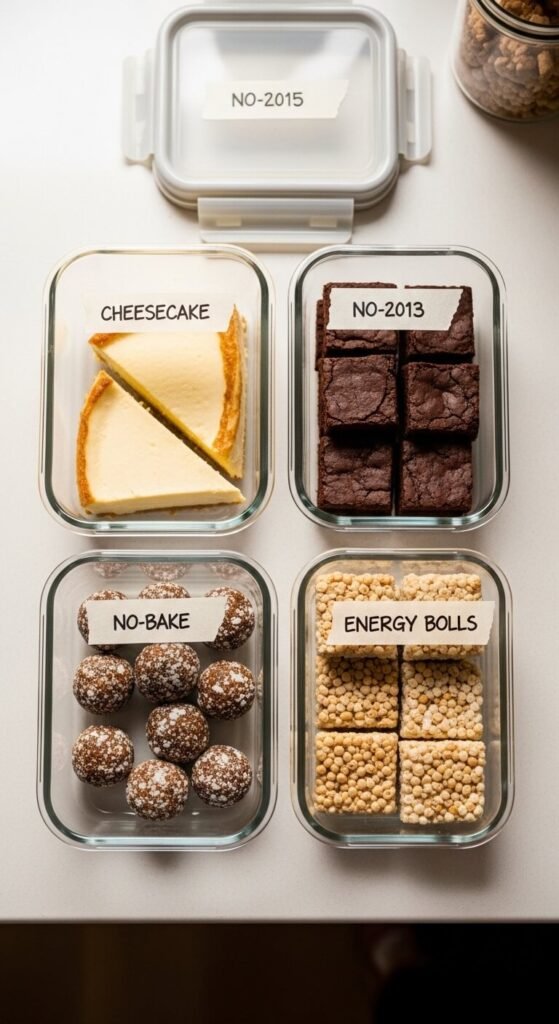
- Label everything with the date made. It takes five seconds and eliminates the guesswork that leads to throwing out perfectly good food — or eating something that should have been thrown out two days ago.
- Use glass containers over plastic when possible. Glass doesn’t absorb odors or flavors from previous contents, seals more reliably, and keeps desserts tasting like themselves rather than like whatever was stored there before.
- Never store strong-smelling foods near delicate no-bake desserts in the refrigerator. Cheesecake absorbs refrigerator odors through the cream cheese filling faster than almost any other dessert.
- Cool completely before sealing. Any residual warmth trapped in an airtight container creates condensation that accelerates every form of quality degradation.
Store Smart, Waste Nothing
No-bake desserts are designed to be made ahead — and when stored correctly, they deliver the same quality on day five that they had on day one. The investment is minimal: parchment paper, airtight containers, plastic wrap, and the habit of labeling. The return is a refrigerator full of desserts that stay genuinely fresh, genuinely delicious, and ready whenever you want them.
Save this article to your no-bake baking collection — it’s the reference guide that makes every recipe you’ve already saved more useful by helping you actually enjoy the results all week long.